21 Nov 2010 Throttle Quadrant upgrade
The old Subaru engine only required a throttle and a boost control, and the propeller pitch was controlled with a knob on the control panel. This meant that I could use the CT 82F DELUXE – 2 Lever throttle quadrant.
Now that I am changing to the Lycoming/Hartzell package, I need to upgrade the quadrant to the CT 83F DELUXE – 3 Lever model.
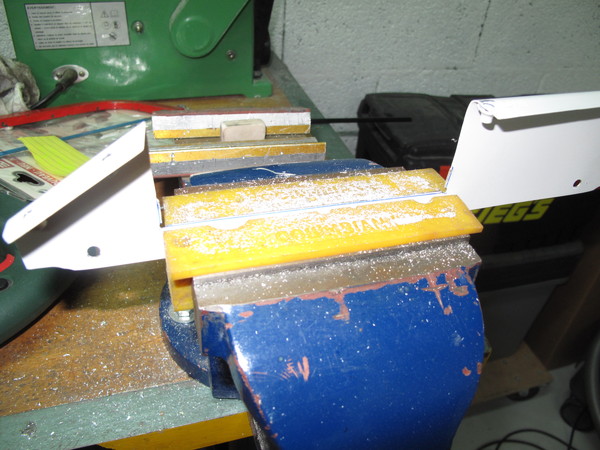
One complaint that I have about the djm mfg quadrants is that the aluminum levers are guided by aluminum – and I don’t like metal to metal contact on things that should move. I believe the guides would be better if they were lined with delrin or even made of delrin, or another nice plastic.
To fix this, I decided to line the inside of the guides with UHMW tape – the same stuff you use to allow the flaps to slide against the top skin of the wings.
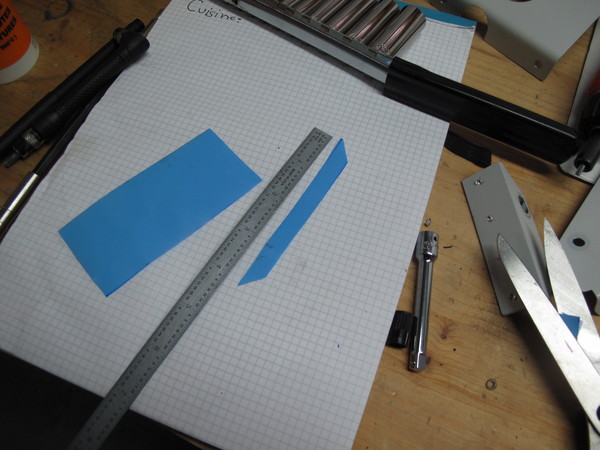
First need to cut out some pieces of tape like this – 4 inches long, and a bit more than a 1/4″ wide.
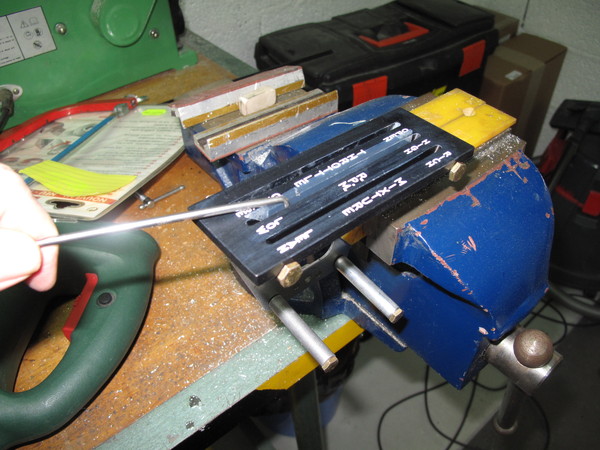
Now position it, and then use something to make it stick to the inside edges of the throttle guide. Oh yes, before doing this, be sure to clean the inside of the guides with something to ensure that there is no oil or dirt to cause the tape to not stick correctly.
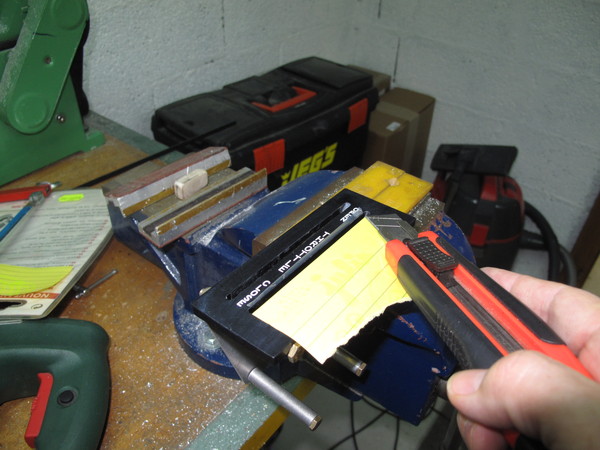
Once stuck on there, just trim it up. I used a wide post-it to protect the guide from getting scratched or marred by the knife.
Once all three slots are done, on both sides, I put the throttle together and felt the smoooooth motion of the levers as they slide across the UHMW tape instead of the anodized aluminum. The tape is very sticky, so I doubt it will be coming off any time soon.
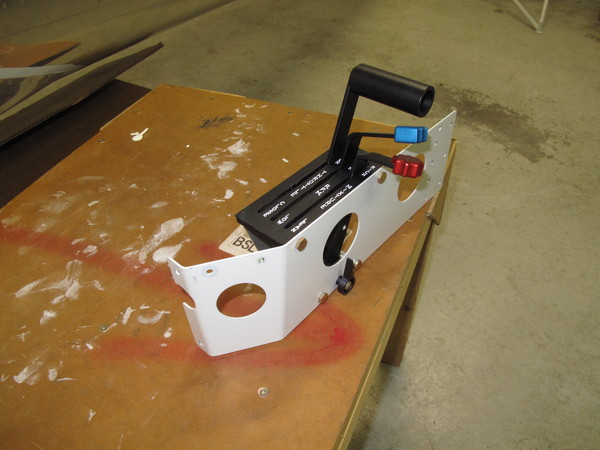
I also needed to make the throttle quadrant cover a bit wider. Some snips, and a bit of filing did the job.
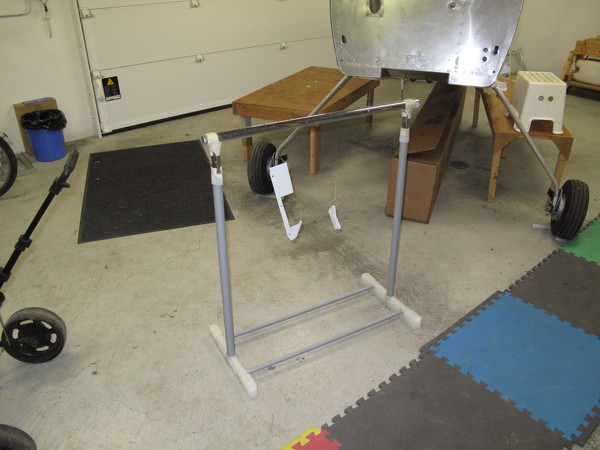
I had to touch up the paint on the cover where I widened the opening. I also had to make that other part you see here to hold the cables. The one that was on there before didn’t have the three holes. I did the painting outside, dried with a heat gun, and just brought them in for the photo.
Sorry, the comment form is closed at this time.