22 Feb 2006 Stainless Steel firewall penetration
Update 20210918: I didn’t install the Eggenfellner Subaru engine, so any post that references that can be ignored or used as a cautionary tale about how to avoid wasting many years and $50k. I use normal FW penetrations now, as available from aircraft spruce.
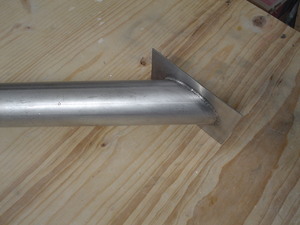
Here are a couple of pictures of my firewall penetration system for the giant Subaru wire bundle. The diameter of the tube is 2″, which is huge, but required for the big connectors on the engine. It is possible to run the harness from the inside of the cockpit out, and then the largest connectors are a bit smaller, but I really didn’t want to remove the harness from the engine.
I got this custom welded at a local welding shop. The material came from the local junkyard. Total cost for the metal and welding: about USD 30. Actually, the welding was free – the owner of the shop needed a rough translation of a document from English to French. In return, he didn’t charge me. It took 5 minutes to read it to him. Five minutes for 30 bucks – yes!
The goal is to do something like these guys have done here: http://www.epm-avcorp.com/fwalinst.html (original link no longer works, here’s a link to the archive http://web.archive.org/web/20080327101924/http://www.epm-avcorp.com/fwalinst.html – 2010-11-04)
This is also known as the grab bar or towel bar method. I actually bought some grab bars from McMaster-Carr, but the ID was just a bit too small for my application. Mine is actually a bit lighter than the store-bought towel bars. Also, getting the exact angle on the bar with my custom setup is rather nice. I also bought some 2″ firesleeve from McMaster-Carr.
It feels a bit silly going with stainless steel, since I have aluminum bulkhead fittings for my fuel lines, heater core coolant, and my supercharger boost controller cable, but what the heck. At least one of my firewall penetrations is done right!
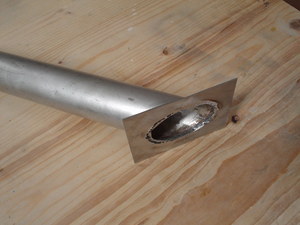
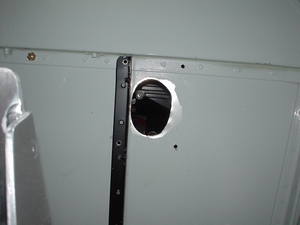
Here is the hole. Cutting stainless steel is not fun. I used a combination of small drills, aviation snips, and a dremel tool to get the hole finished.
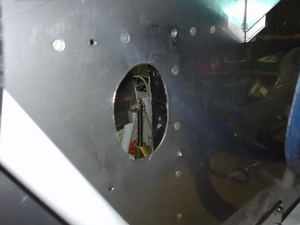
The view from the cockpit side of the firewall. Note that I’ve put the hole in the corner of two angles, so I can use them to provide support for the stainless steel tube.
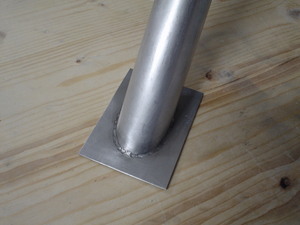
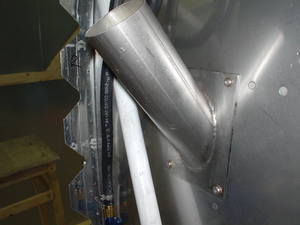
Here is the stainless steel tube mounted to the firewall. I used some fireproof caulk that I got from a home store, but after installing it I found out that it dries hard and crunchy. Not good. You need to use a sealant that remains pliable.
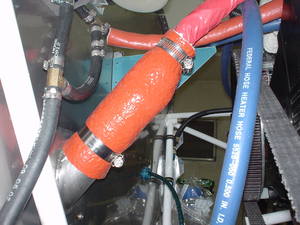
Here you can see I’ve run the wire bundle through the tube, and wrapped some firesleeve around it. I’ve also got the firesleeve around the stainless steel tube.
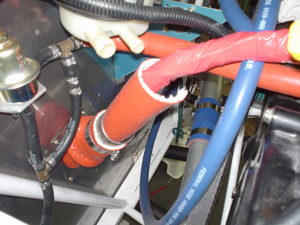
The firesleeve is pulled up, ready to be tightened.
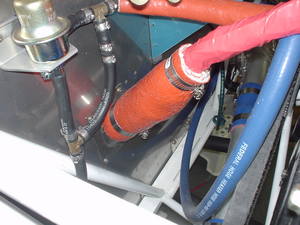
Here’s what it looks like when all is done. The clamps are tight, and should keep the nasty stuff outside the cockpit.
Sorry, the comment form is closed at this time.