14 Sep 2004 Root wing fairings
For some reason I kind of dreaded installing the root wing fairings, thinking that it would be tricky. It was far from it – very easy. The fairings towards the back needed a tad bit of trimming before the initial install, and then they went right into the pre-punched holes.
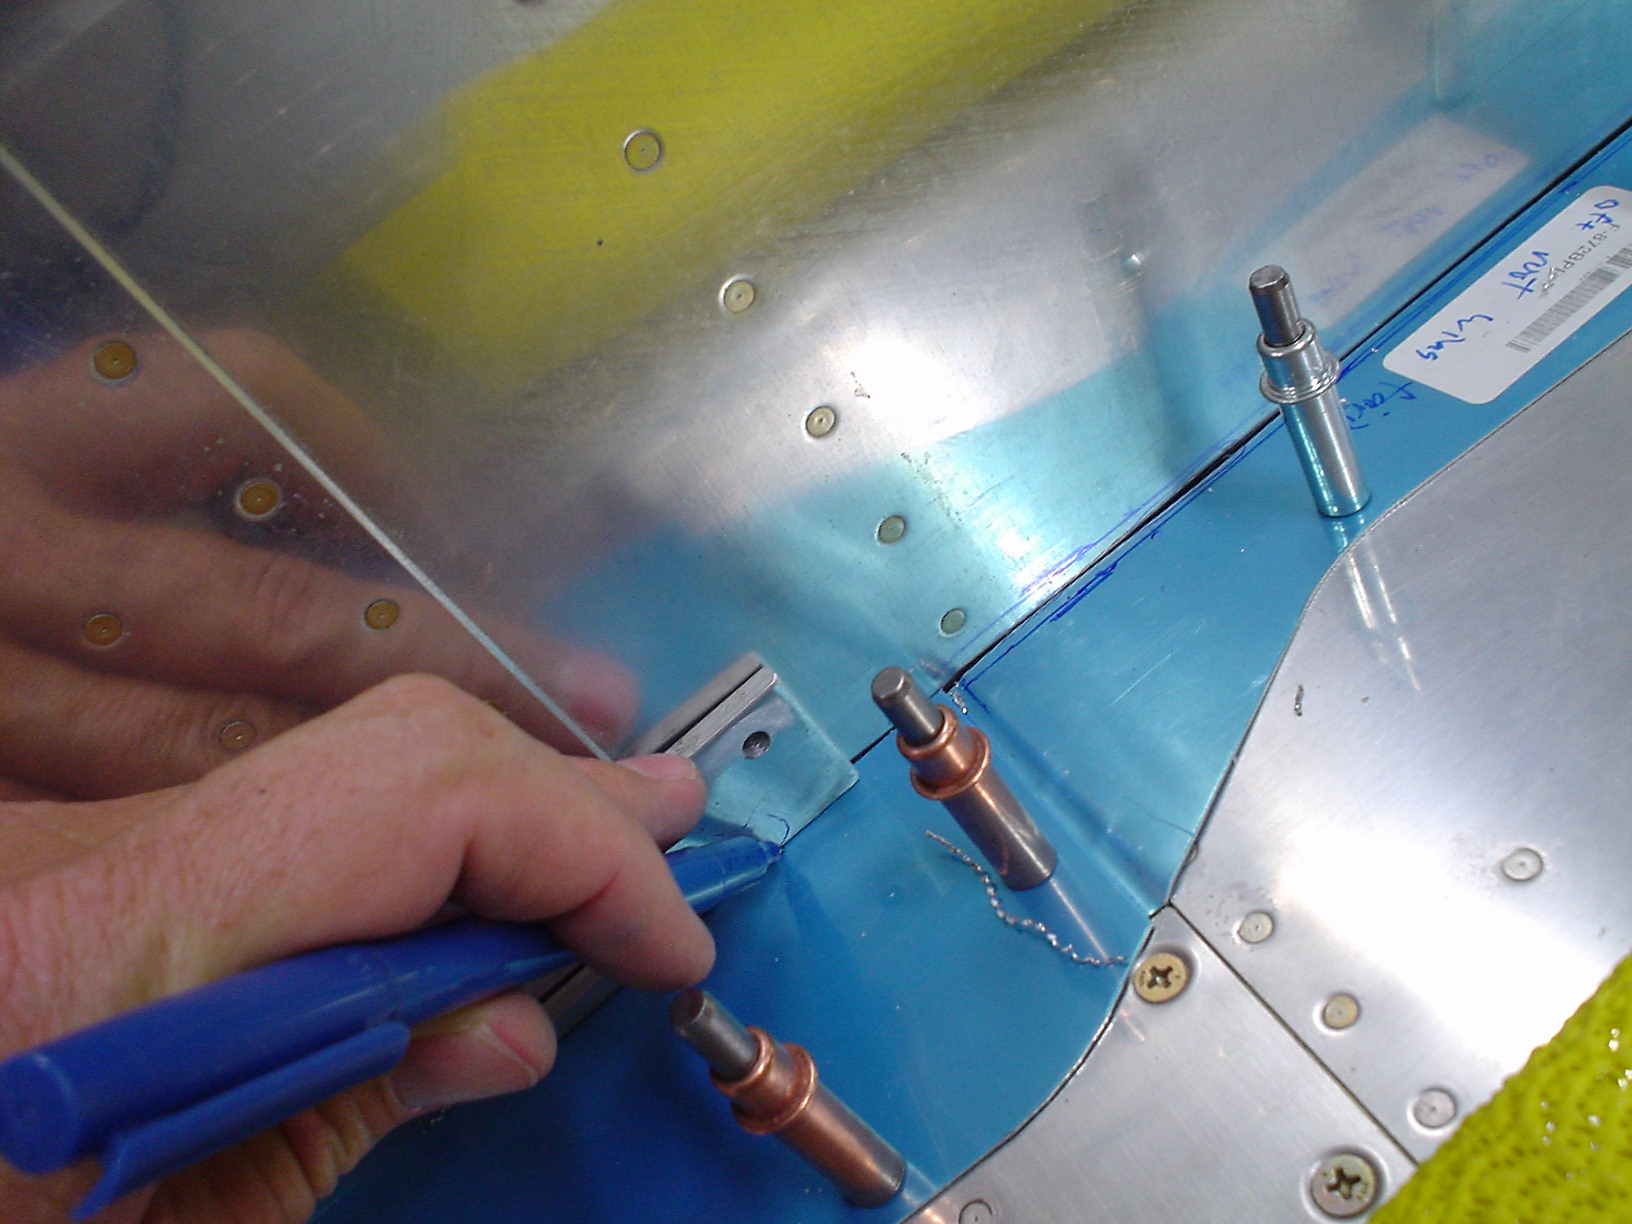
The fronts go in after the backs, and you have to drill a hole in the spar flange using the prepunched hole in the rear fairing. This hole is used by the front fairing, along with the prepunched hole at the end, to help position it.
The front fairing is used to drill the holes in the wing. Be sure you leave enough edge distance! I got a bit closer than I would have liked, but it’s still ok.
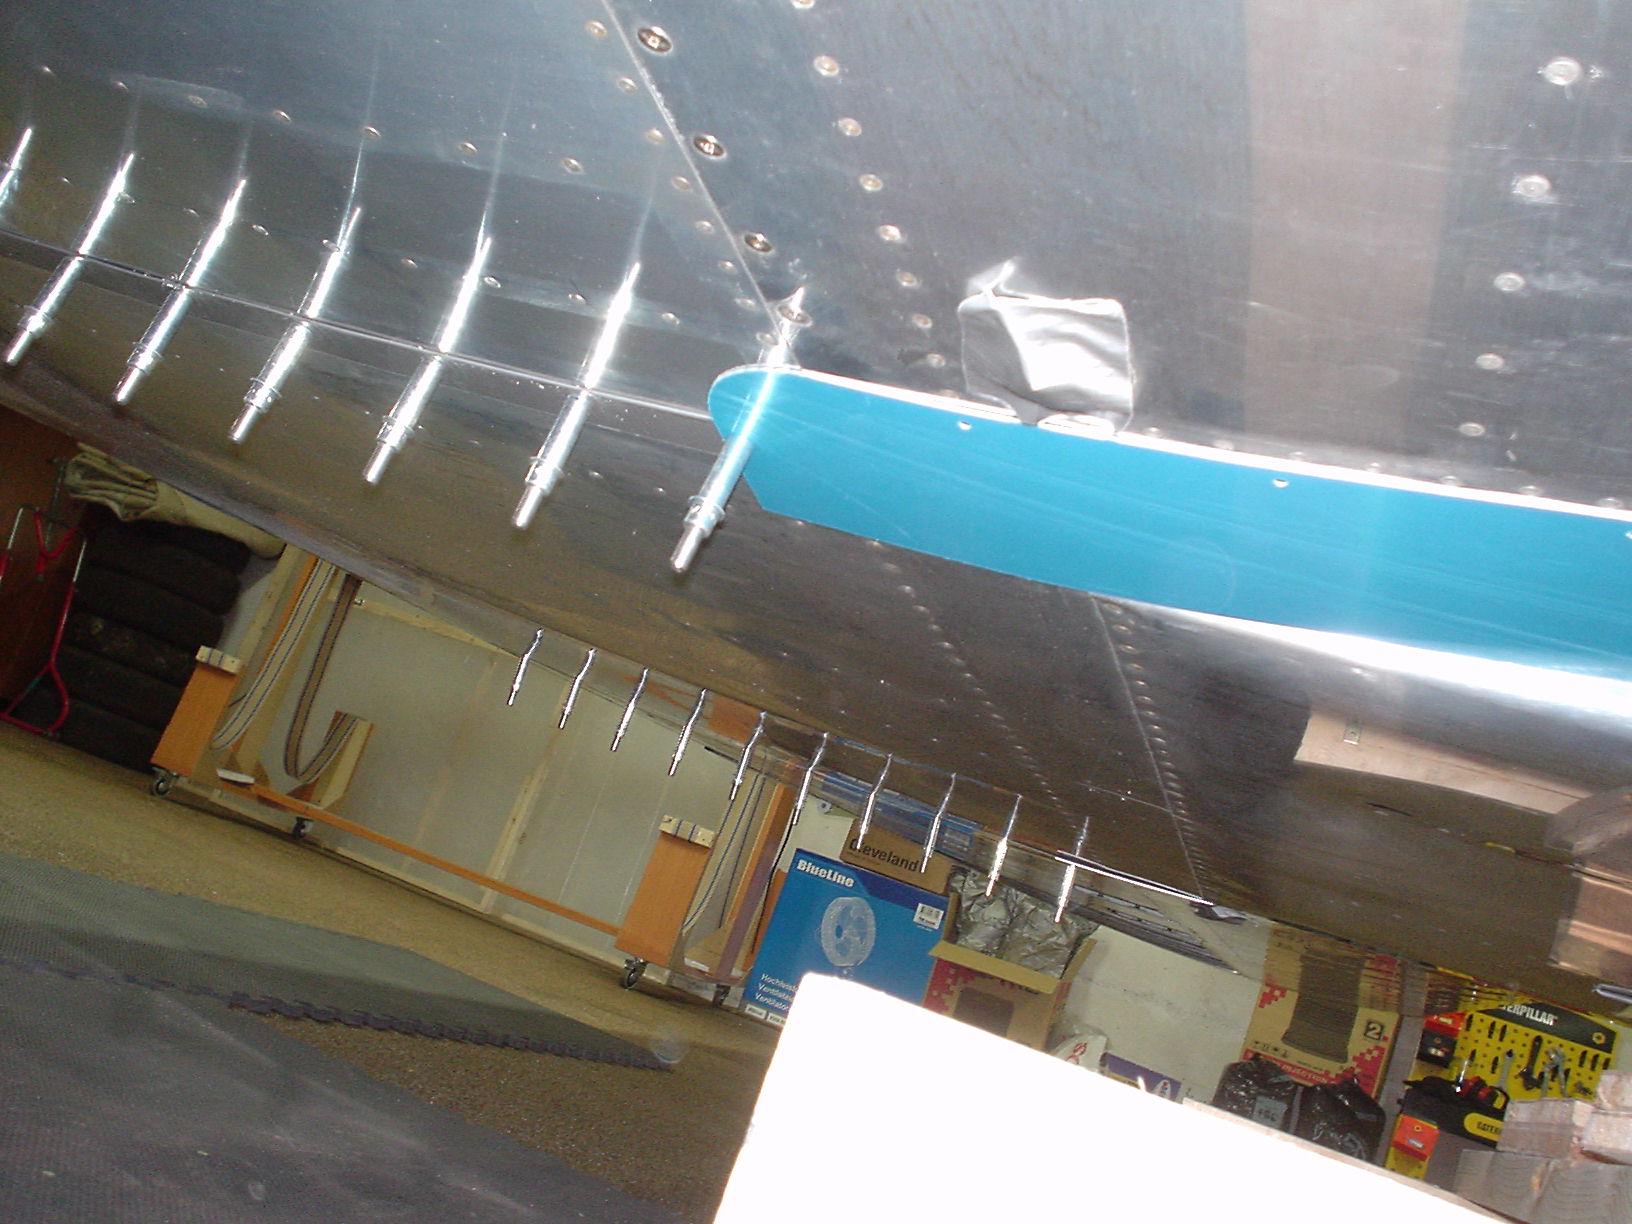
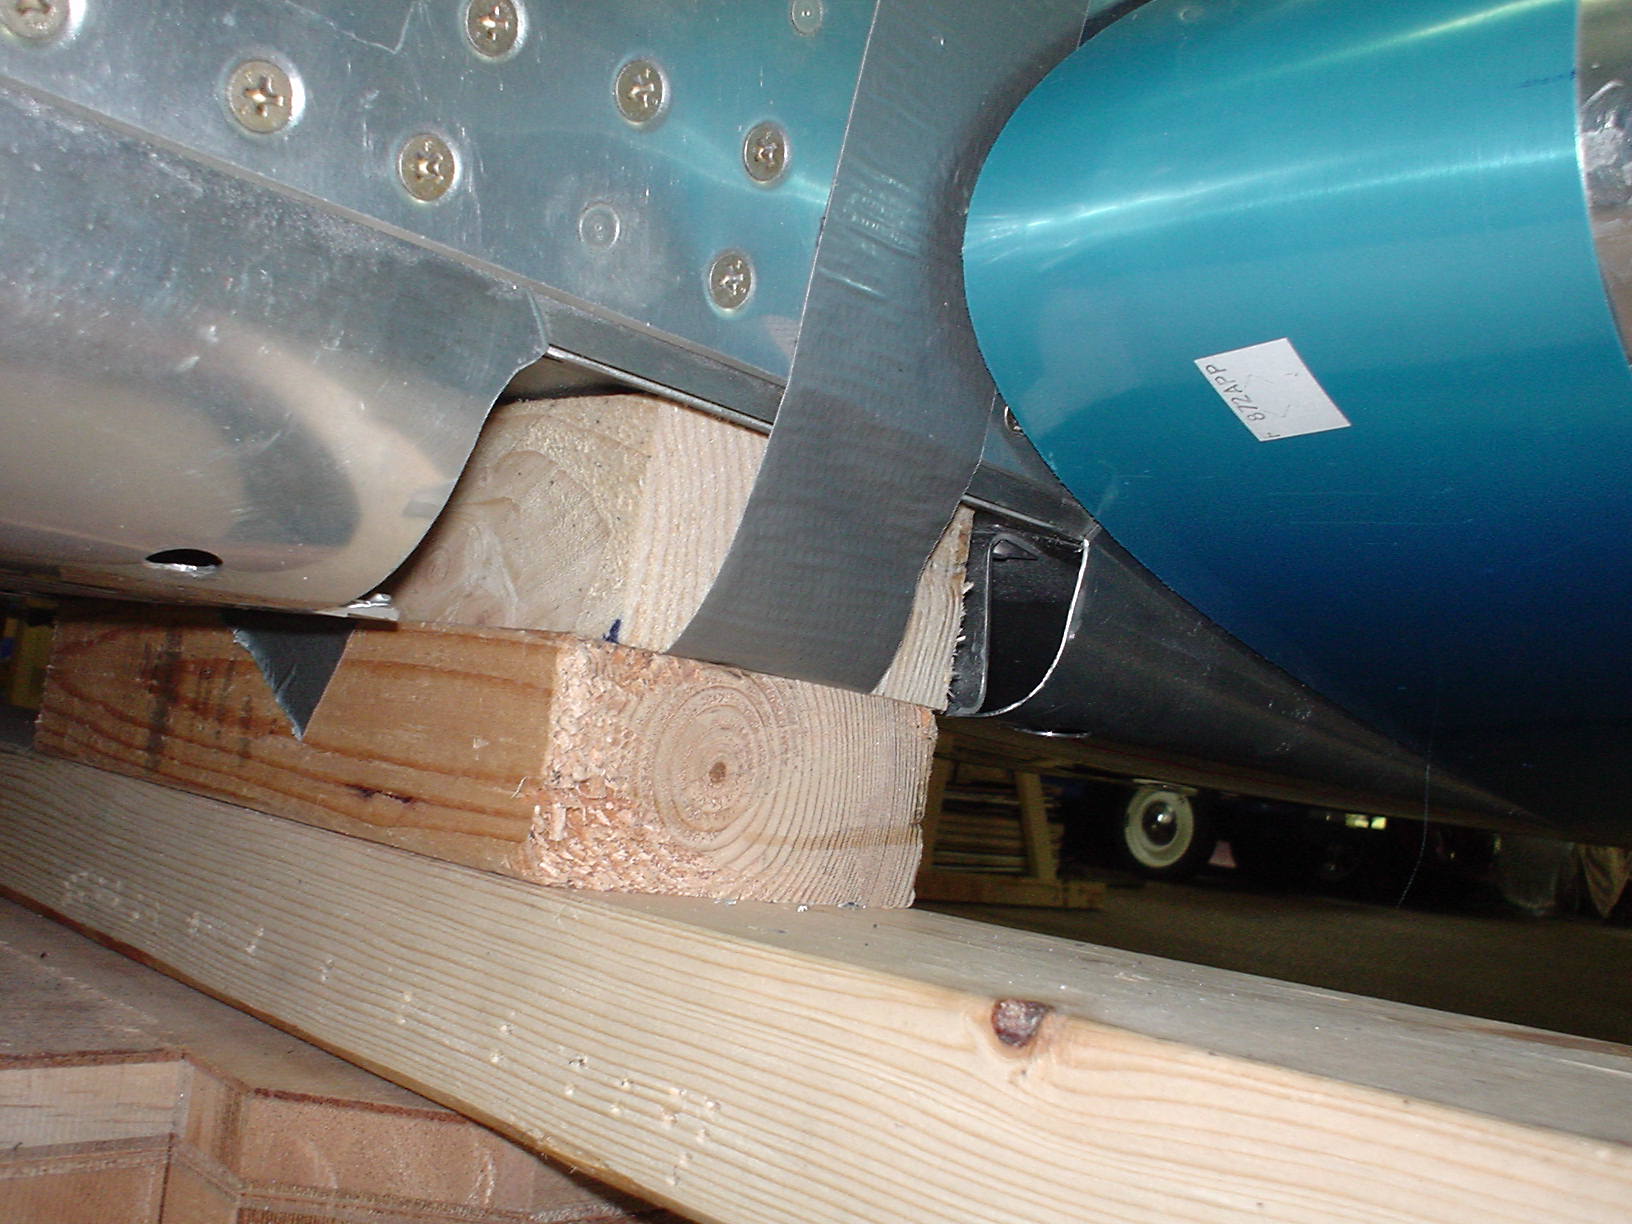
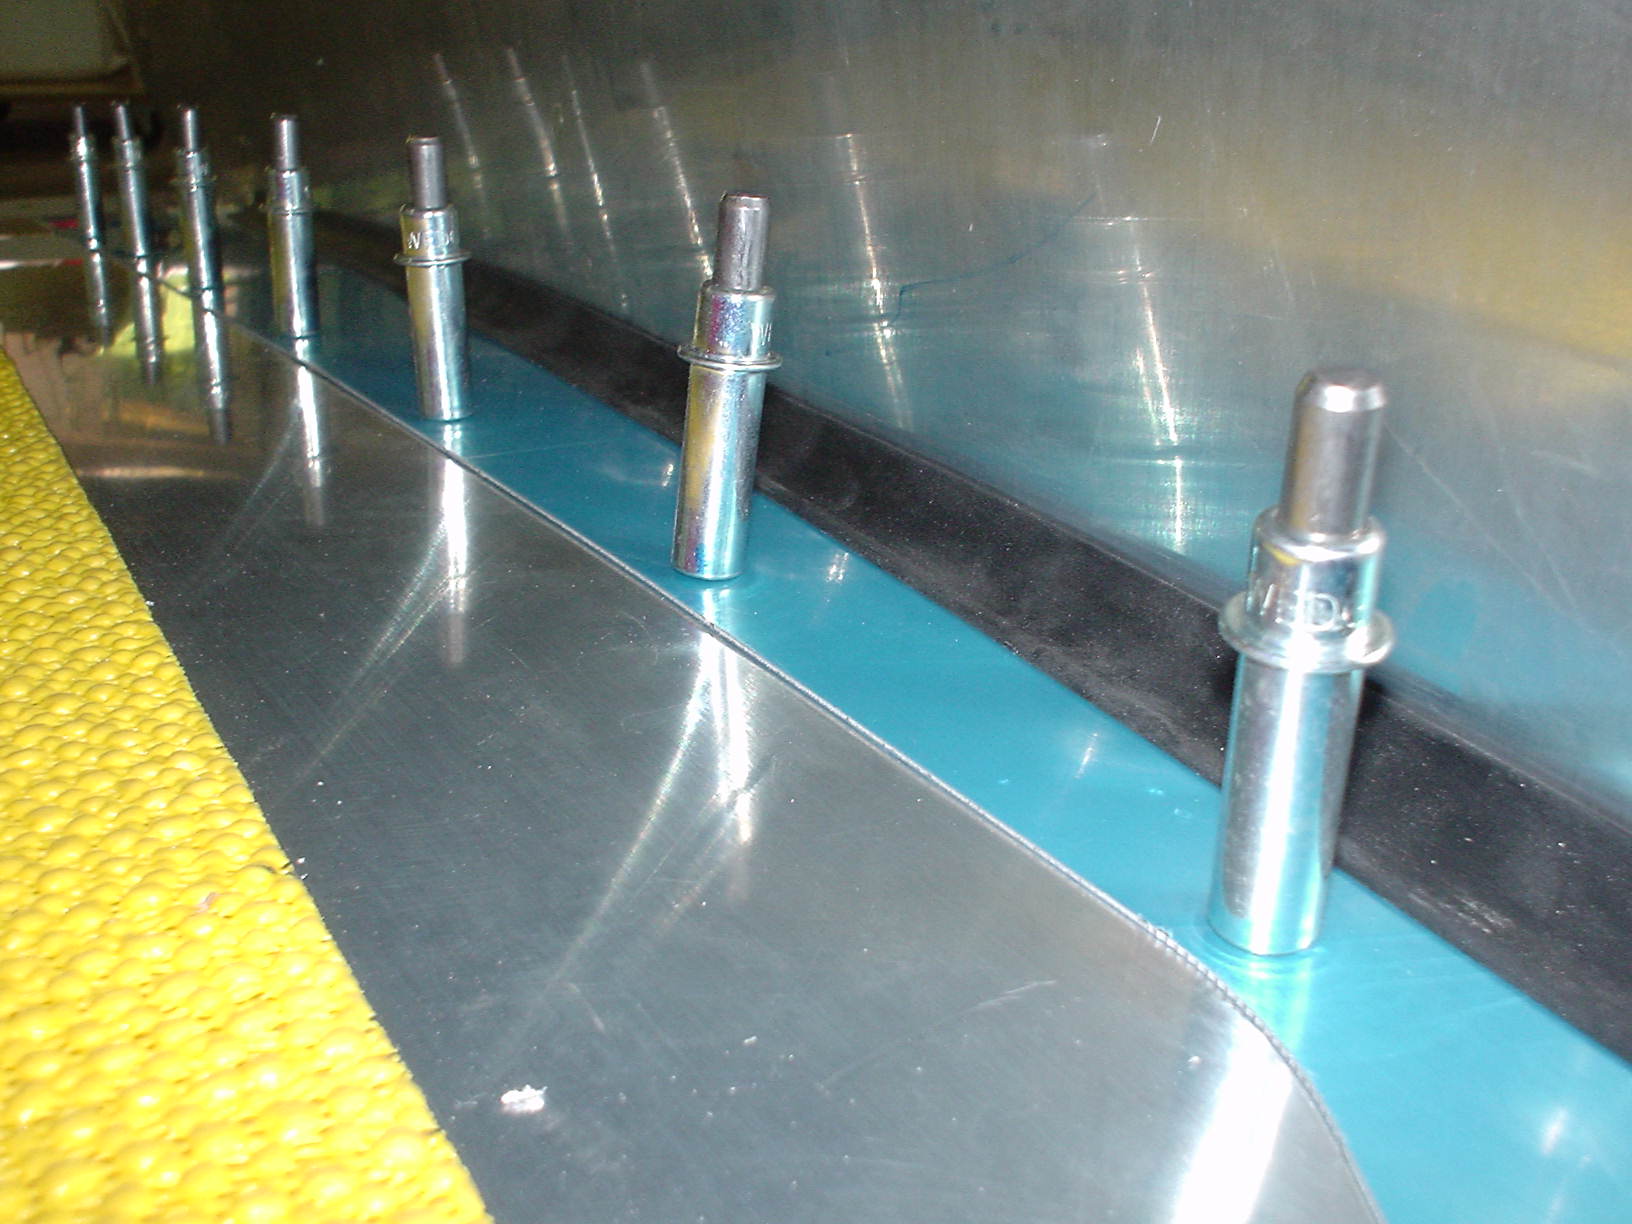
Most of the time spent is down here, underneath the wing. This part is a bit tricky to get right. The rubber channel sort of stops, and the end of the fairing seems to be looking for a good place to sit. Not totally slick, but should be ok. It’s places like this that I would love to look at on other builder’s RV8s, but there aren’t any around here!
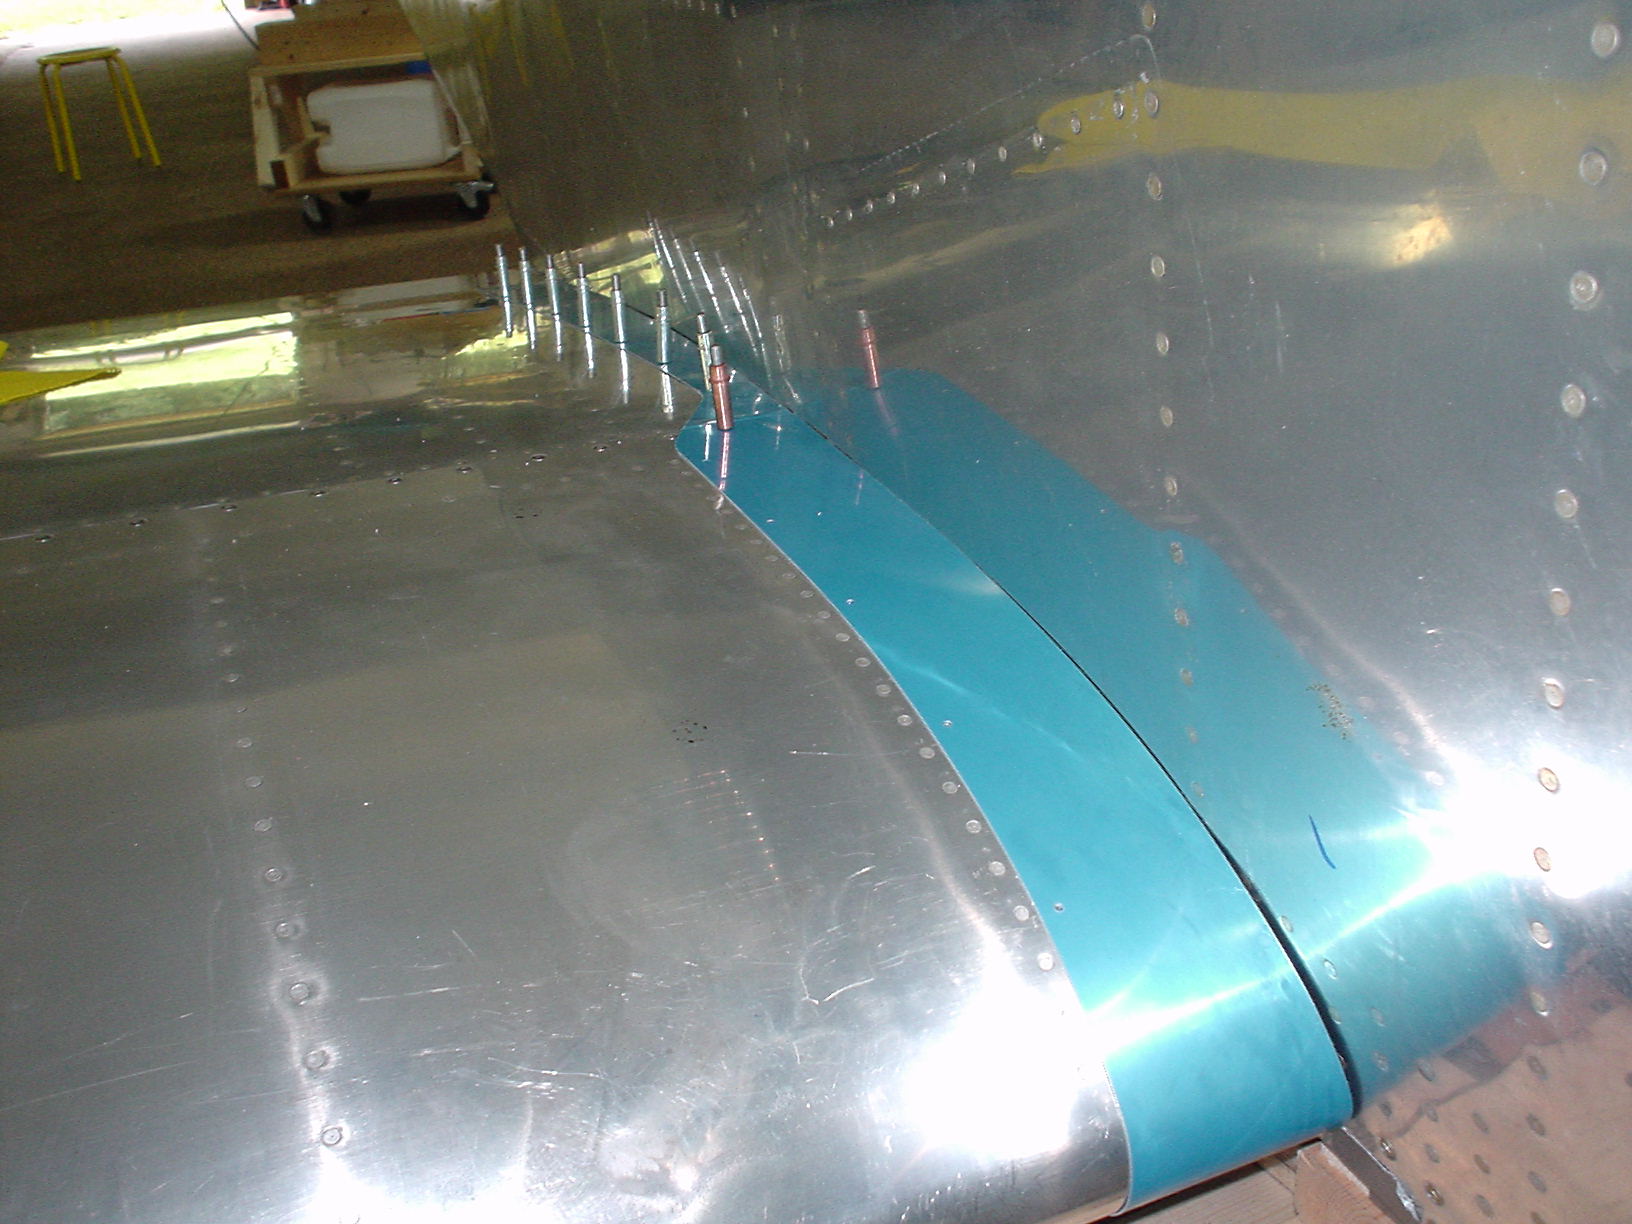
Once they are on, you can use a bit of metal, like a thick piece of 0.125 inch or 0.187 inch to mark the amount of distance you need on the fairing for the rubber channel that seals the gap. Notice that there is a little “joggle” in the rear fairing here, so that the front can overlap it. I got a nice wrinkle in my joggle, unfortunately. I hope I can find a way to cover this up.
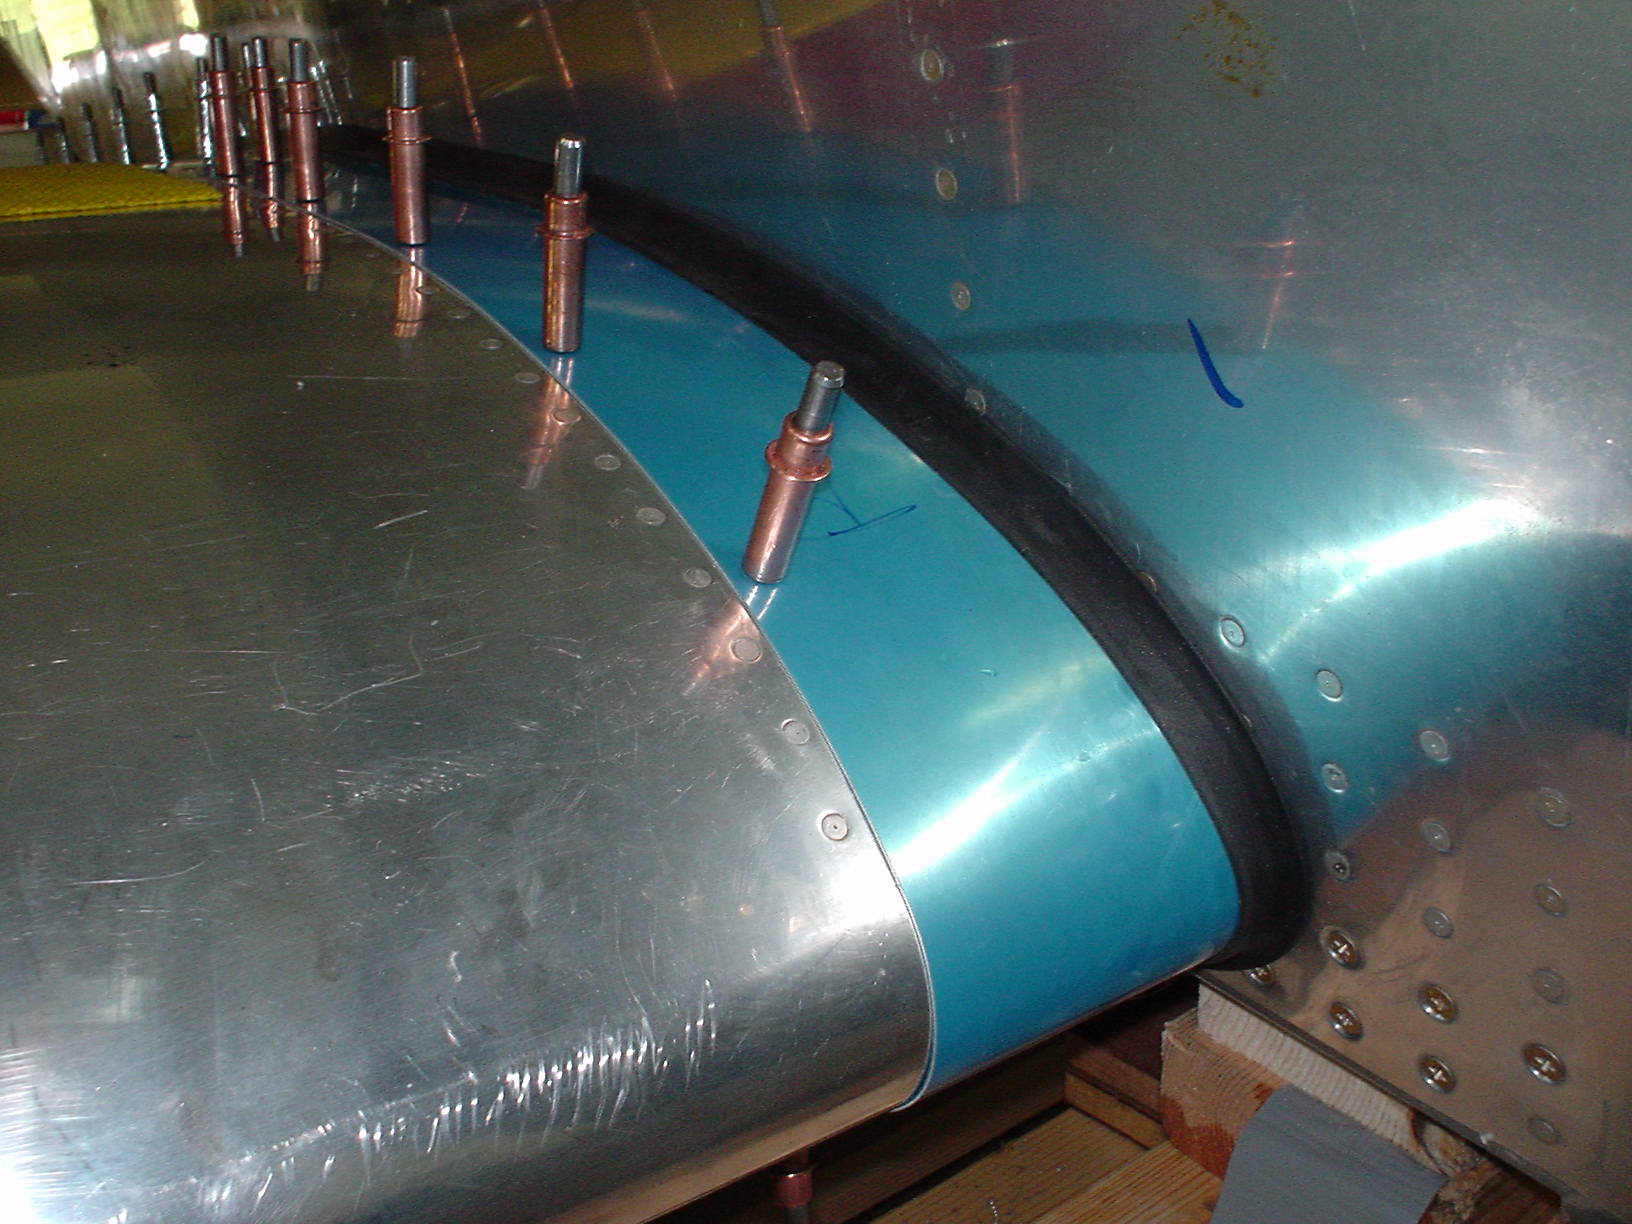
Here you see the left front fairing with just about enough gap. I ended up trimming this a bit more.
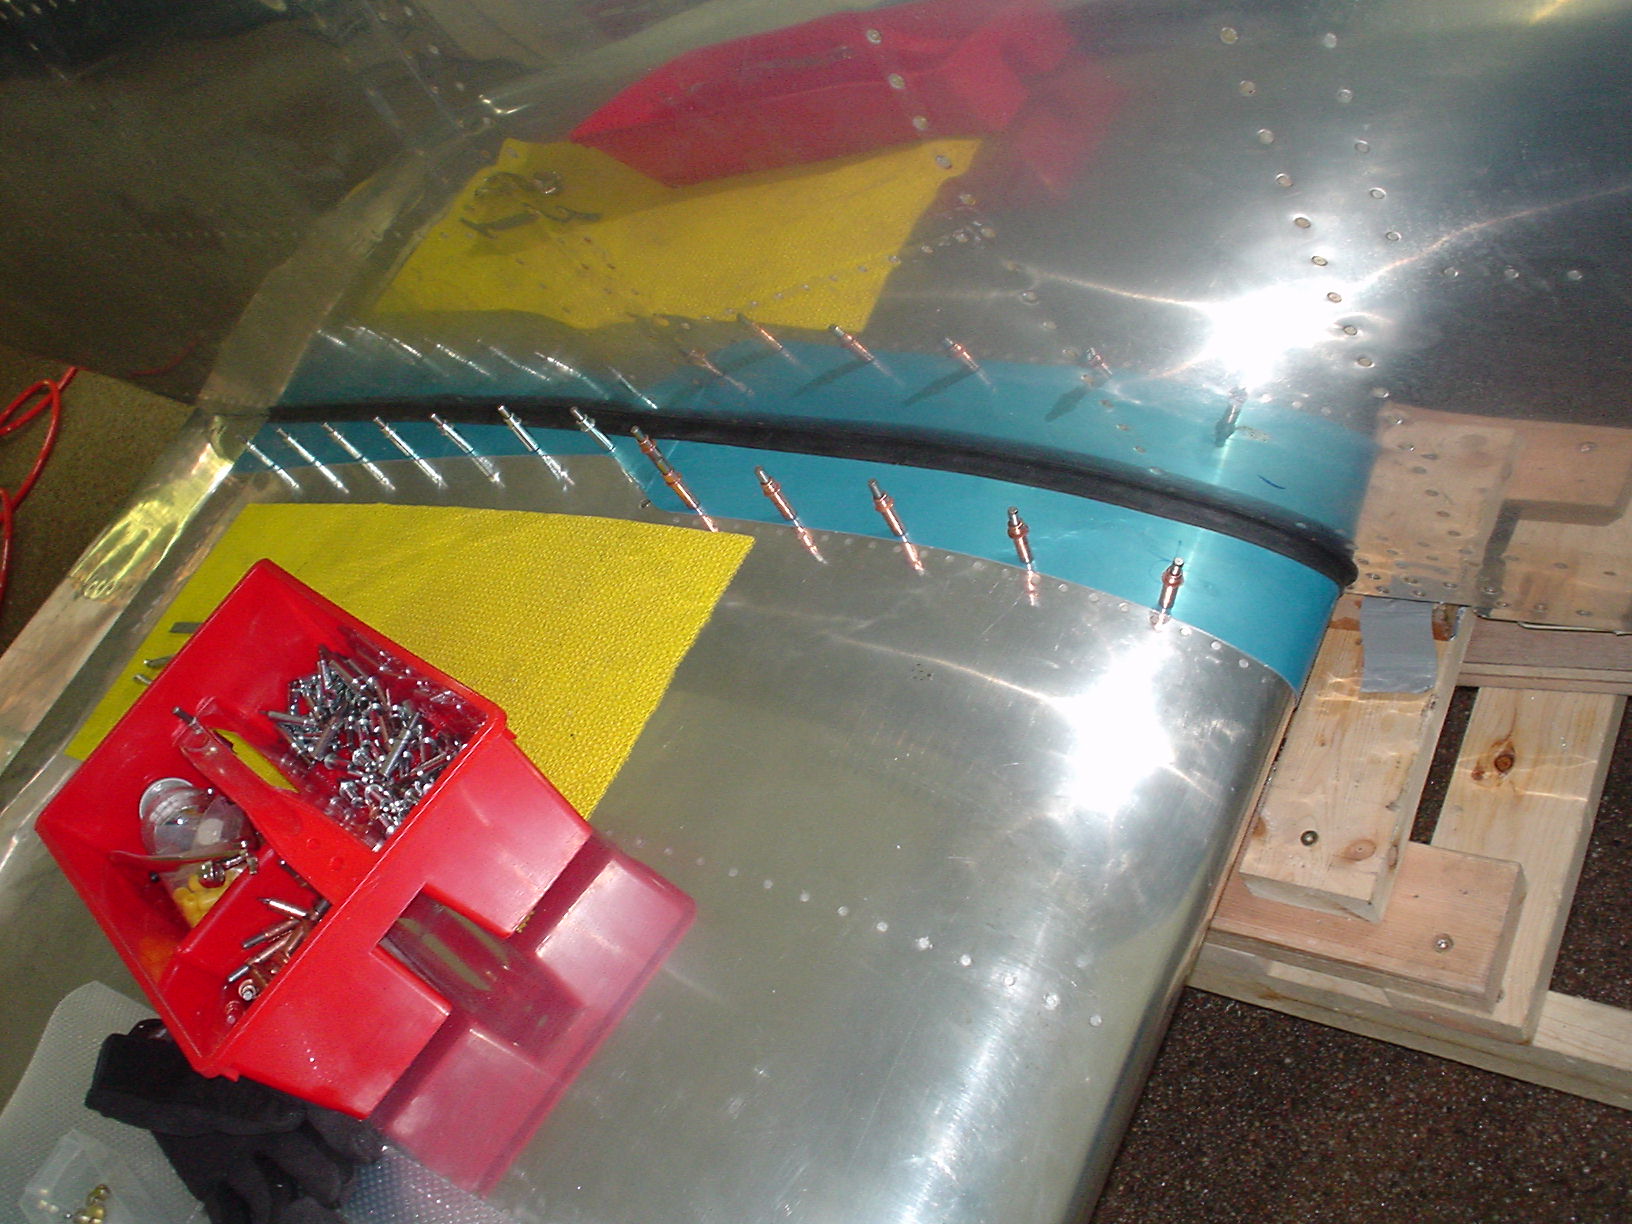
Here are some views of the fairings with the rubber gap seal installed. I found that it is easier to cleco the front and rear fairings together, put the rubber on, and then cleco the fairings to the wing. A bit of lubricant helps the rubber seal slide nicely.
When I remove the wings, I’ll do the dimpling and install the nutplates. The plans recommend 8-32 screws, but I will use 6-32, since they will look better. There ain’t much stress here, and 6-32 screws will work fine. Stainless steel Torx, of course!
Update: 2005-03-22
I decided to use 8-32 screws here, mainly to be consistent with the plans, and the 6-32 screws kind of felt a bit small. Also, I could not find certain types of countersunk nutplates in the 6-32 size.
Sorry, the comment form is closed at this time.