01 Nov 2004 Preparing the wingtips for lights
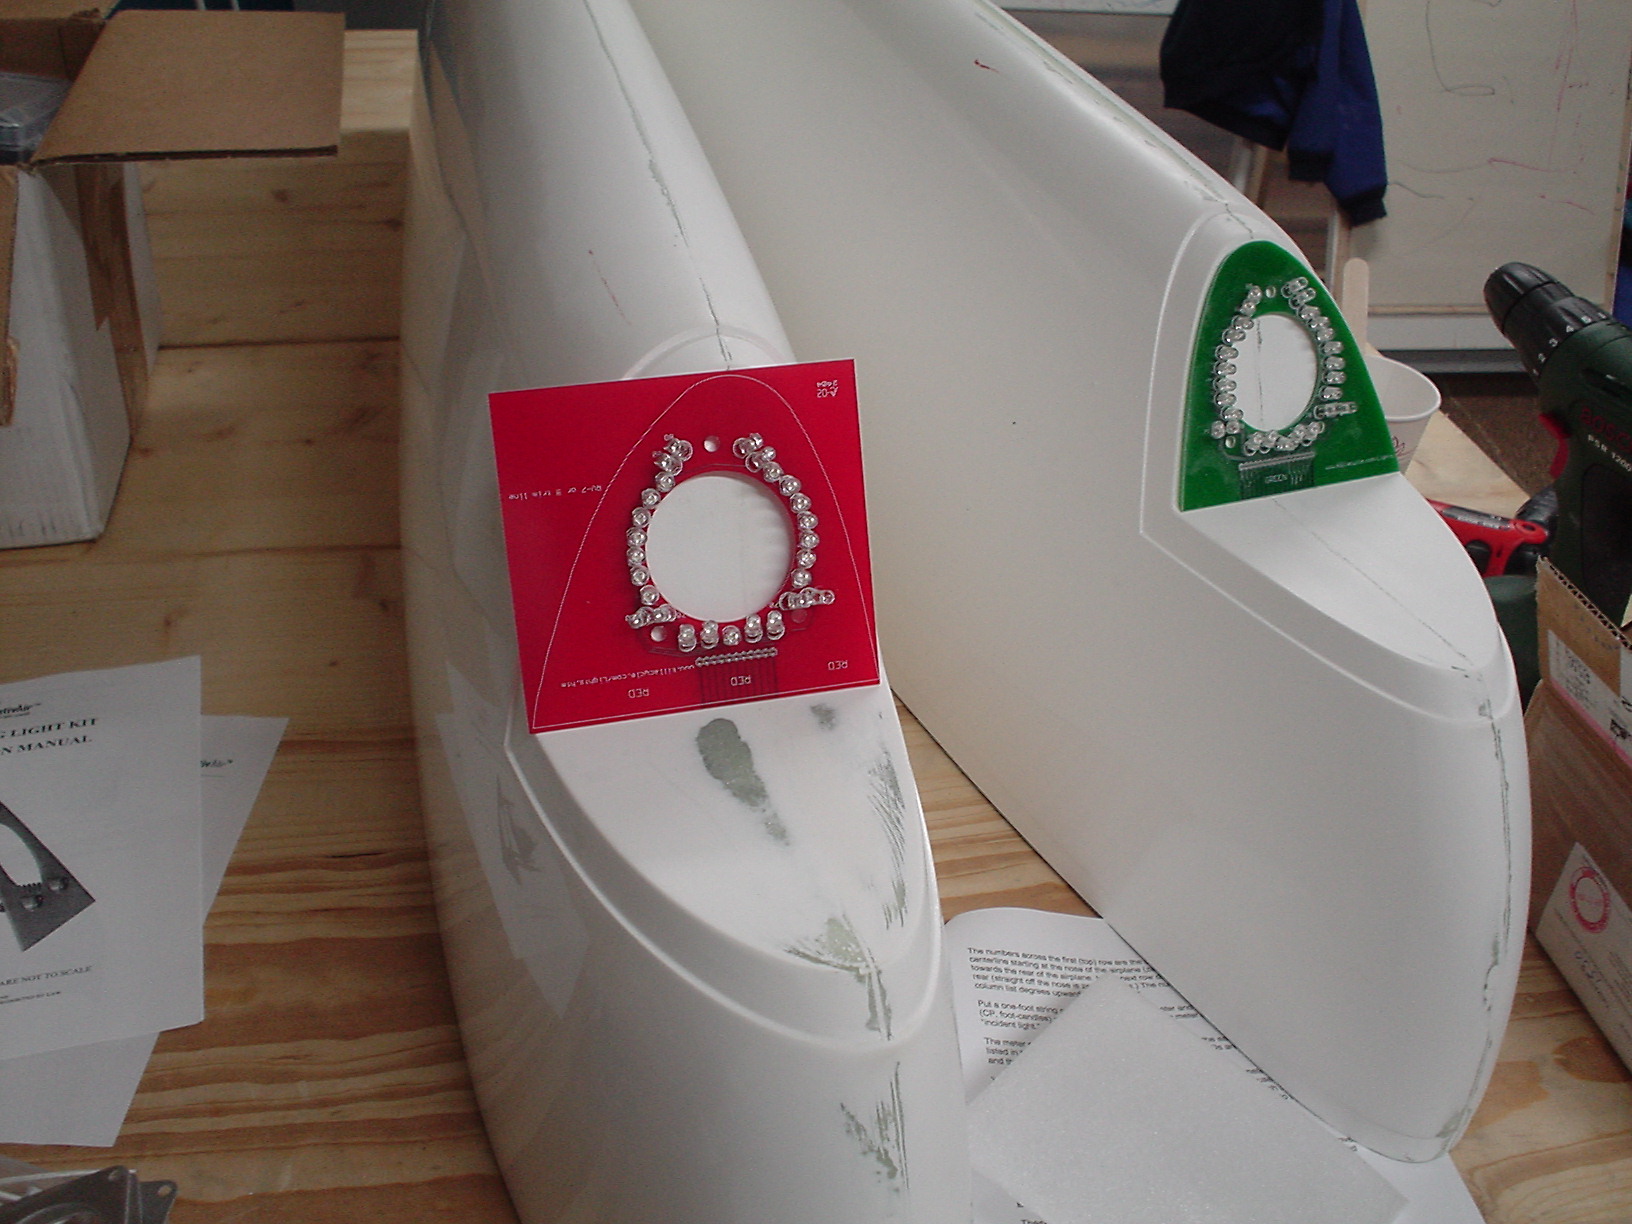
I’ve purchased the CreativAir wingtip lights, which include the landing/taxi lights, and the red/green position lights. The position lights are LEDs, which is cool, and the landing/taxi lights are halogen – very hot. They are 75watts, which means that they will pull about 6 amps in our 12volt system. Quite a lot of current.
Additionally, I’ll be installing some “low profile” strobes in the wingtips. It will be pretty busy there.
Here are some photos of the preparation of the wingtips.
The red LED board is before trimming, and the green is after. I trimmed them down using a belt sander. Messy, but easy.
Drilling the hole for the strobe.

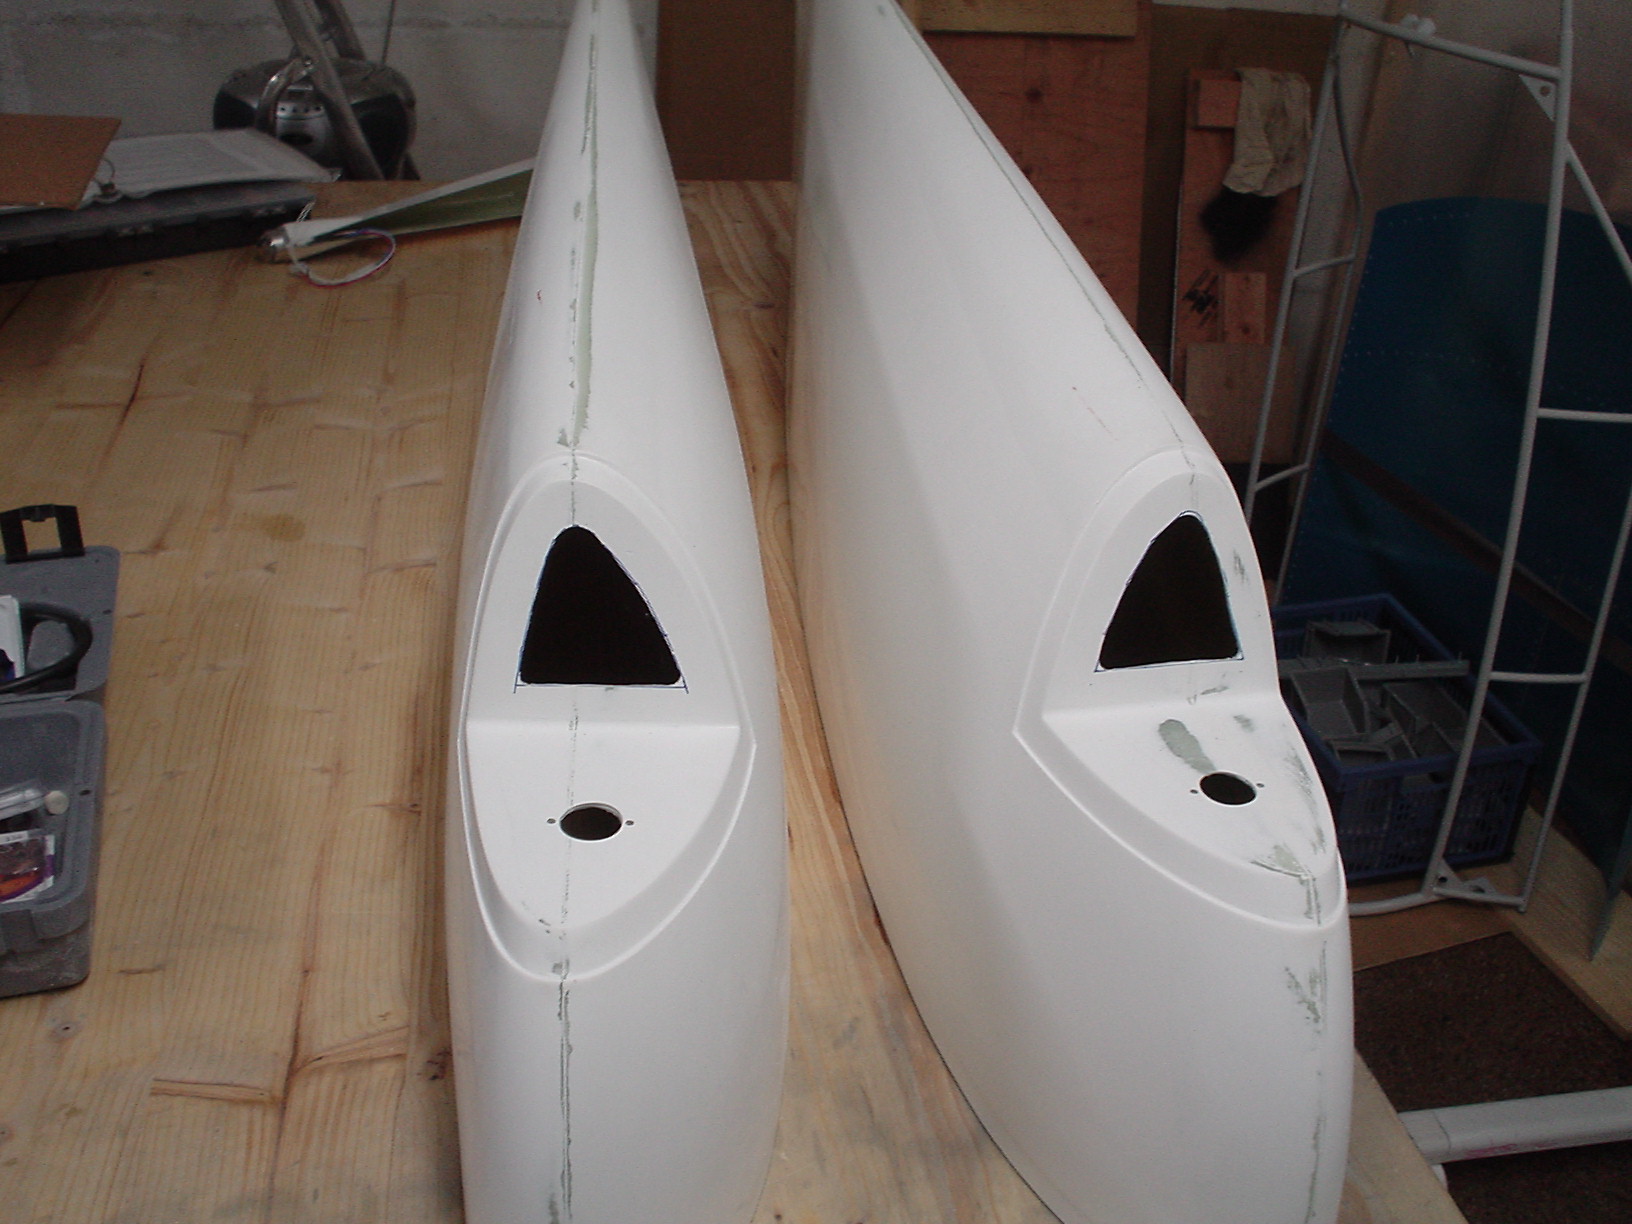
Cutout lines marked. I ended up cutting out a lot more than this, as you will see below.
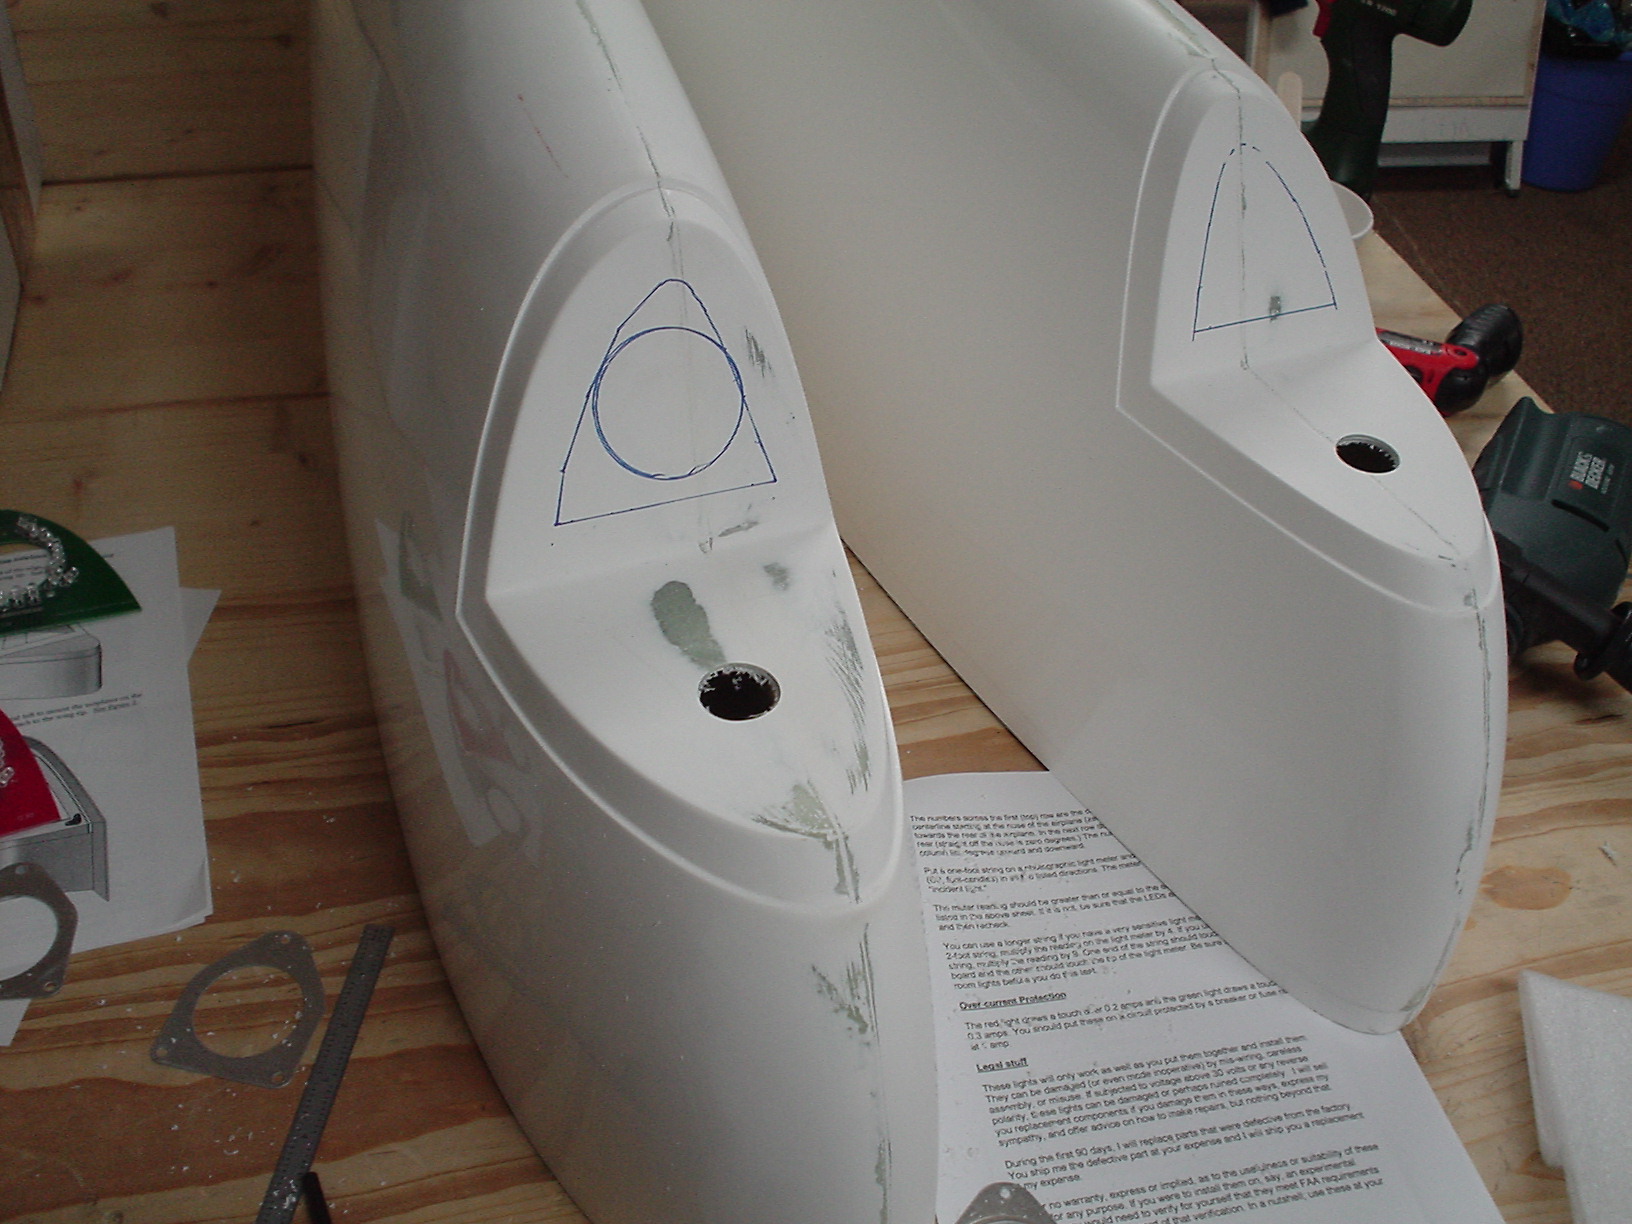
I thought I was done – wrong! More to cut. The instructions recommend leaving about 0.75″, but that’s way too much. I used a dremel tool for this. Worked great.
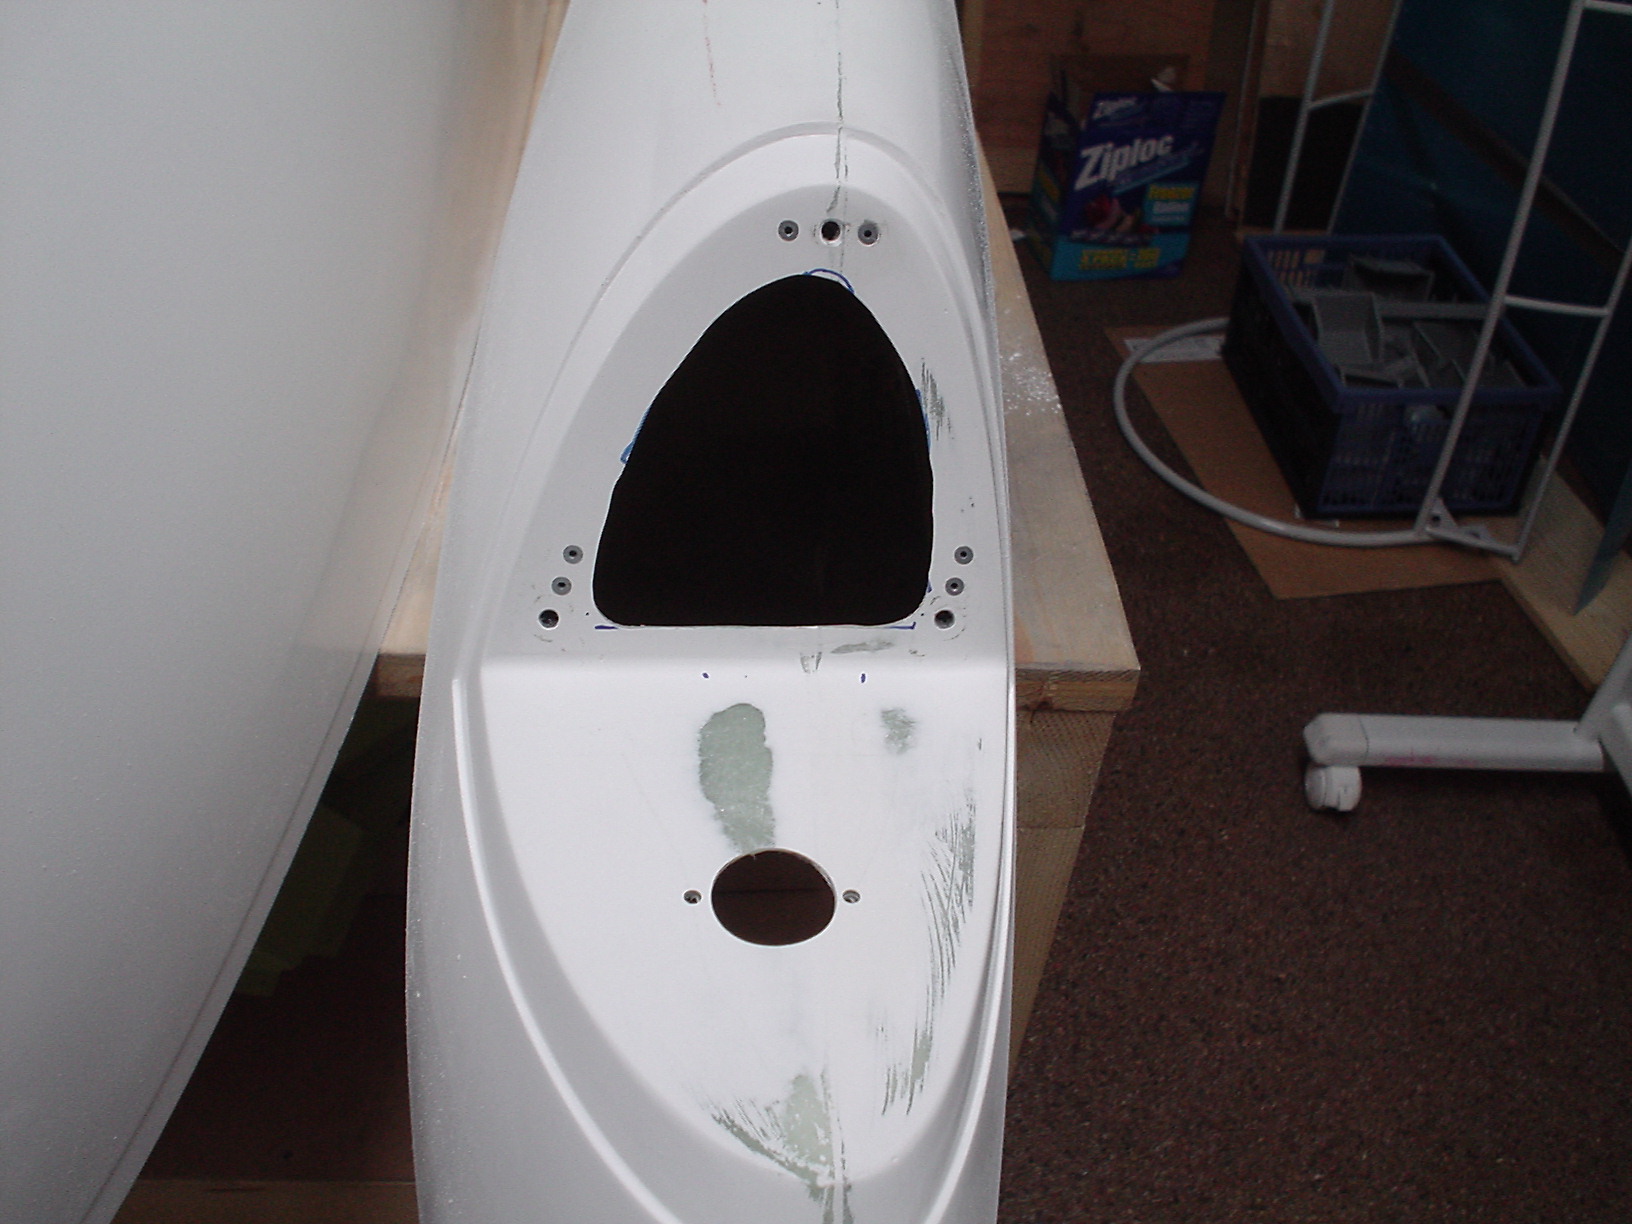
Starting to install the nutplates. This is one of those “yes I really built this thing” photos. I wear a respirator whenever I do something like sanding or cutting plastic or glass. Never can be too safe. If you lose lung tissue, for whatever reason, it does not grow back or heal. I don’t want to spend the last years of my life on oxygen, unless it’s when I’m flying over the Alps!

Looking good with the nutplates in, and the rest of the trimming done. Notice that I used cherry countersunk steel rivets. Very quick and easy, but expensive.
Slightly closer picture of the other wingtip. I didn’t use the nutplates that were included with the kit. They were rather cool “corner” nutplates, and I could get regular and single lug nutplates to work. I have more of those, so I’m saving the corners in case I have another application for them.

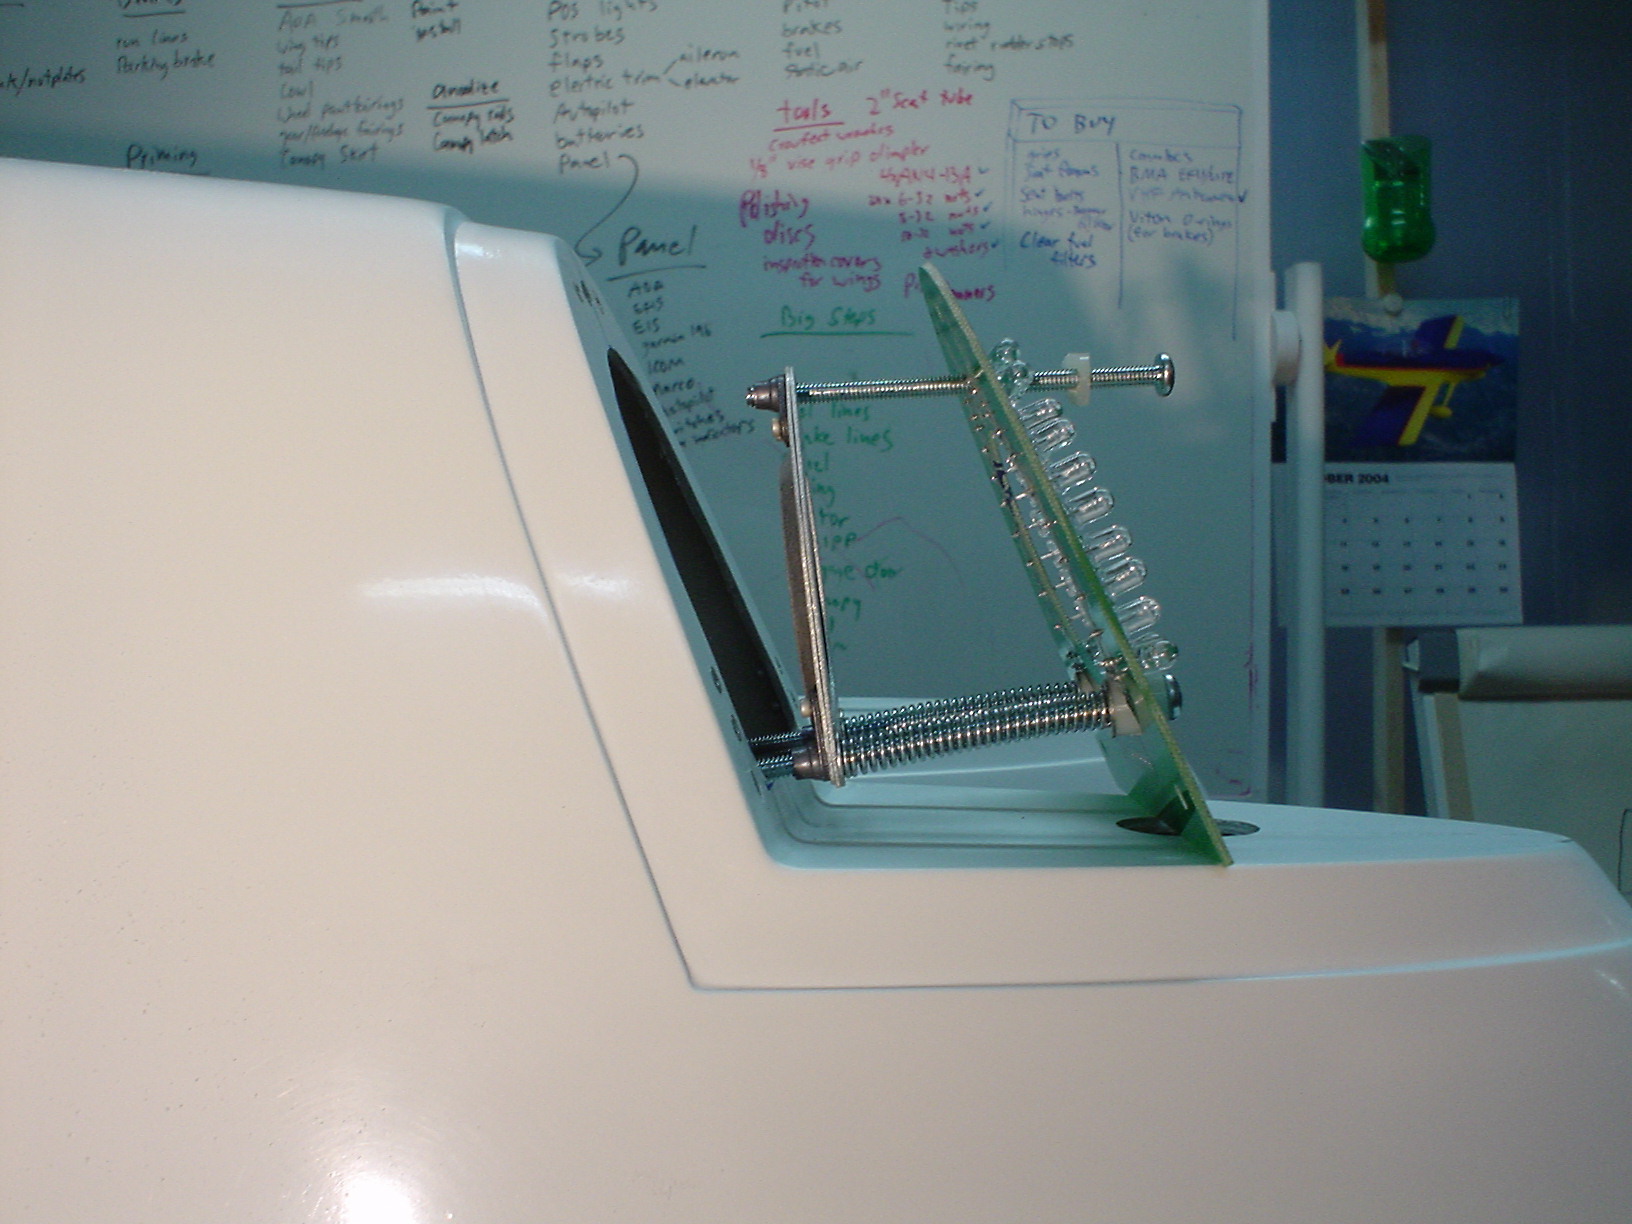
Here is a shot with the partially assembled lighting assembly sitting on there. The pre-drilled holes in the LED PCB are not exactly in the right place, which makes the screws kind of bind up a bit.
Sorry, the comment form is closed at this time.