24 May 2005 Muffler mount
After staring at the bottom of the airplane and the muffler hangers for about two weeks, I finally got up the courage to try something.
I got some tips from another RV8 builder, and he installed the mounts inside the ramp that helps guide the air from inside the cowling onto the bottom of the fuselage. I just could not find a way to mount the hangers here that made me feel like it was strong enough.
I decided that the area between the gear legs would be the place to go. Looking at the plans, it showed that the Z braces in there are very strong, and there is nothing but empty space between them.
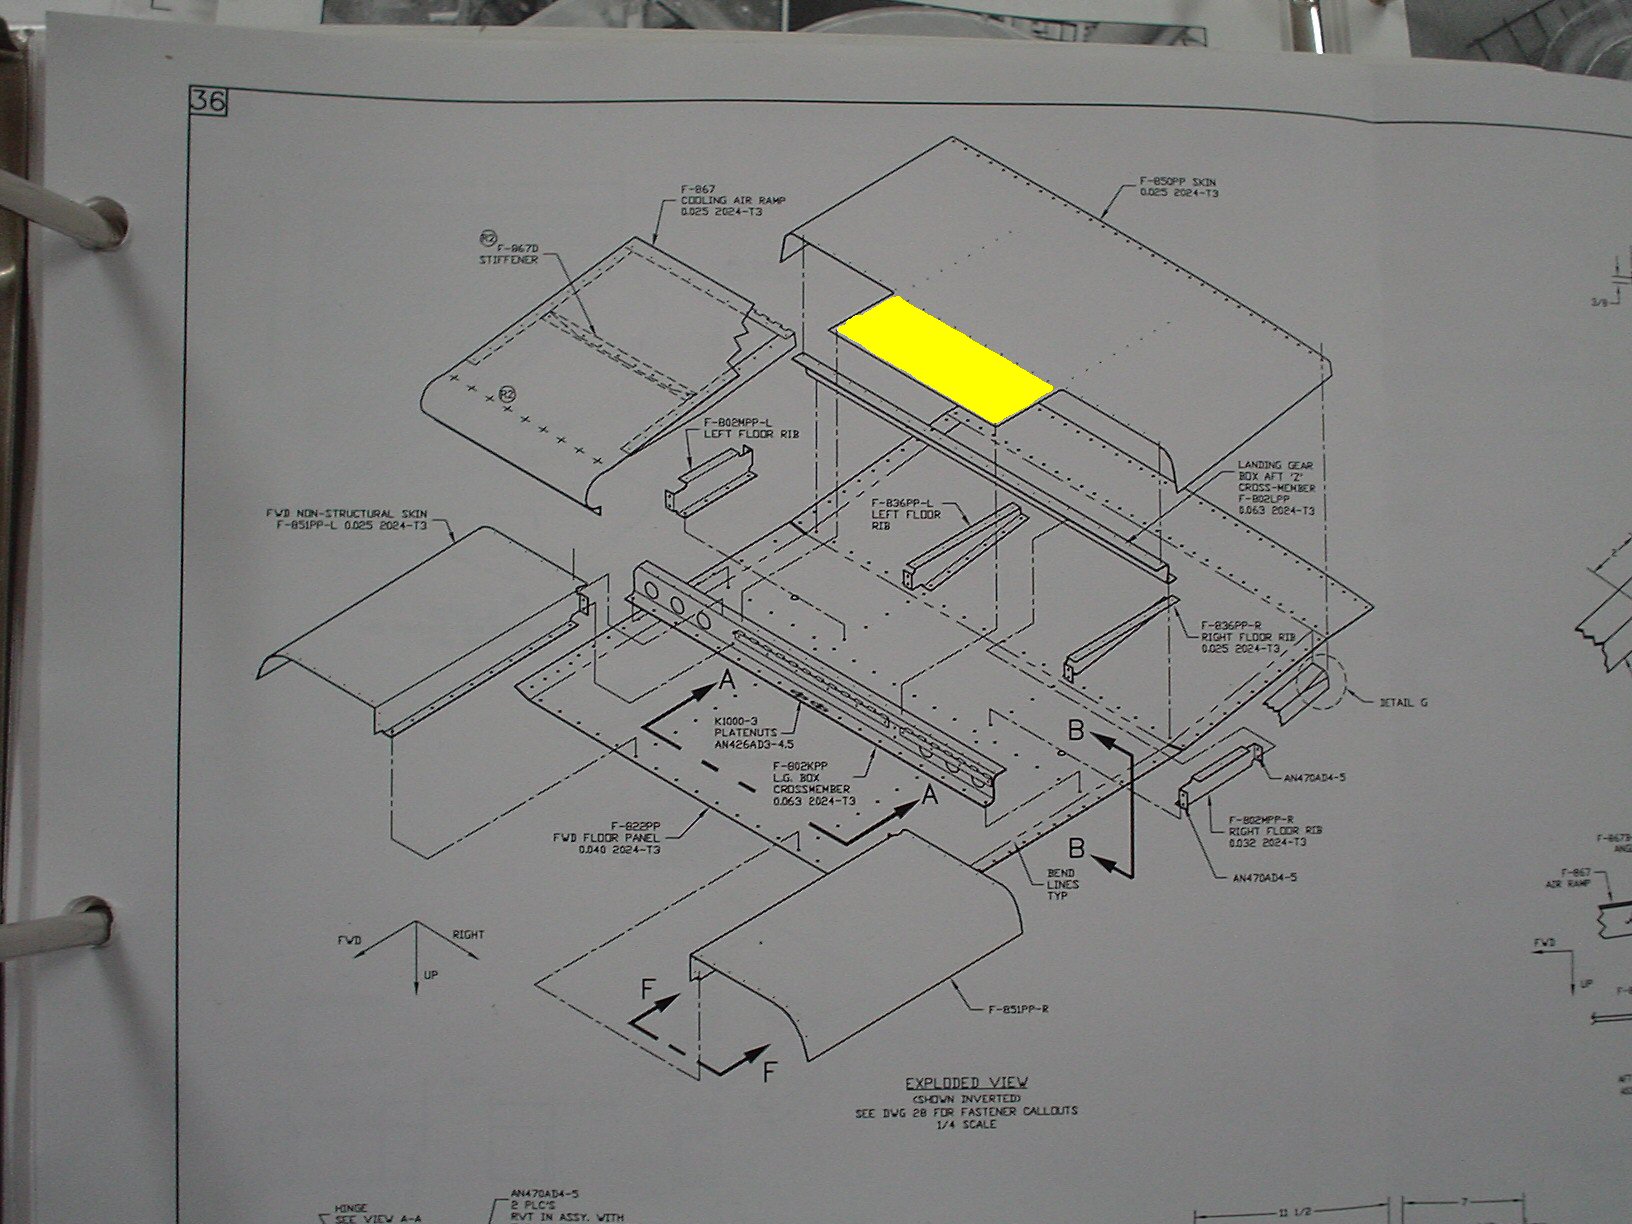
Here are the plans showing what is in there. The yellow part is what I am replacing.
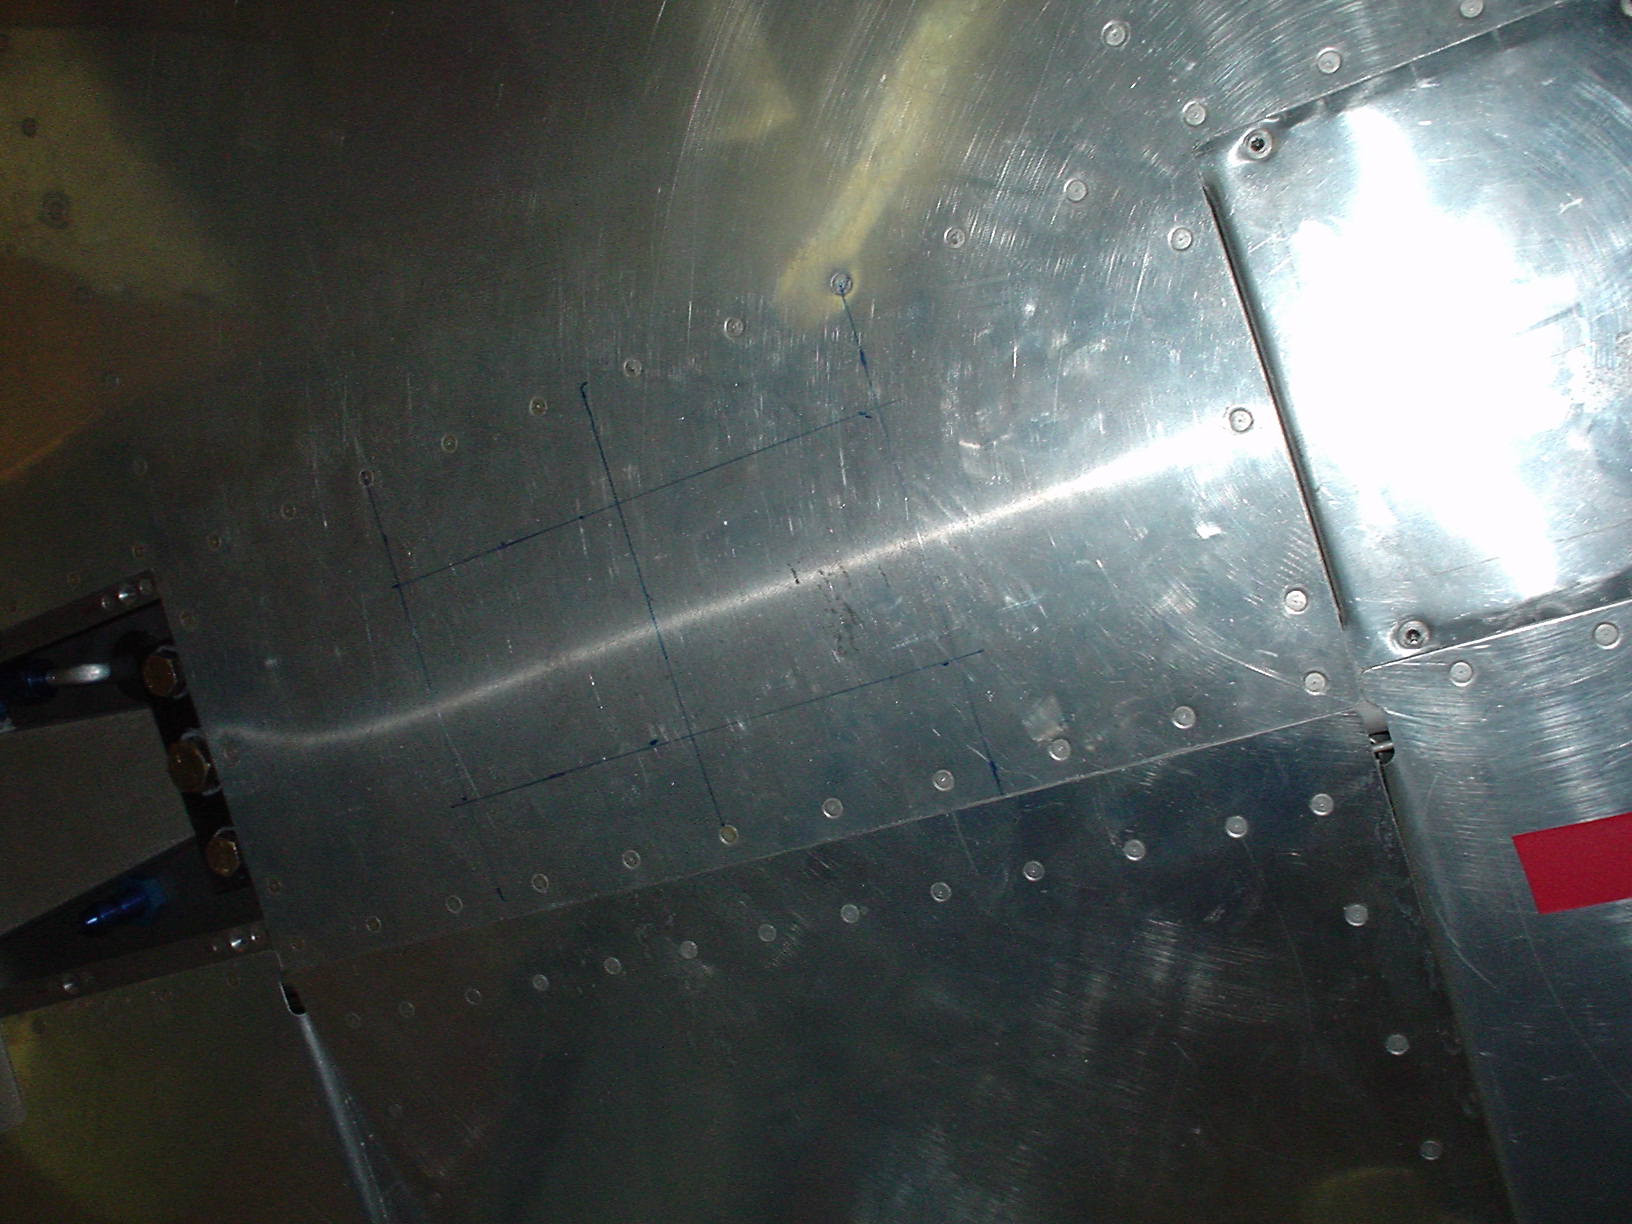
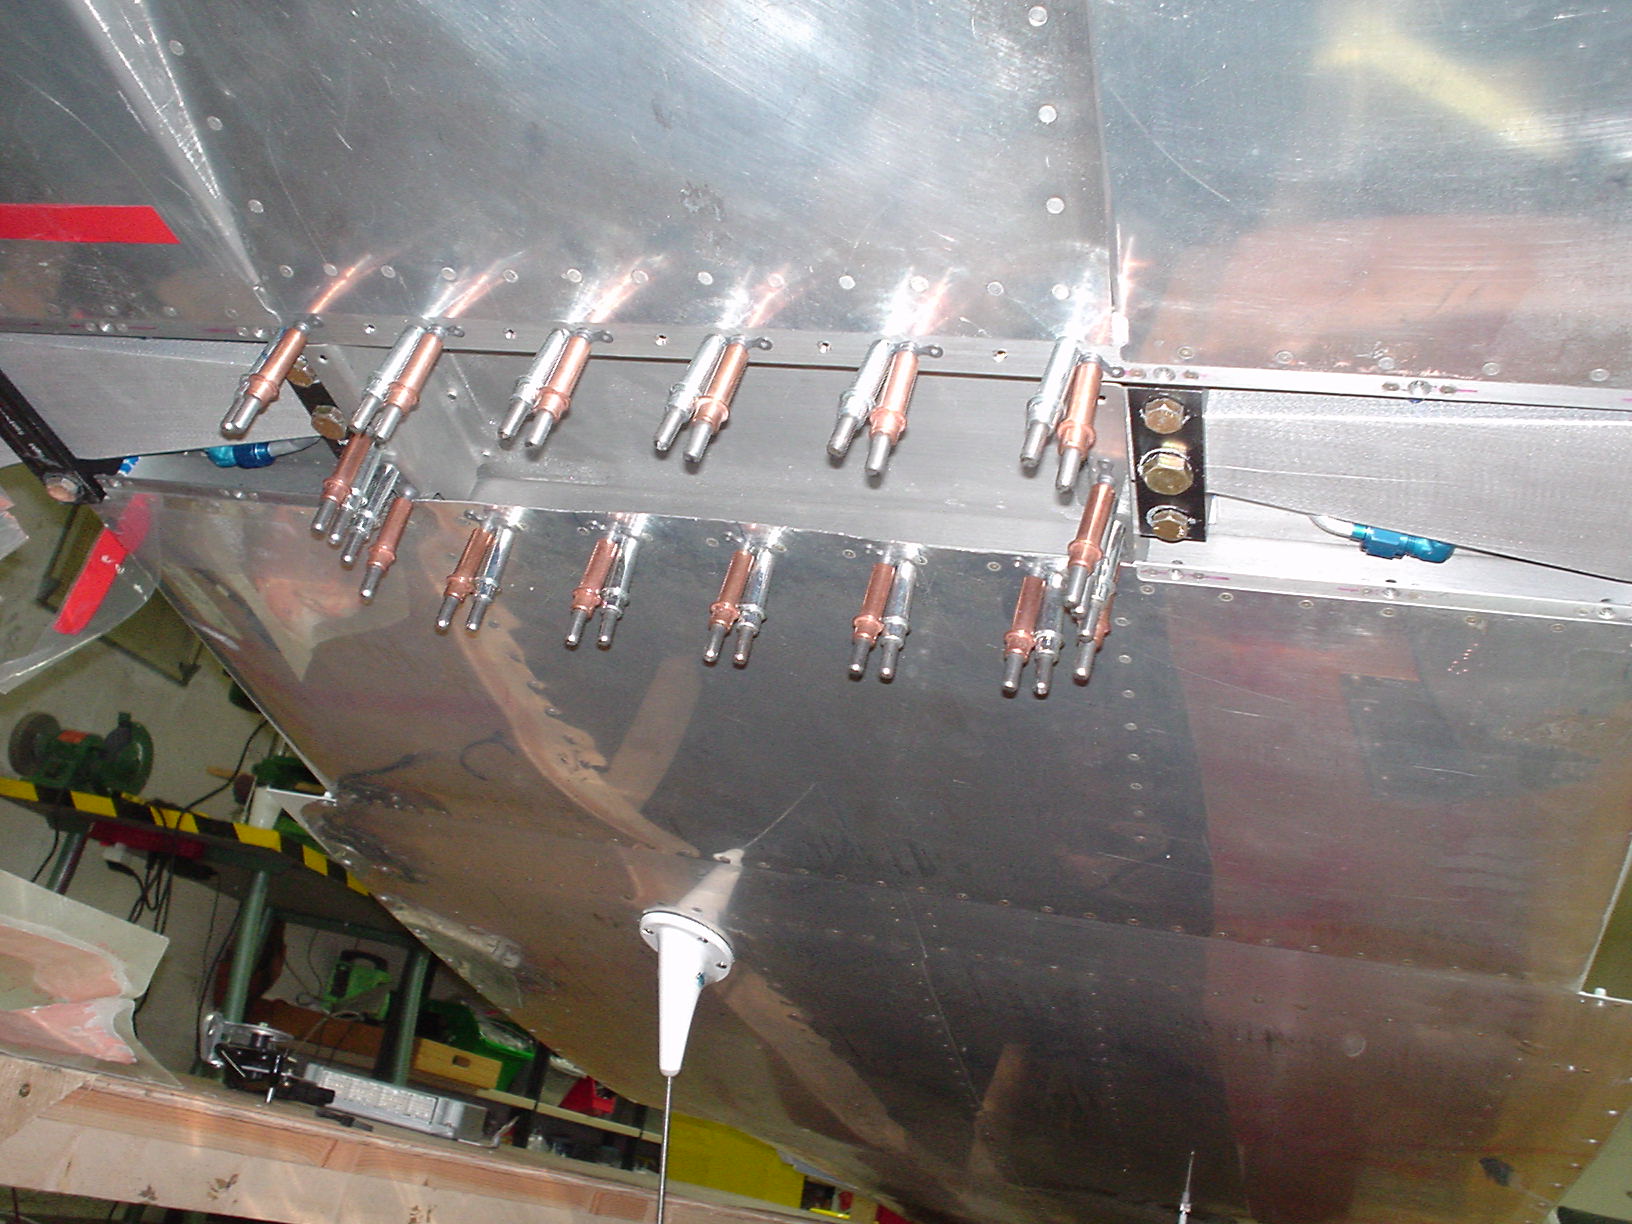
Here you can see where I drilled out the rivets on three sides. There is no reason to remove the rivets on the aft side, so I left them in.
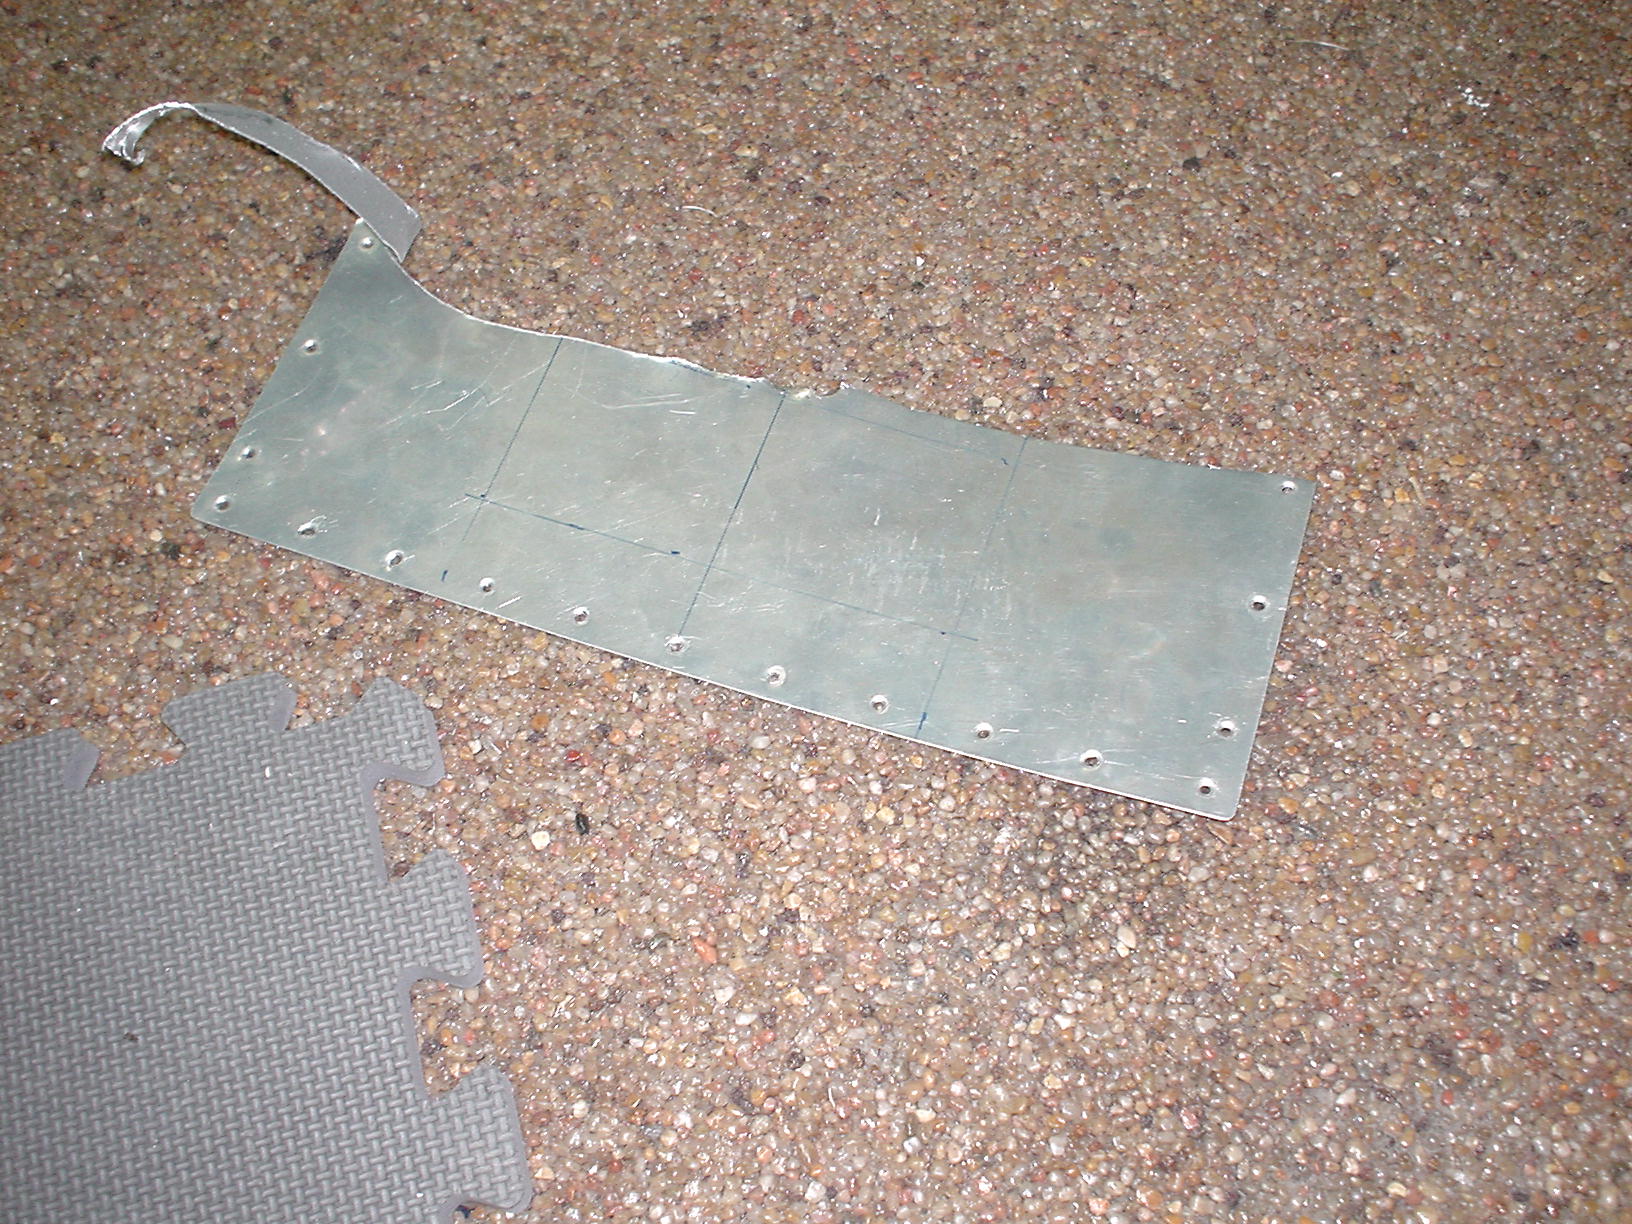
Here is the piece that I removed. I tried to keep it intact as much as possible so that I could use the holes as a template for my new piece.
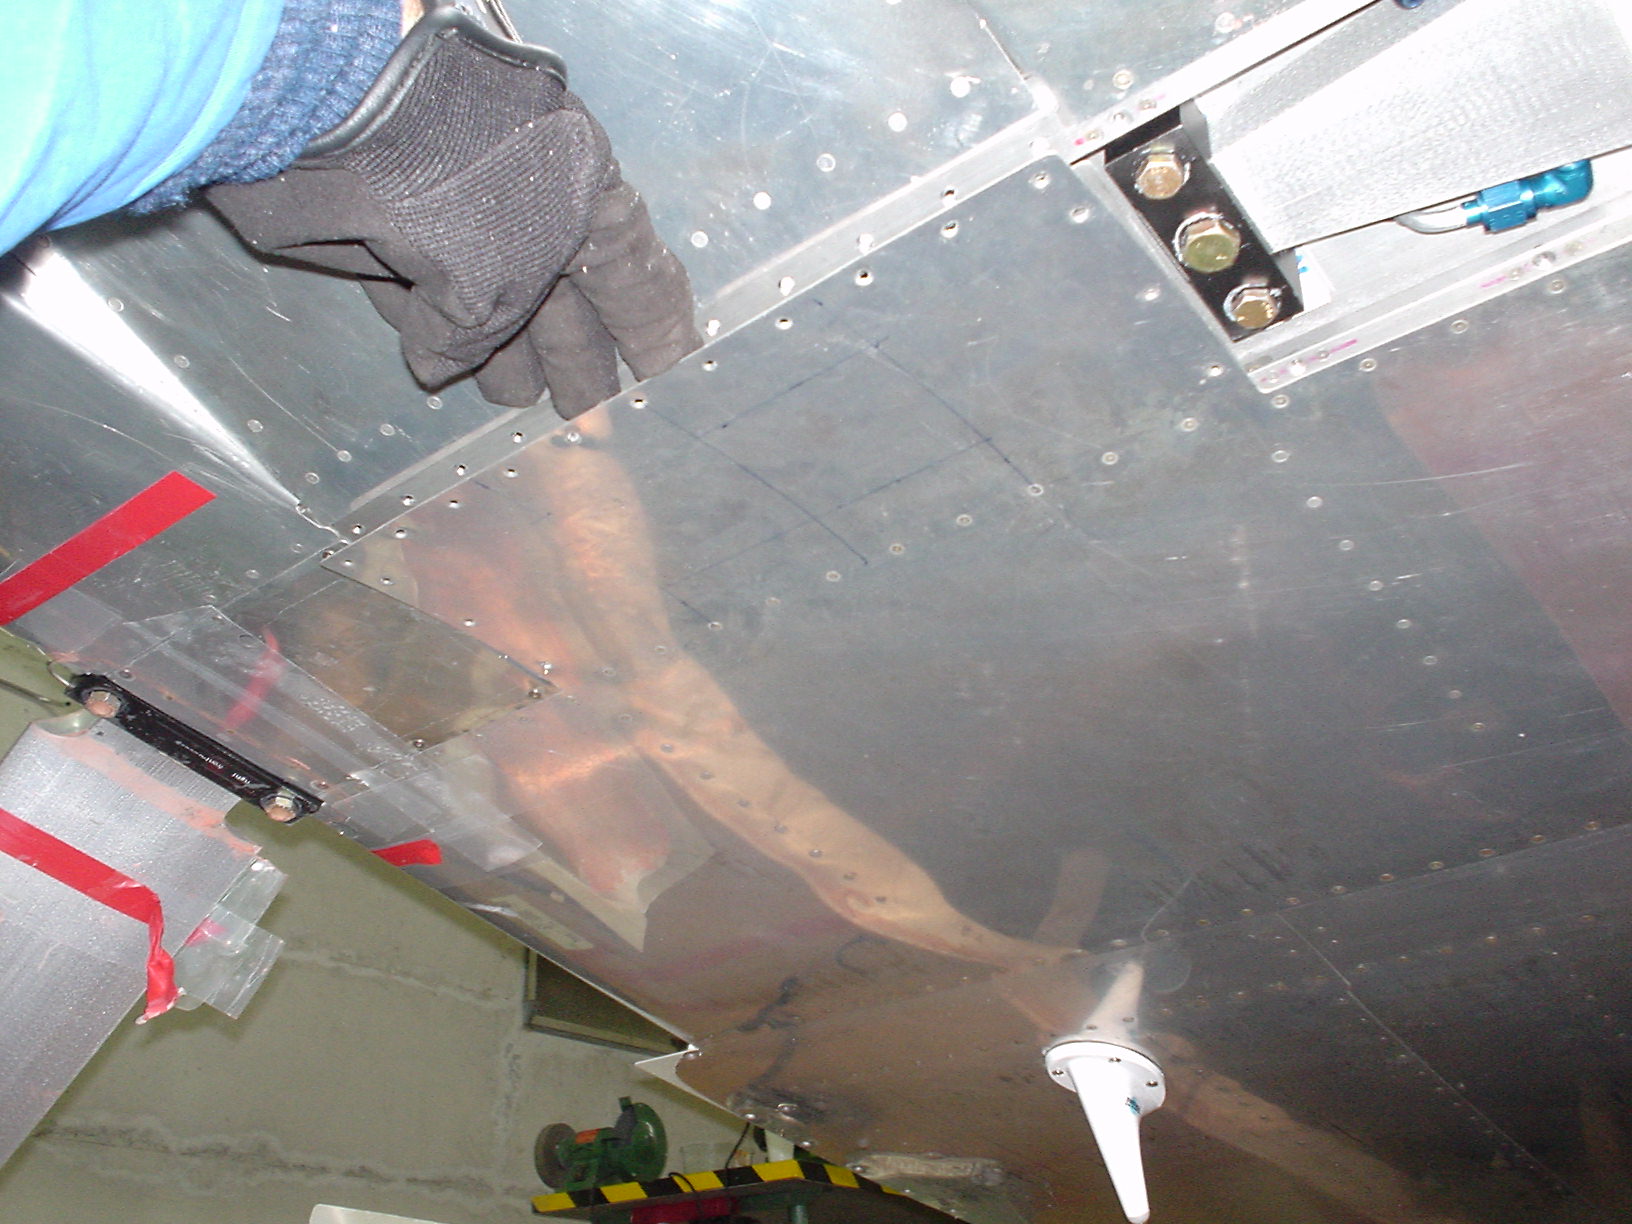
Here is the space between the two gear legs. I had read that Grove makes a single piece gear set for the RV8, and I can see here that it would be pretty easy to install. Too bad I didn’t know about that earlier!

Here is the piece of 0.063″ aluminium that I am using to replace the cutout. I had considered making a bracket with angles, and then re-covering with 0.025″ alclad like the original, but a single piece of thicker metal is much simpler, lighter, and easier to make.
The dimensions are 13.0″ x 5.75″. I’ve already cut out the 2″ holes for the Lord mounts.
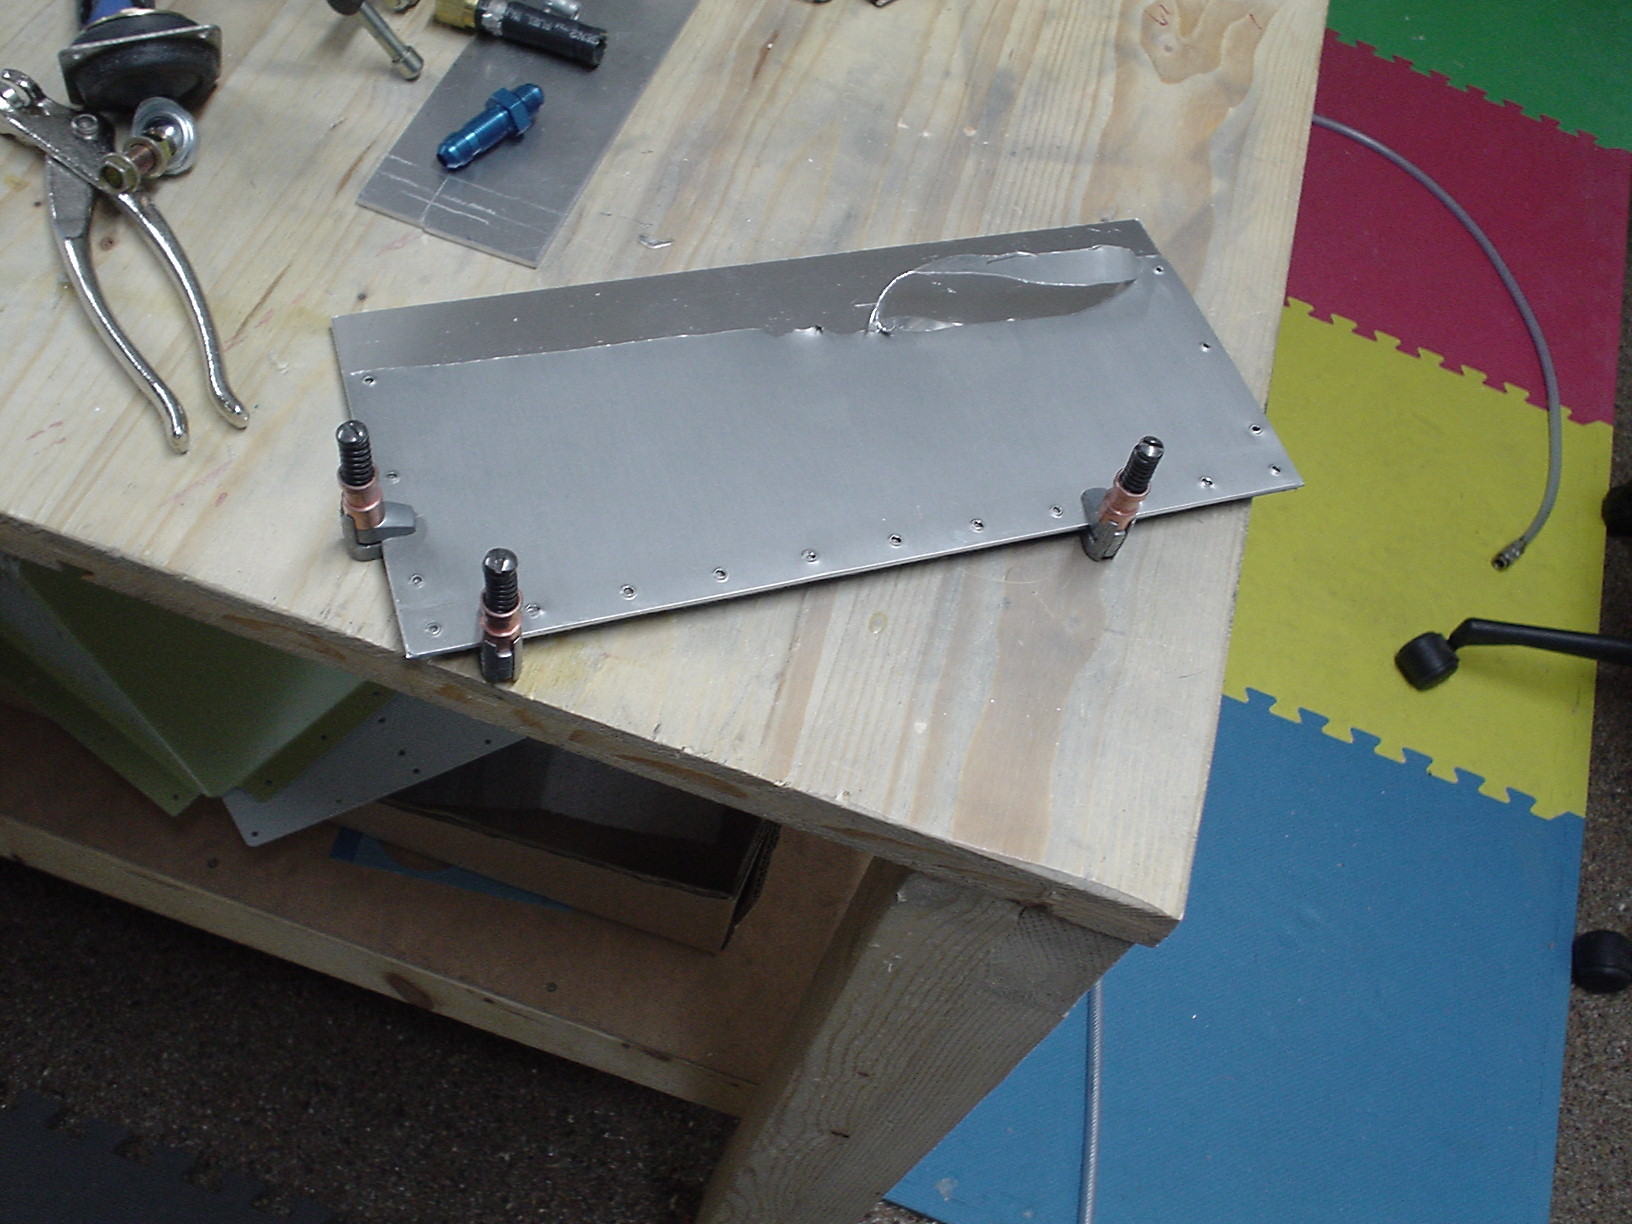
Here I am using the metal that I removed as a template for the holes in the new piece. I have decided to re-install it with nutplates and -6 stainless steel torx screws, not pop rivets, so that I can get in there to inspect, and to re-tighten the bolts for the mounts if needed.
Here I’m installing the nutplates. Amazingly, I could get in there with a squeezer to squeeze almost all the rivets for the nutplates. Only six nutplates required pop rivets.
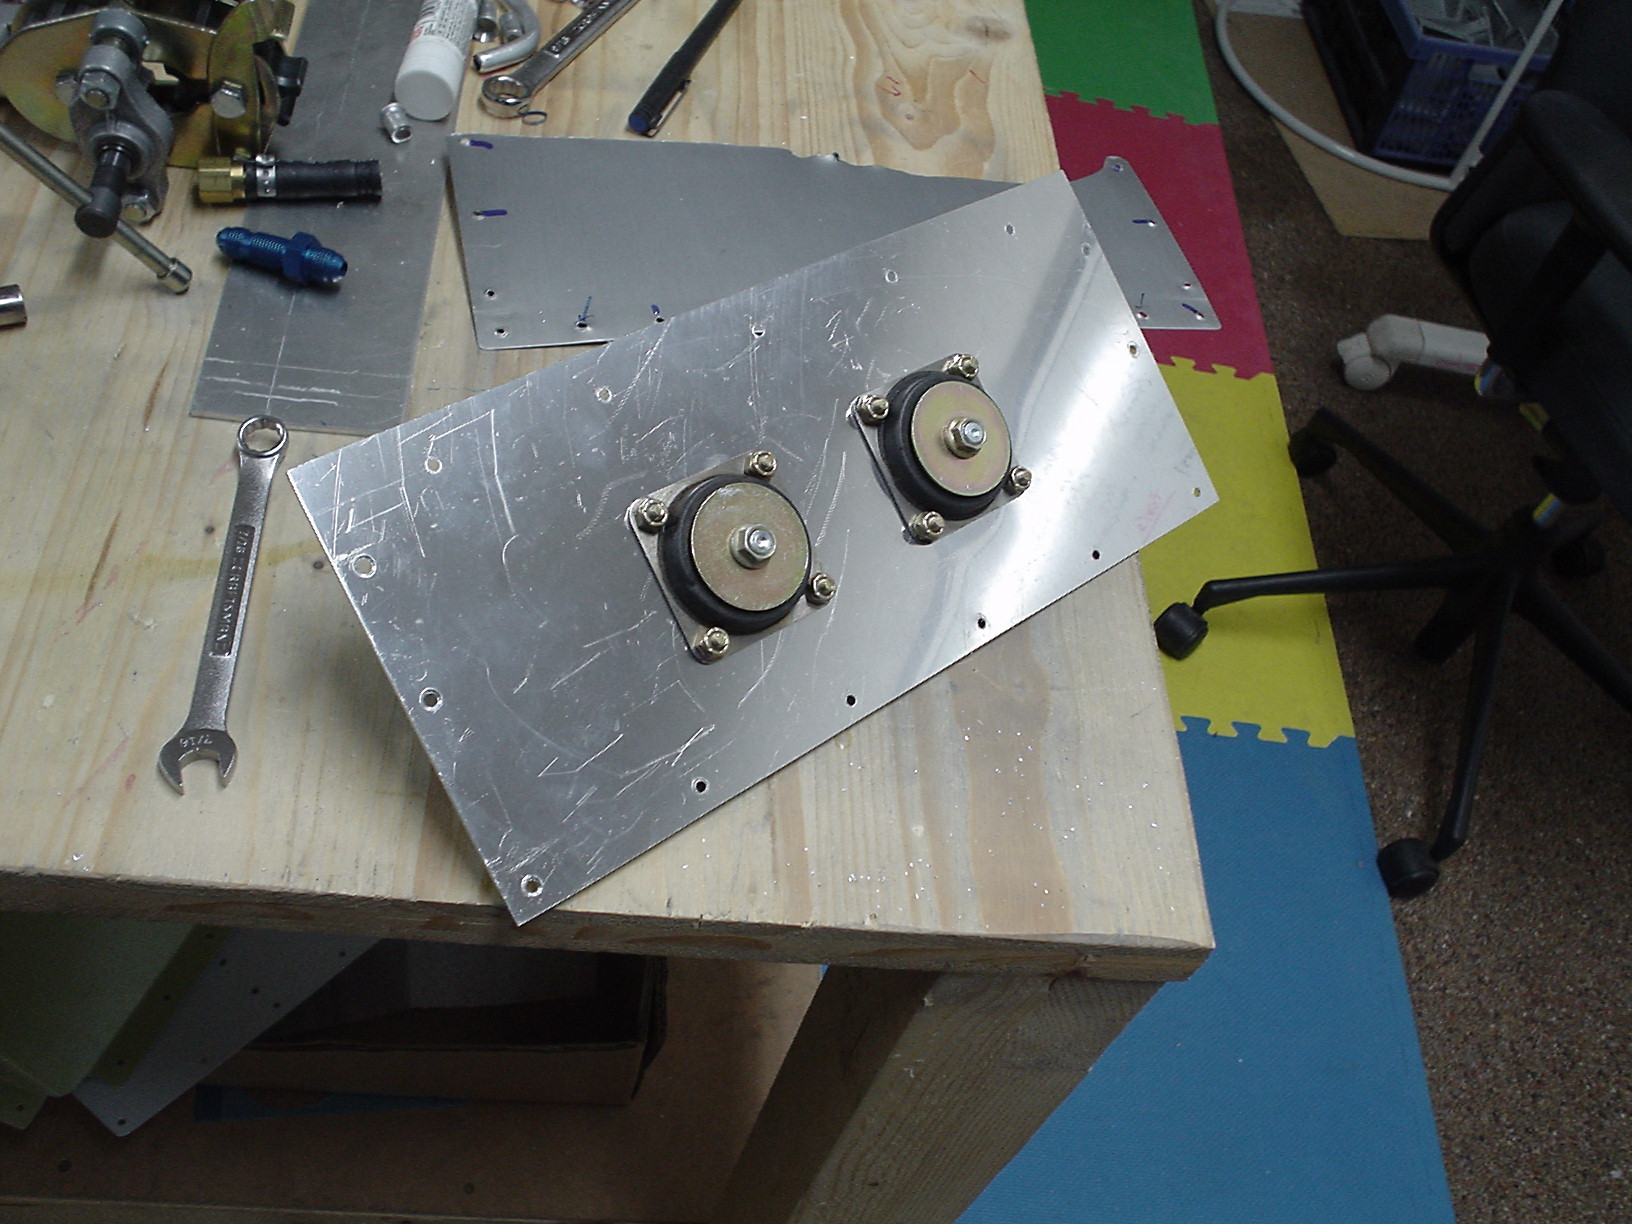
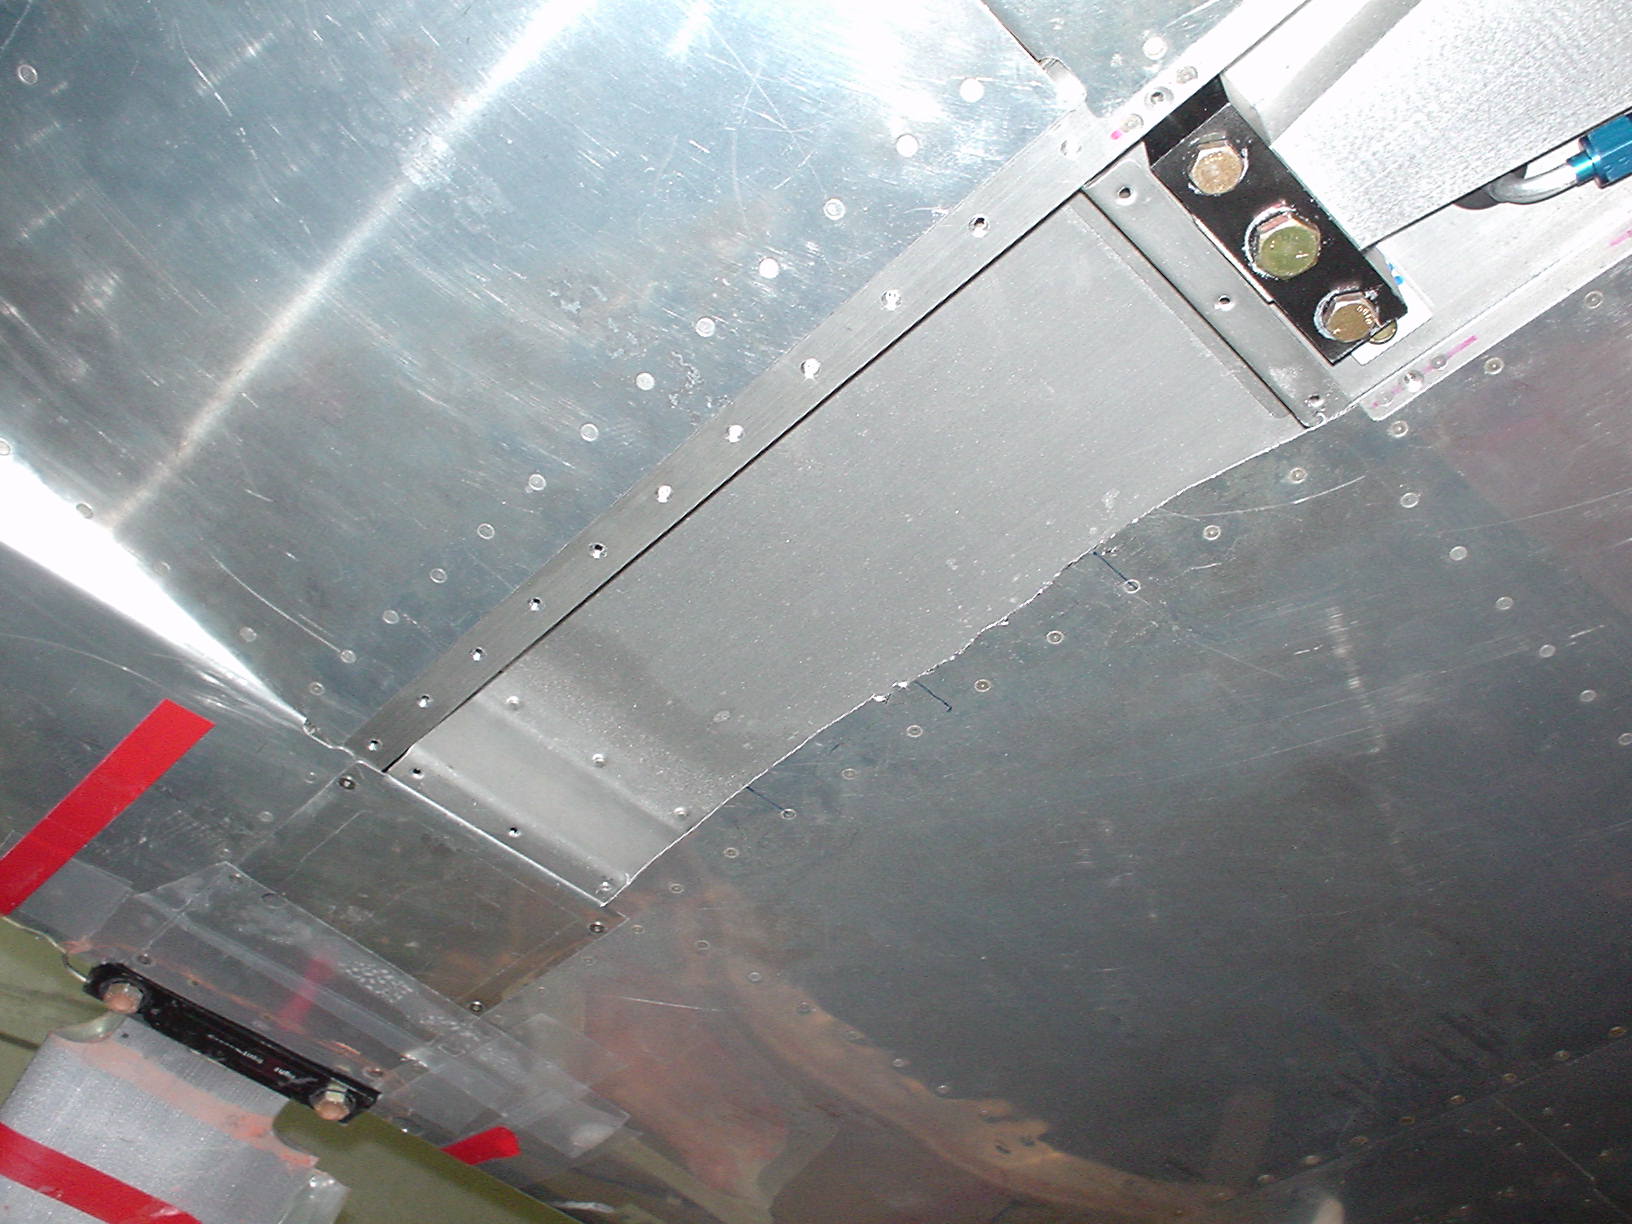
Here’s a shot of the mounts bolted on during a test fit. I used short AN3 bolts here. I could have used flush screws to give it a better look from the underside, but I figure there will be so much airflow disruption that a few flush screws here won’t add much if anything.
Sorry, the comment form is closed at this time.