21 Oct 2003 Horizontal Stabilizer Preparation – 10hrs
The first major part that I worked on was the horizontal stabilizer. With each subassembly of the empennage, there are three major steps: 1) preparation; 2) priming; 3) assembly/riveting.
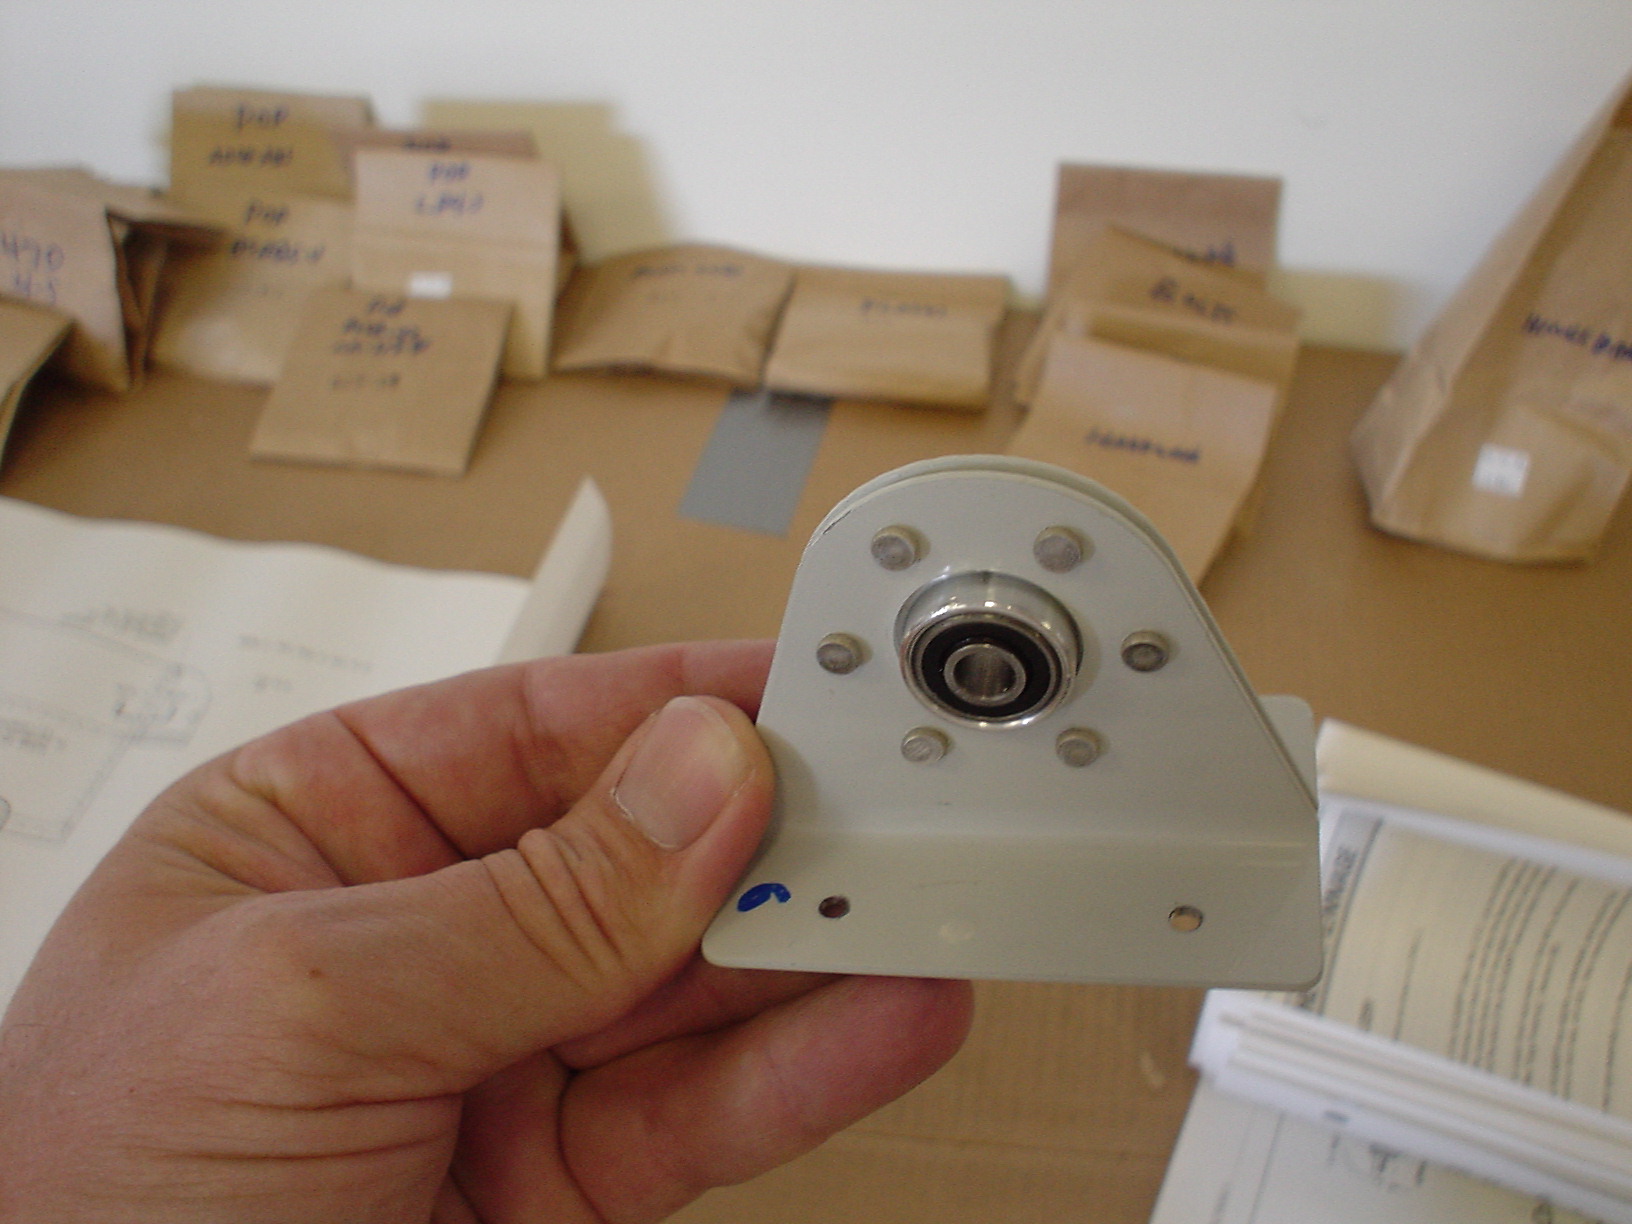
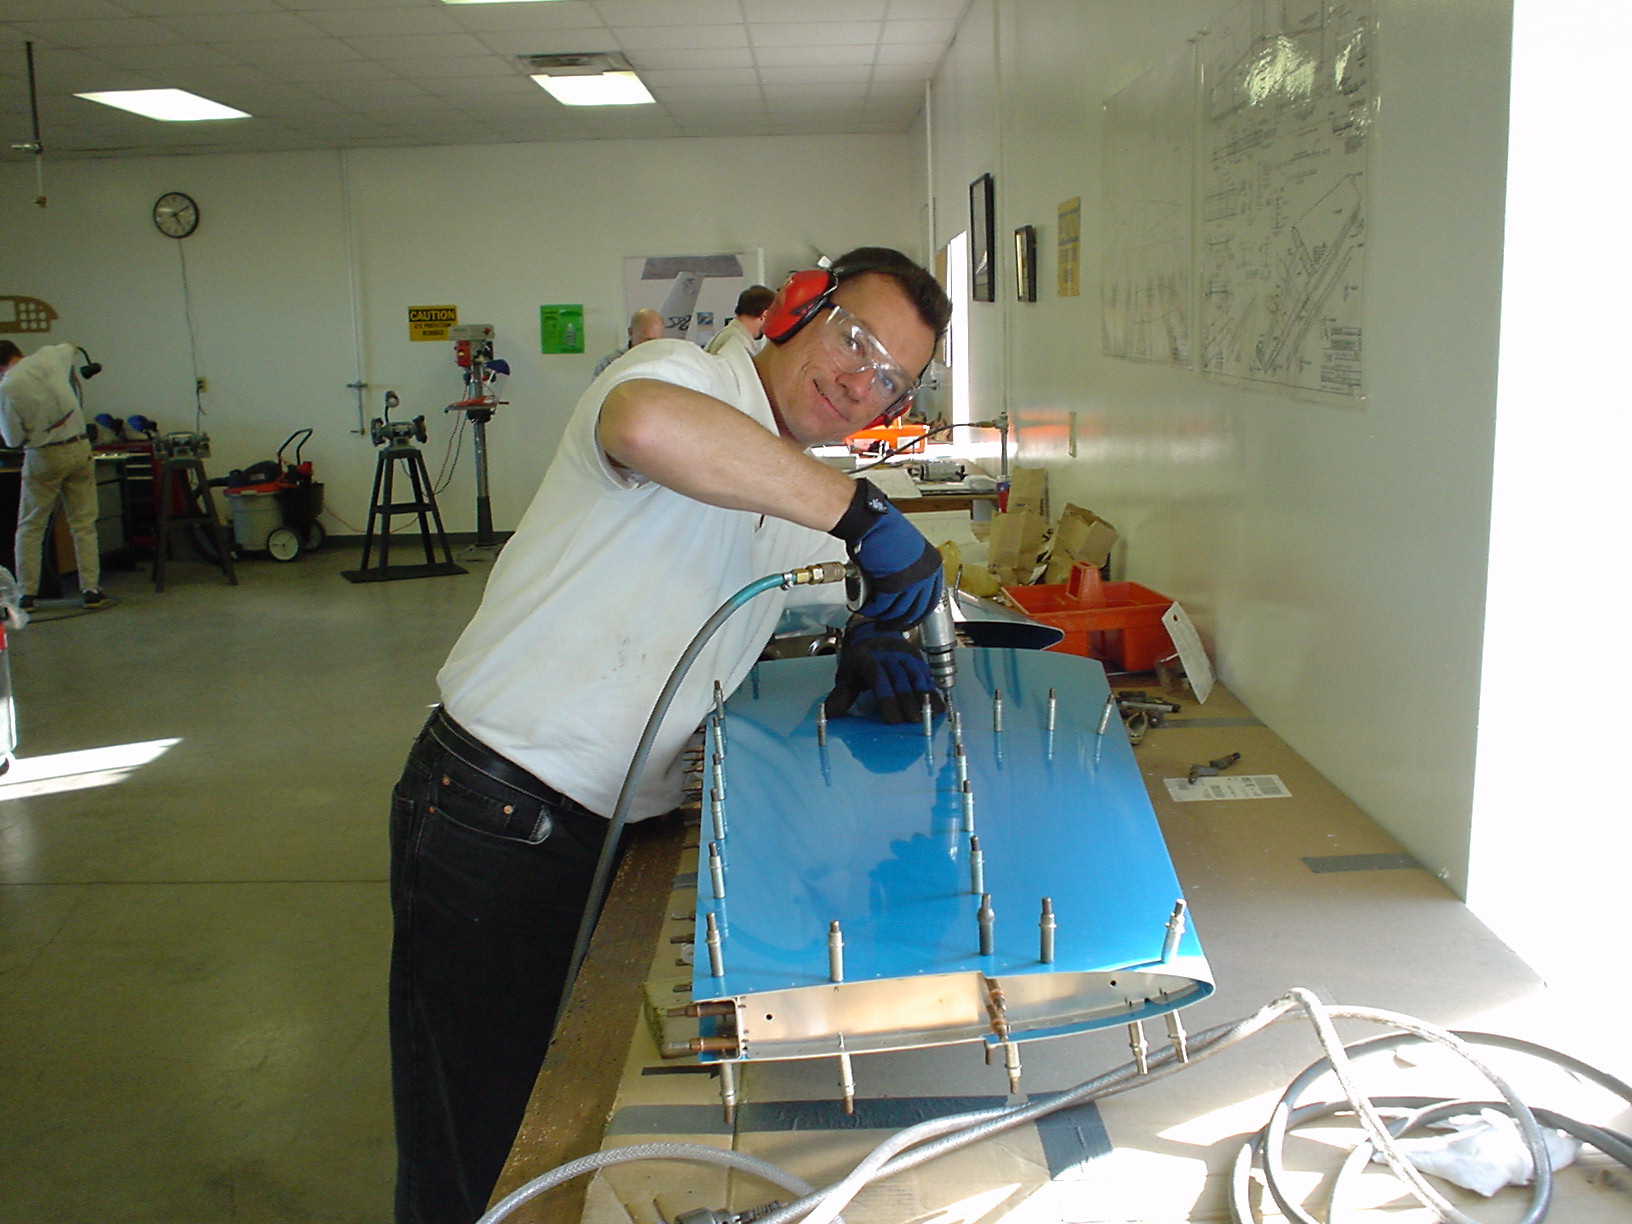
Since the kit is all “pre-drilled”, or as Van’s calls it “matched hole”, the parts go together very easily. I simply started attaching the parts with clecos, and then drilled them out to their proper size. Starting with the center hinge brackets and the hinge bearing. The parts are clecoed together, drilled to the correct size, in this case a #30 bit, deburred, and then riveted. Riveting is cool – I used the pneumatic squeezer, and it really rocks!
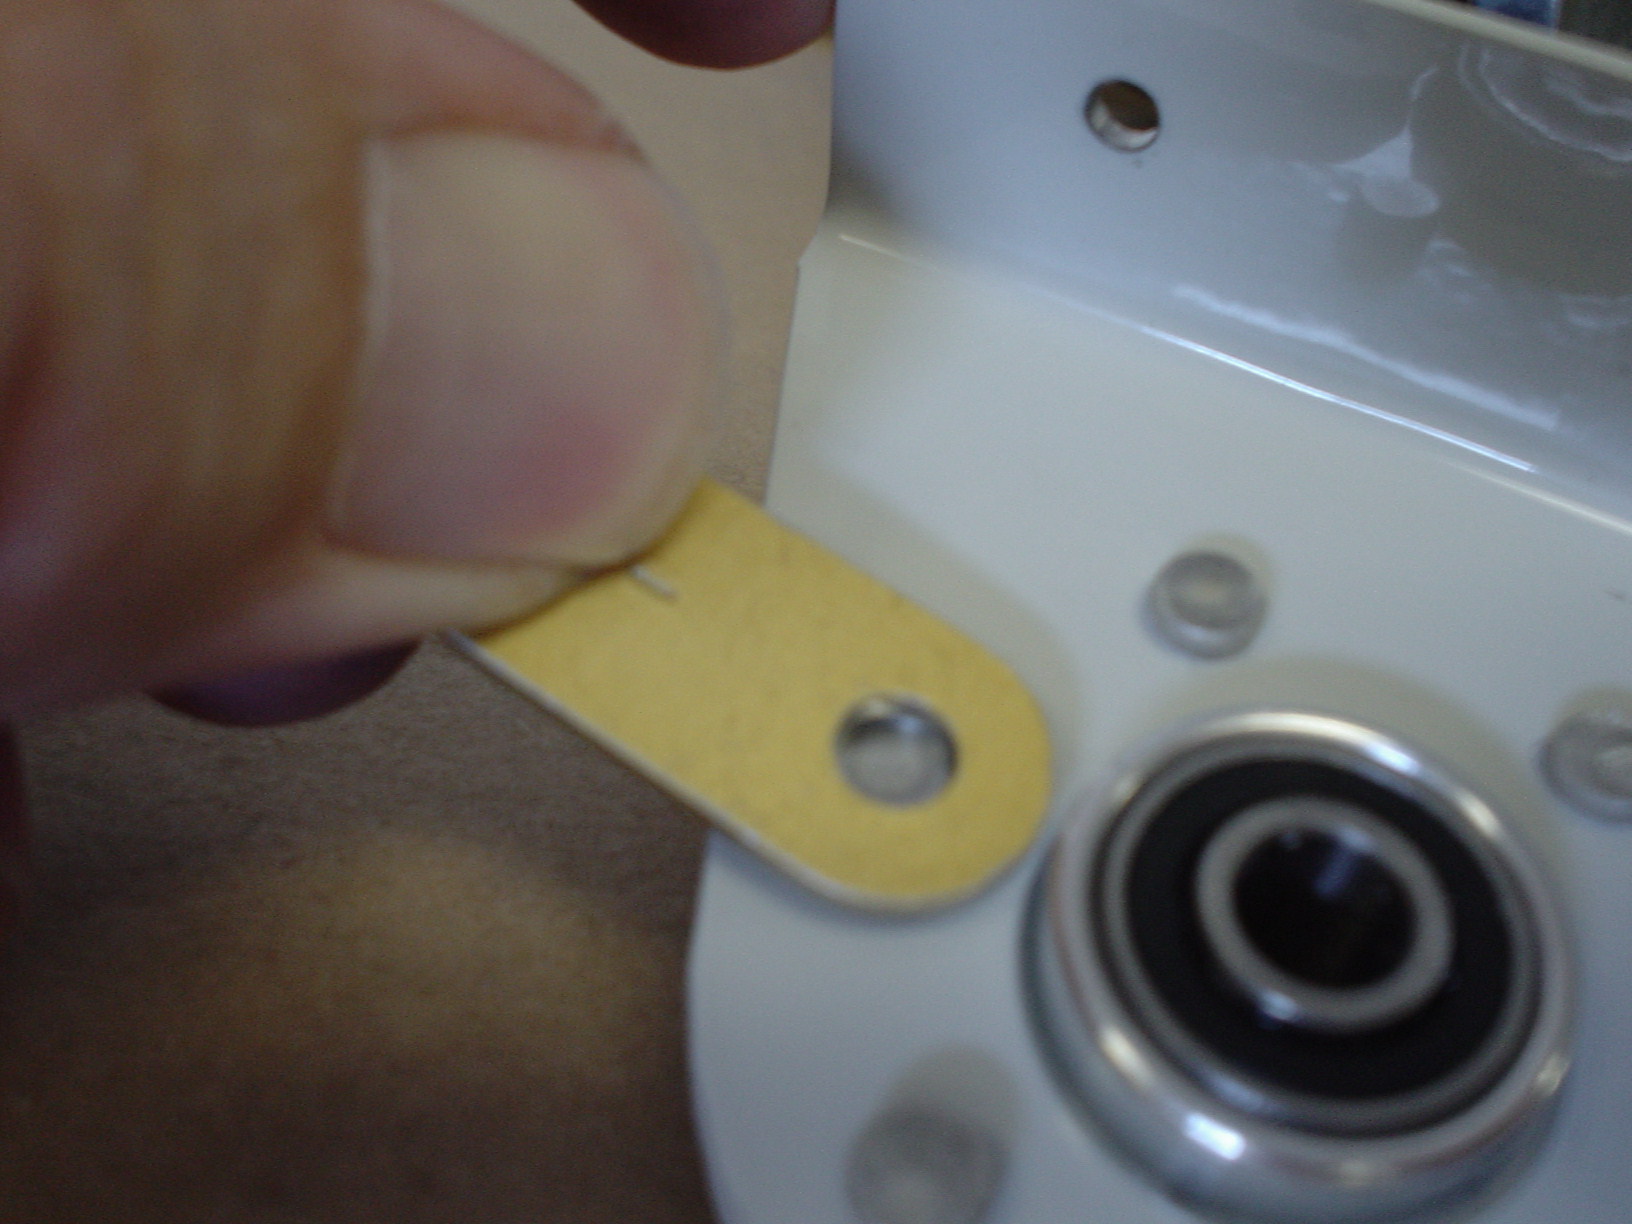
After riveting, it is important to confirm that the rivets were set correctly, using this little gauge:
After doing a lot of clecoing, drilling, deburring, dimpling, and scuffing off the alclad coating with a scotchbrite pad, the horizontal stabilizer was ready to be primed.
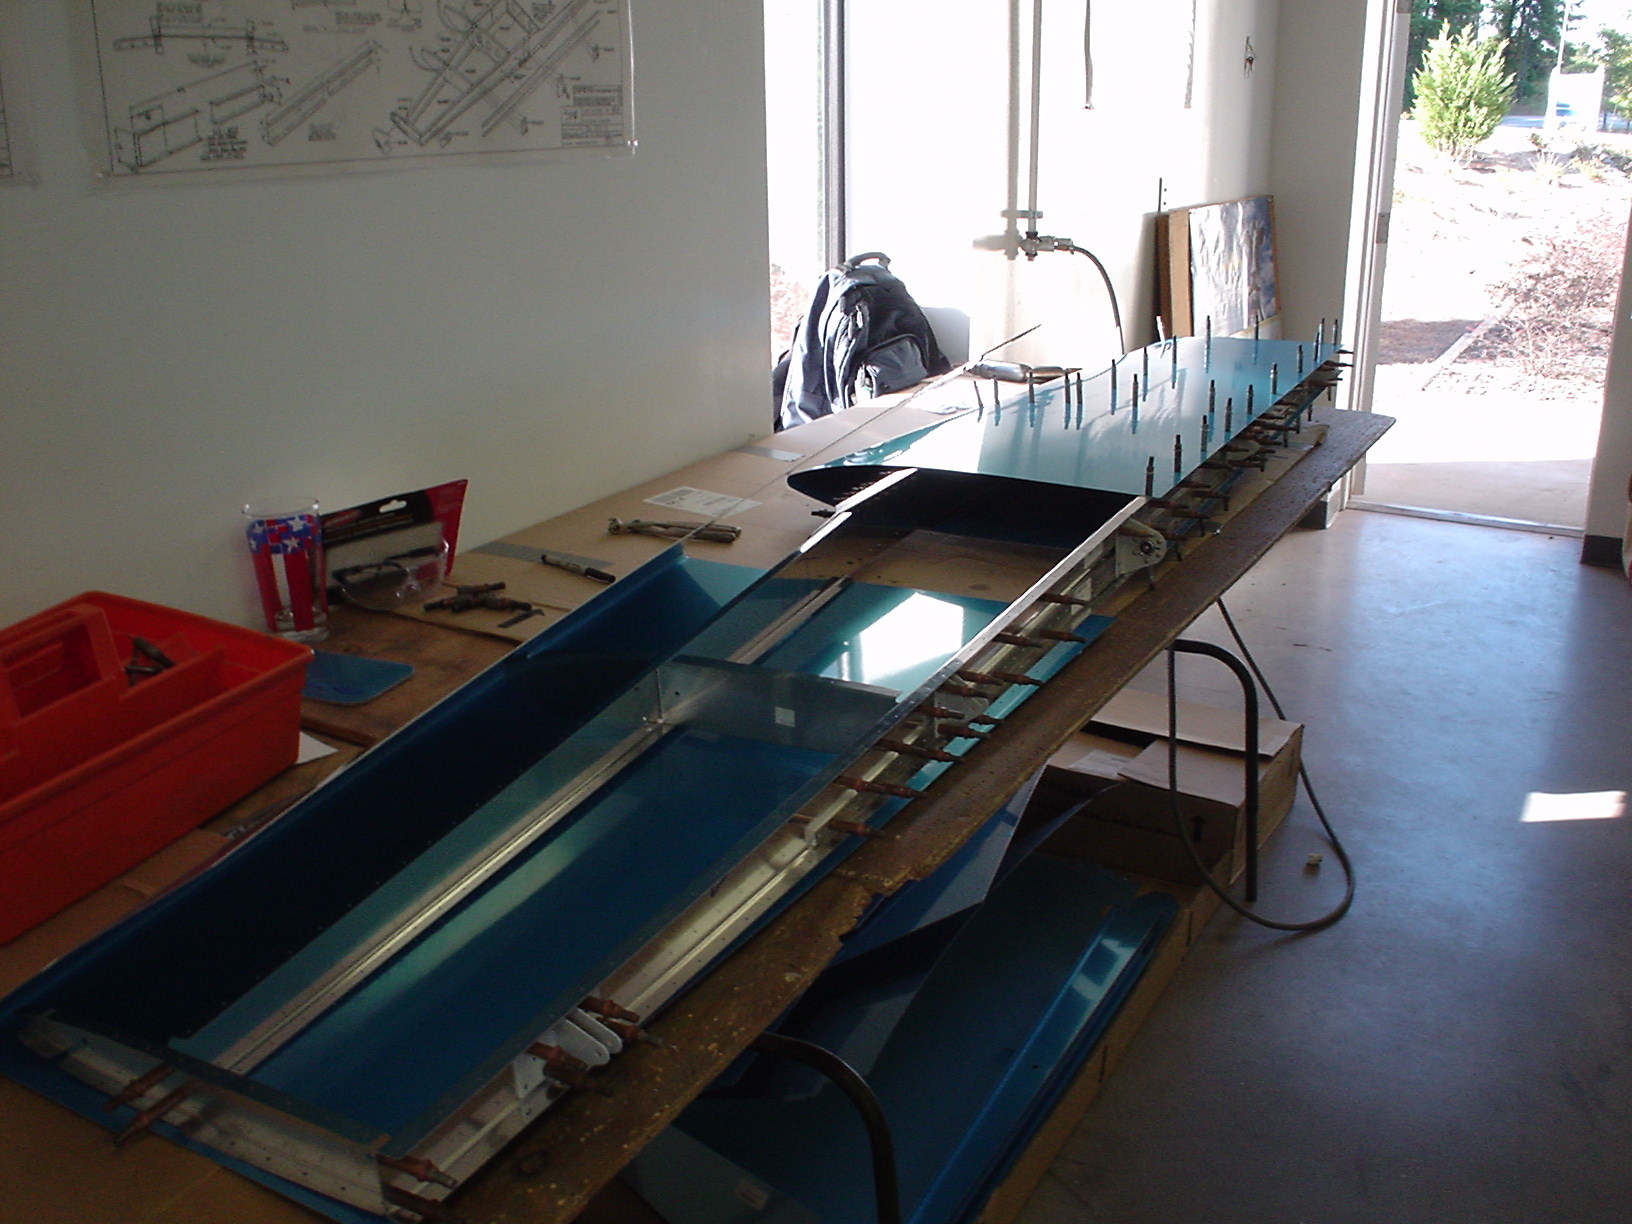
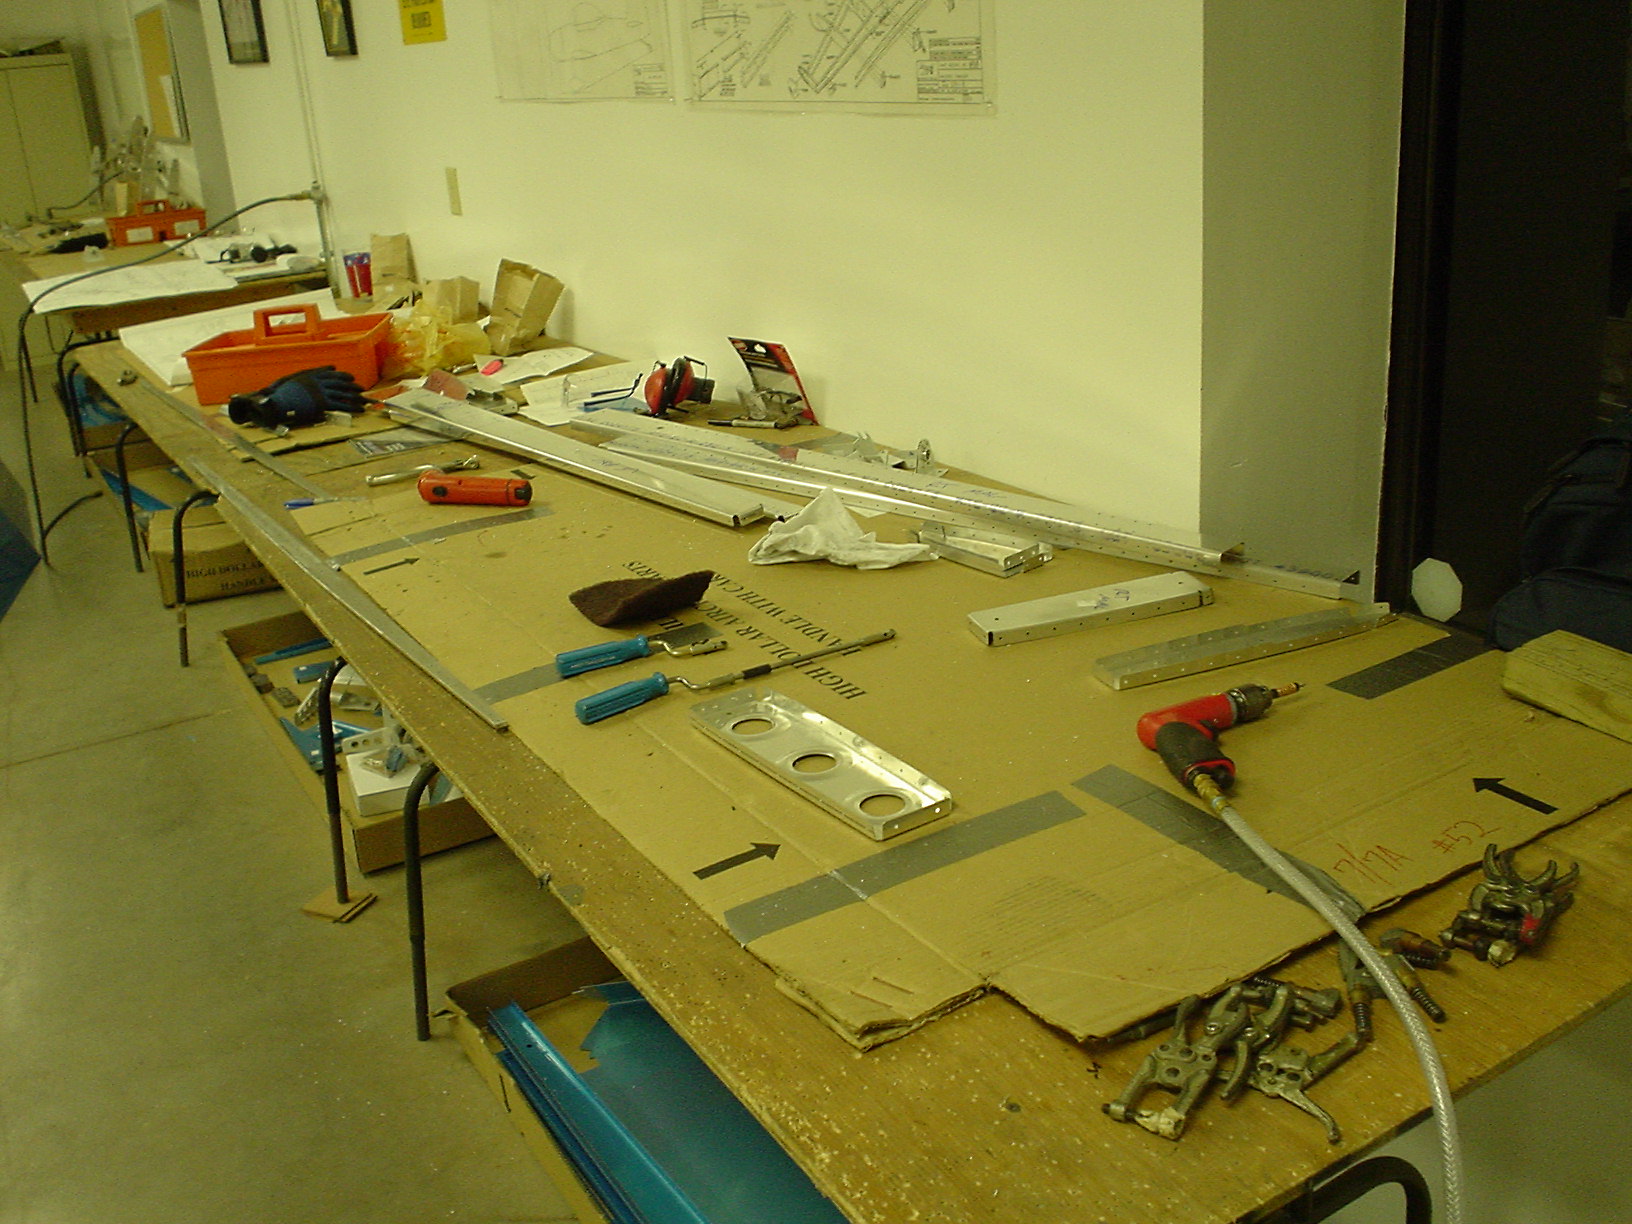
The final number of parts as shown here on the table (excluding the skin) is not too impressive, but it all goes together as a horizontal stabilzer – you’ll see!
Sorry, the comment form is closed at this time.