05 Jul 2004 Fuel return line
Update 20210918: I didn’t install the Eggenfellner Subaru engine, so any post that references that can be ignored or used as a cautionary tale about how to avoid wasting many years and $50k. I left the fuel return and use it with the dual Andair fuel valve, and my AFP FM-200 has a “purge valve” that returns to the selected tank. Works fine. Main mistake here as well was to use -5 fittings – should have gone with either -4 or -6 as they are standard. One of the used fittings I used leaked since the mating surface was not smooth.
Today I installed the fuel return line on one tank, the right tank, which will have the flop tube. Most of the time was spent trying to find the right place to put the line. For some reason, there is no recommendation in the plans, at least I could not find one. I guess they figure it’s so simple that even a knucklehead should be able to figure it out.
The Eggenefellner Subaru engine installation guide has a diagram that shows a good place to install it, but that location won’t work on a tank with a flop tube. I decided to install mine at the bottom of the tank directly below the fuel vent connection. Seemed like a good place for several reasons:
1) it’s in the middle of the tank, so plumbing this in the cockpit should be pretty easy;
2) it’s low in the tank so it should reduce any “foaming” of the fuel that comes back;
3) it’s near the big opening in the tank so it should be easy to drill the second hole inside the tank.
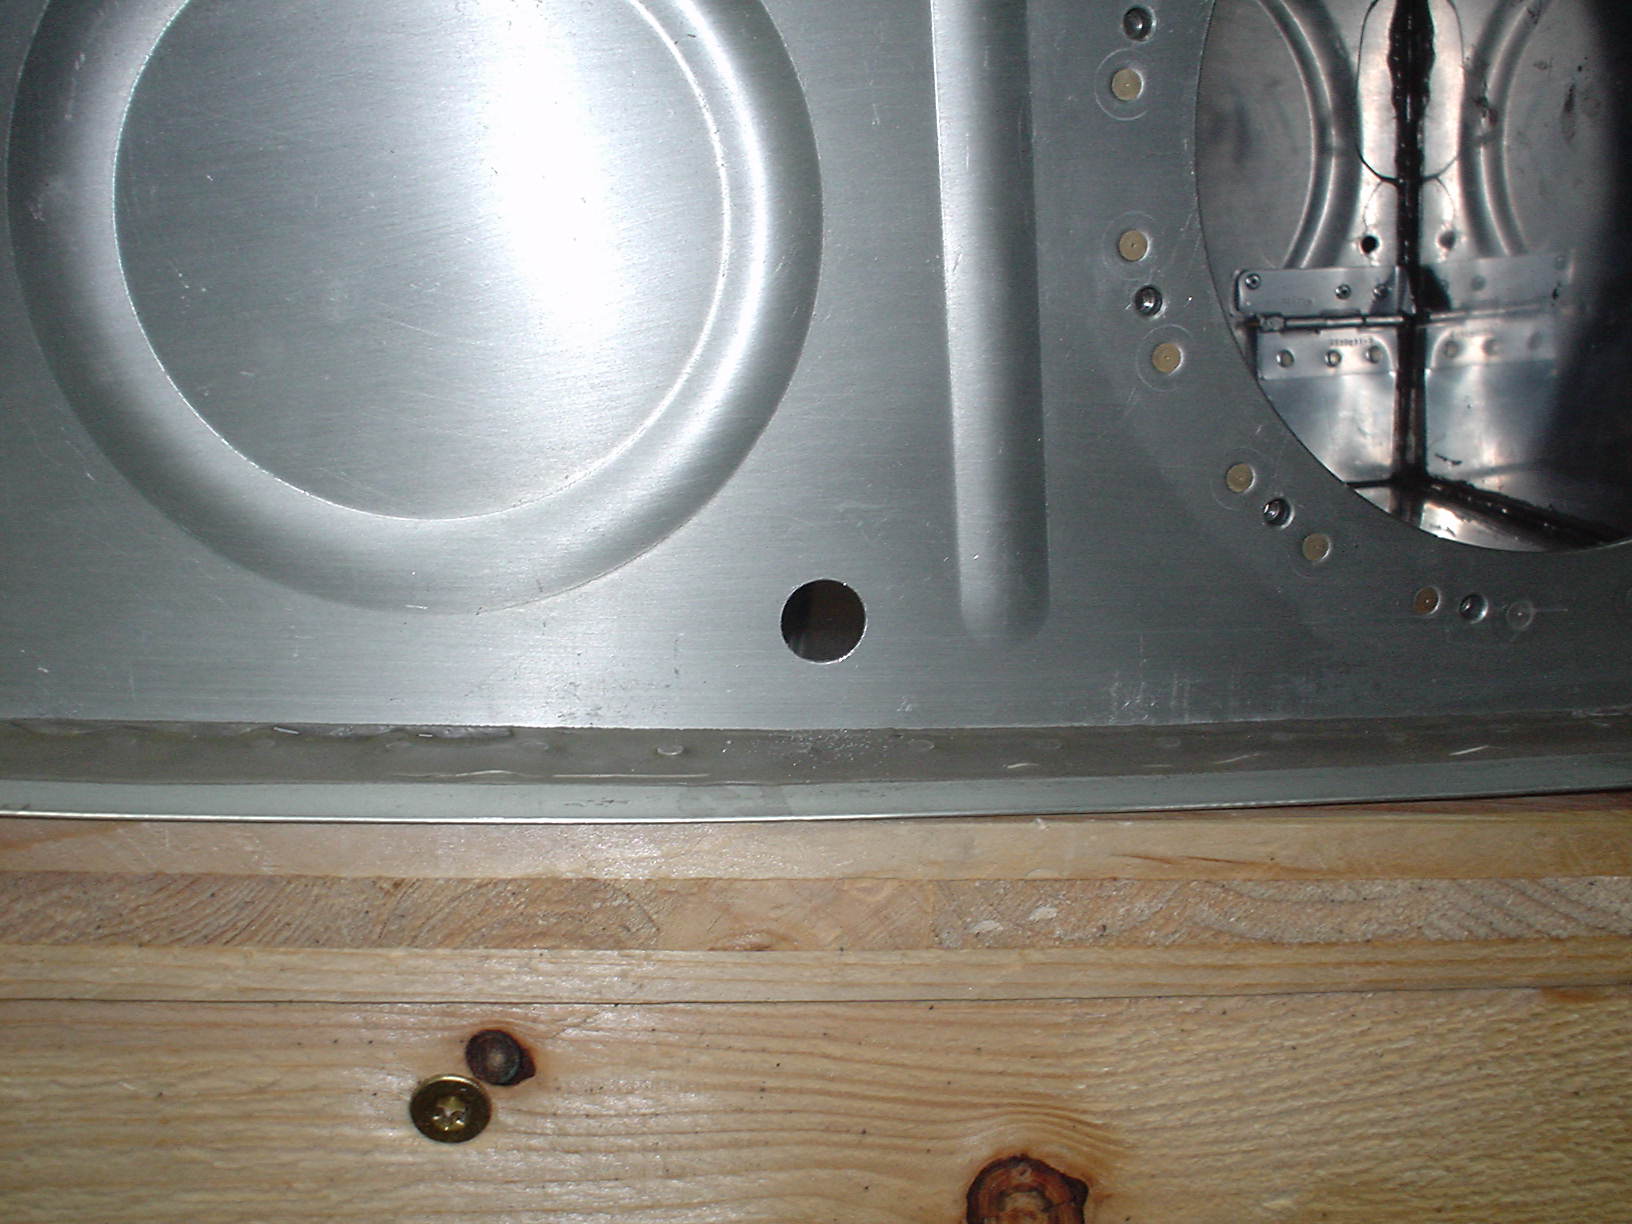
Here is the first 1/2 inch hole
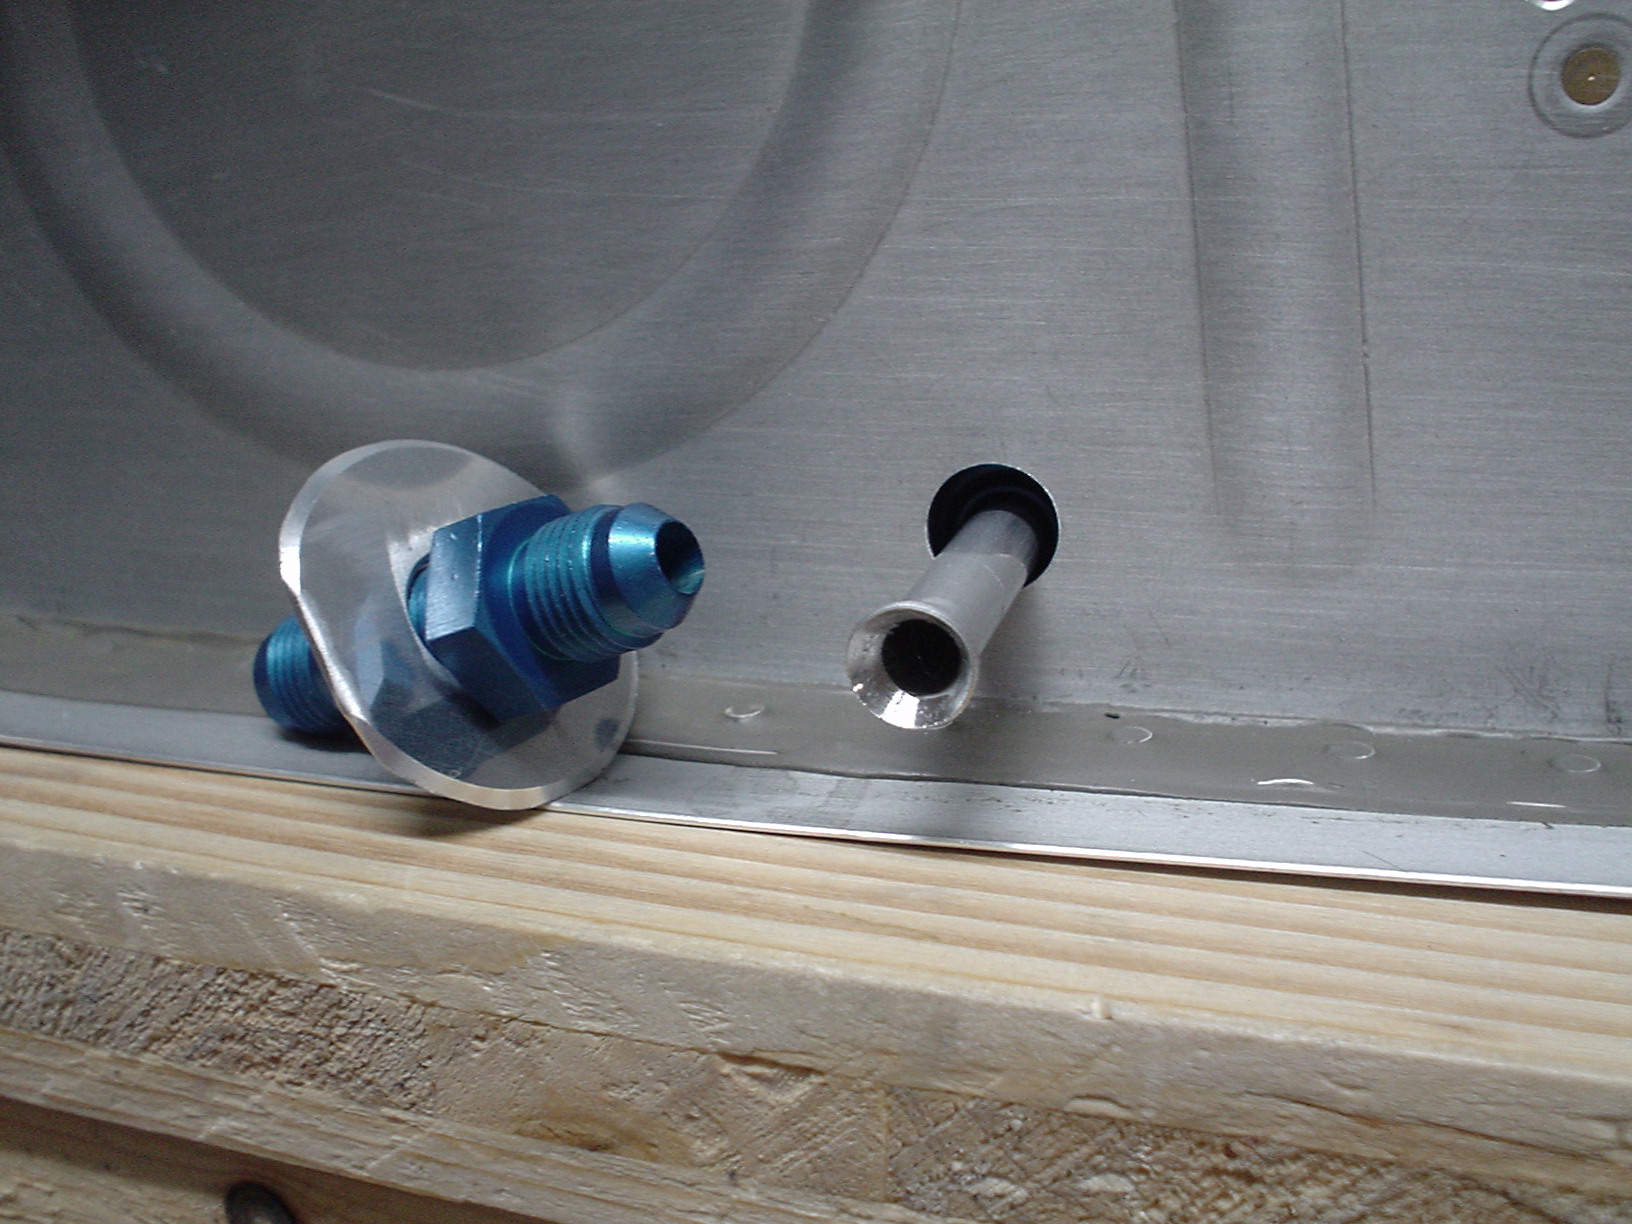
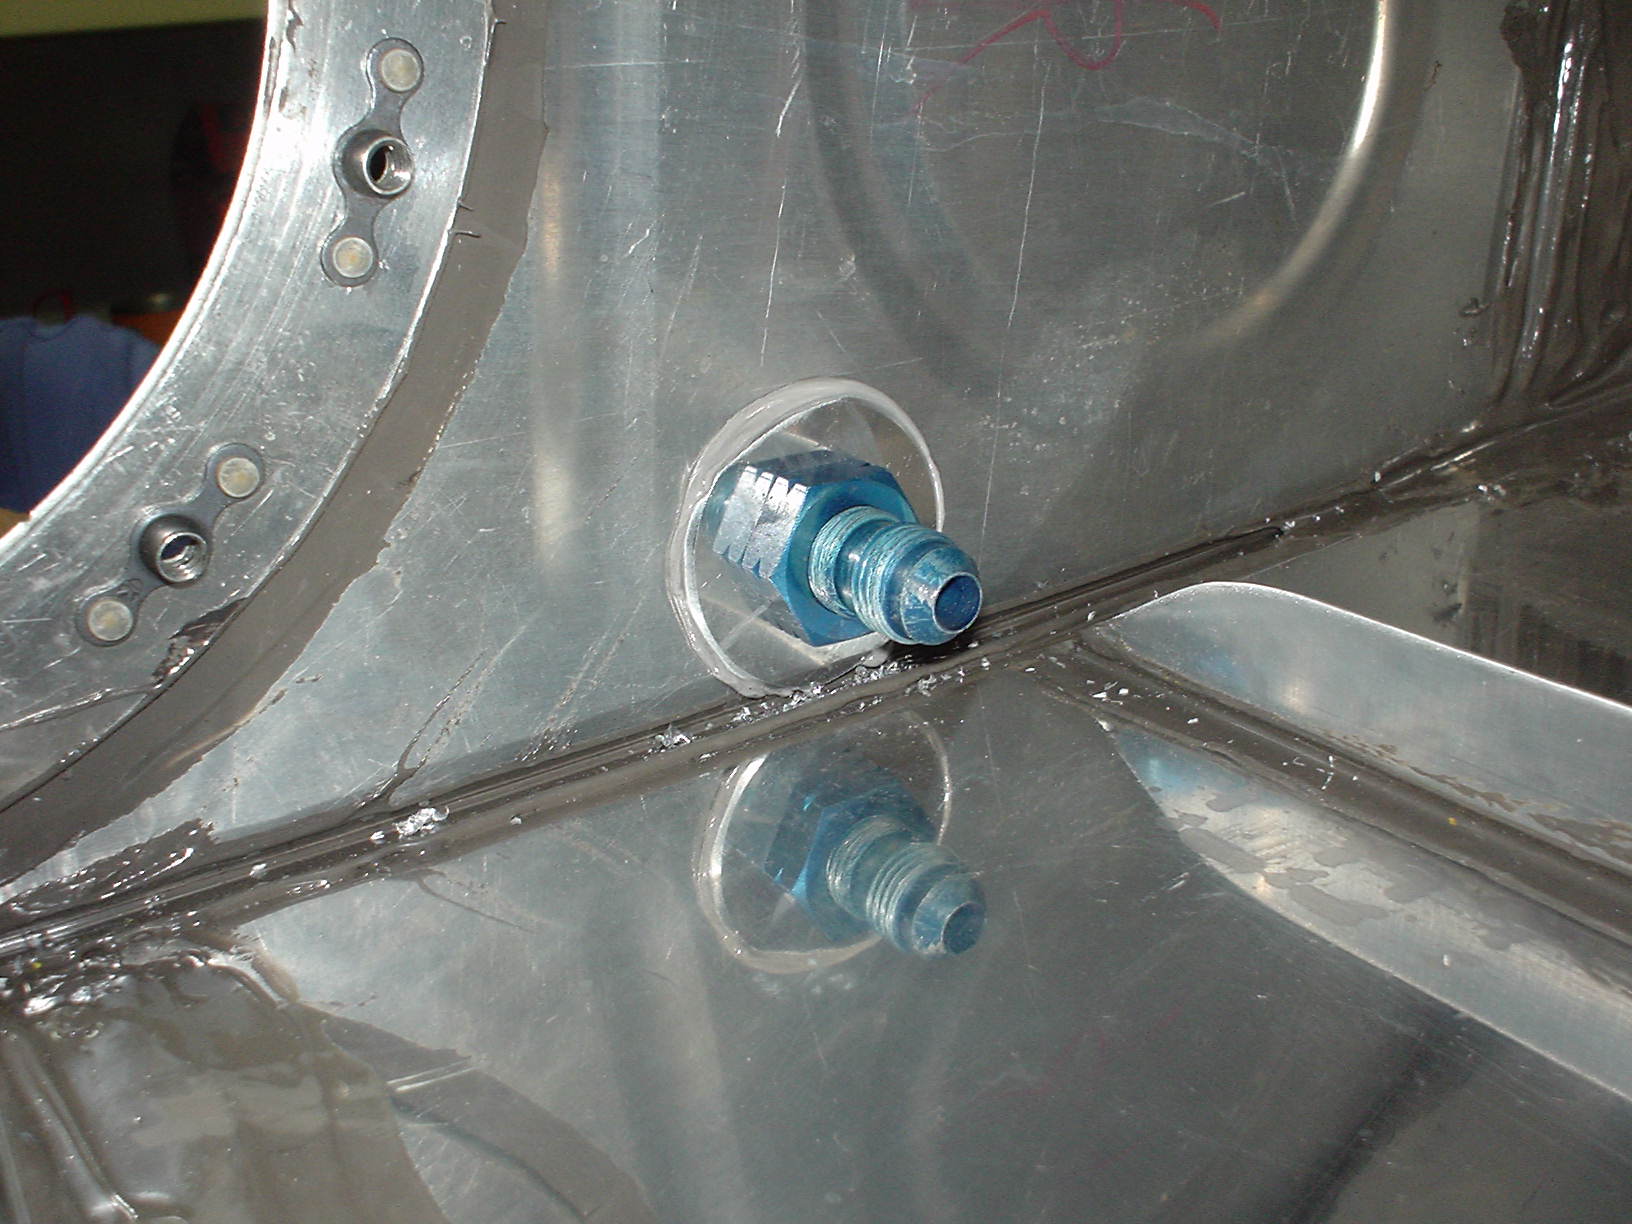
Test fitting the bulkhead AN fitting and the strengthener.
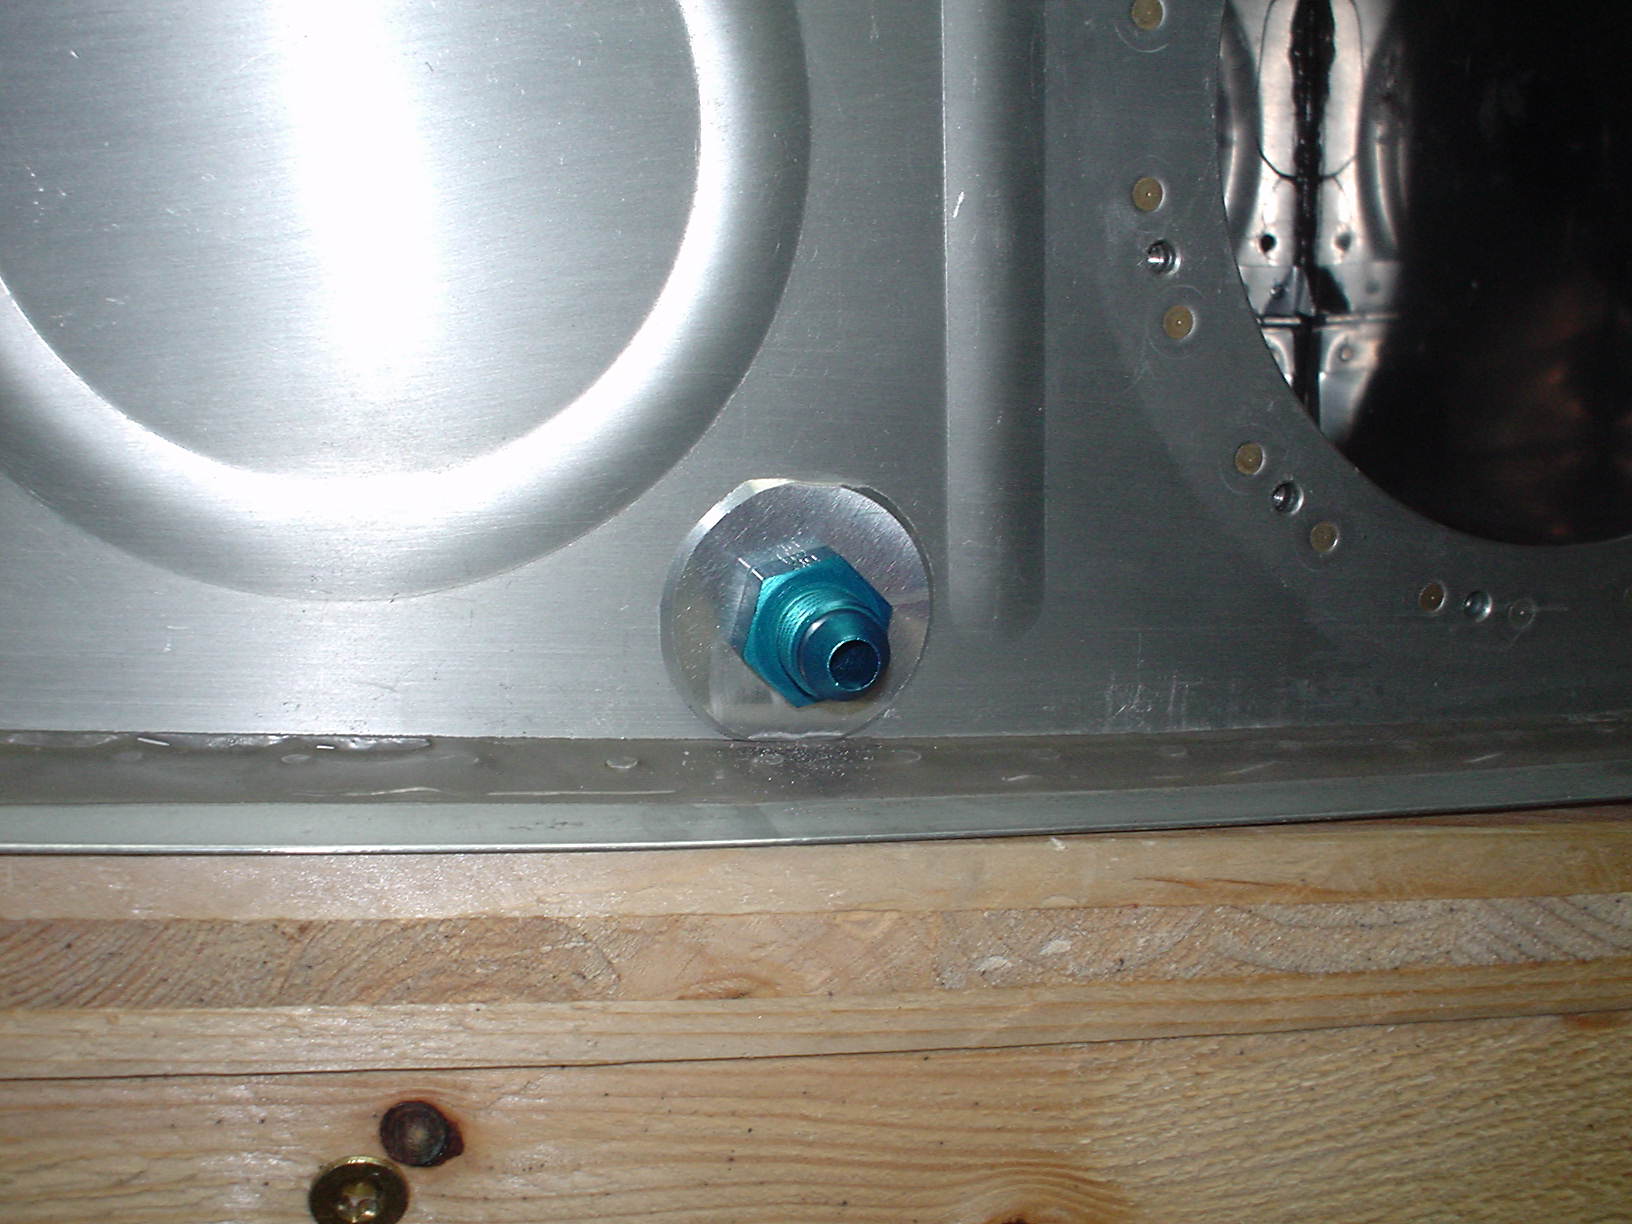
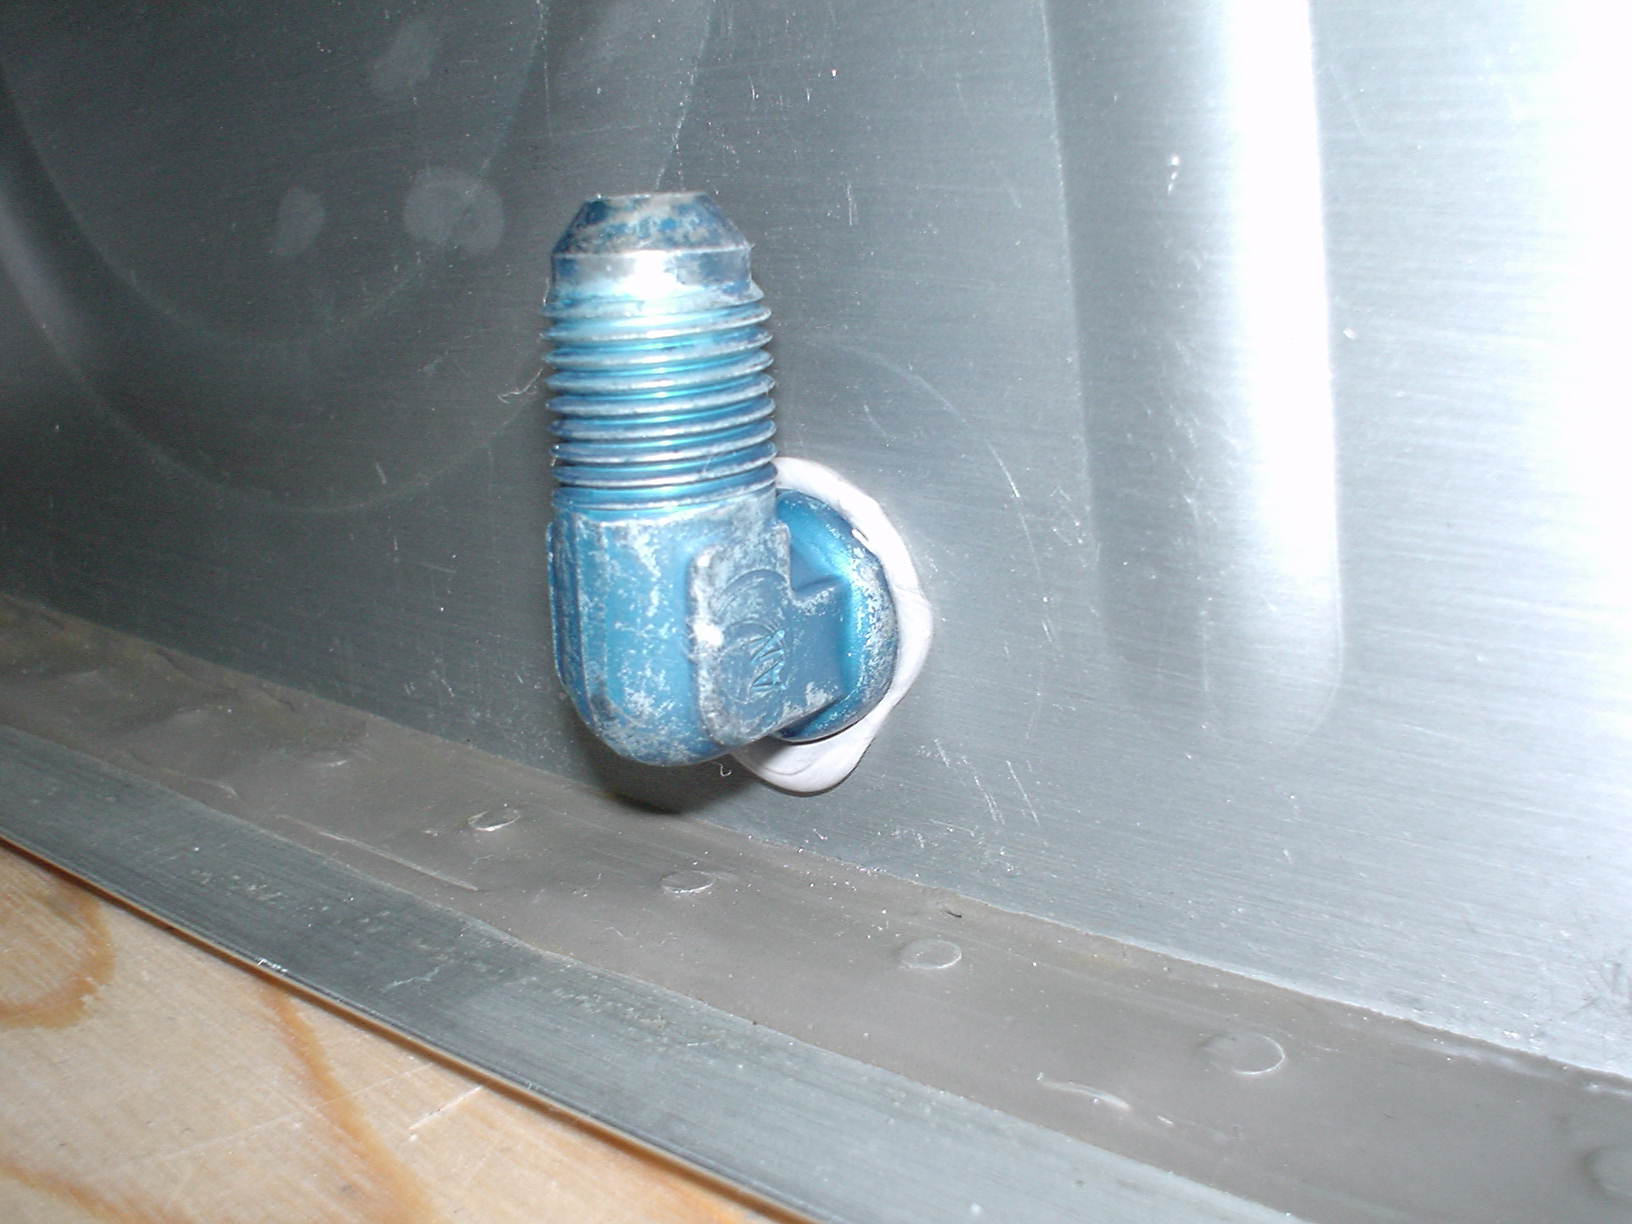
Bulkhead AN fitting from the inside.
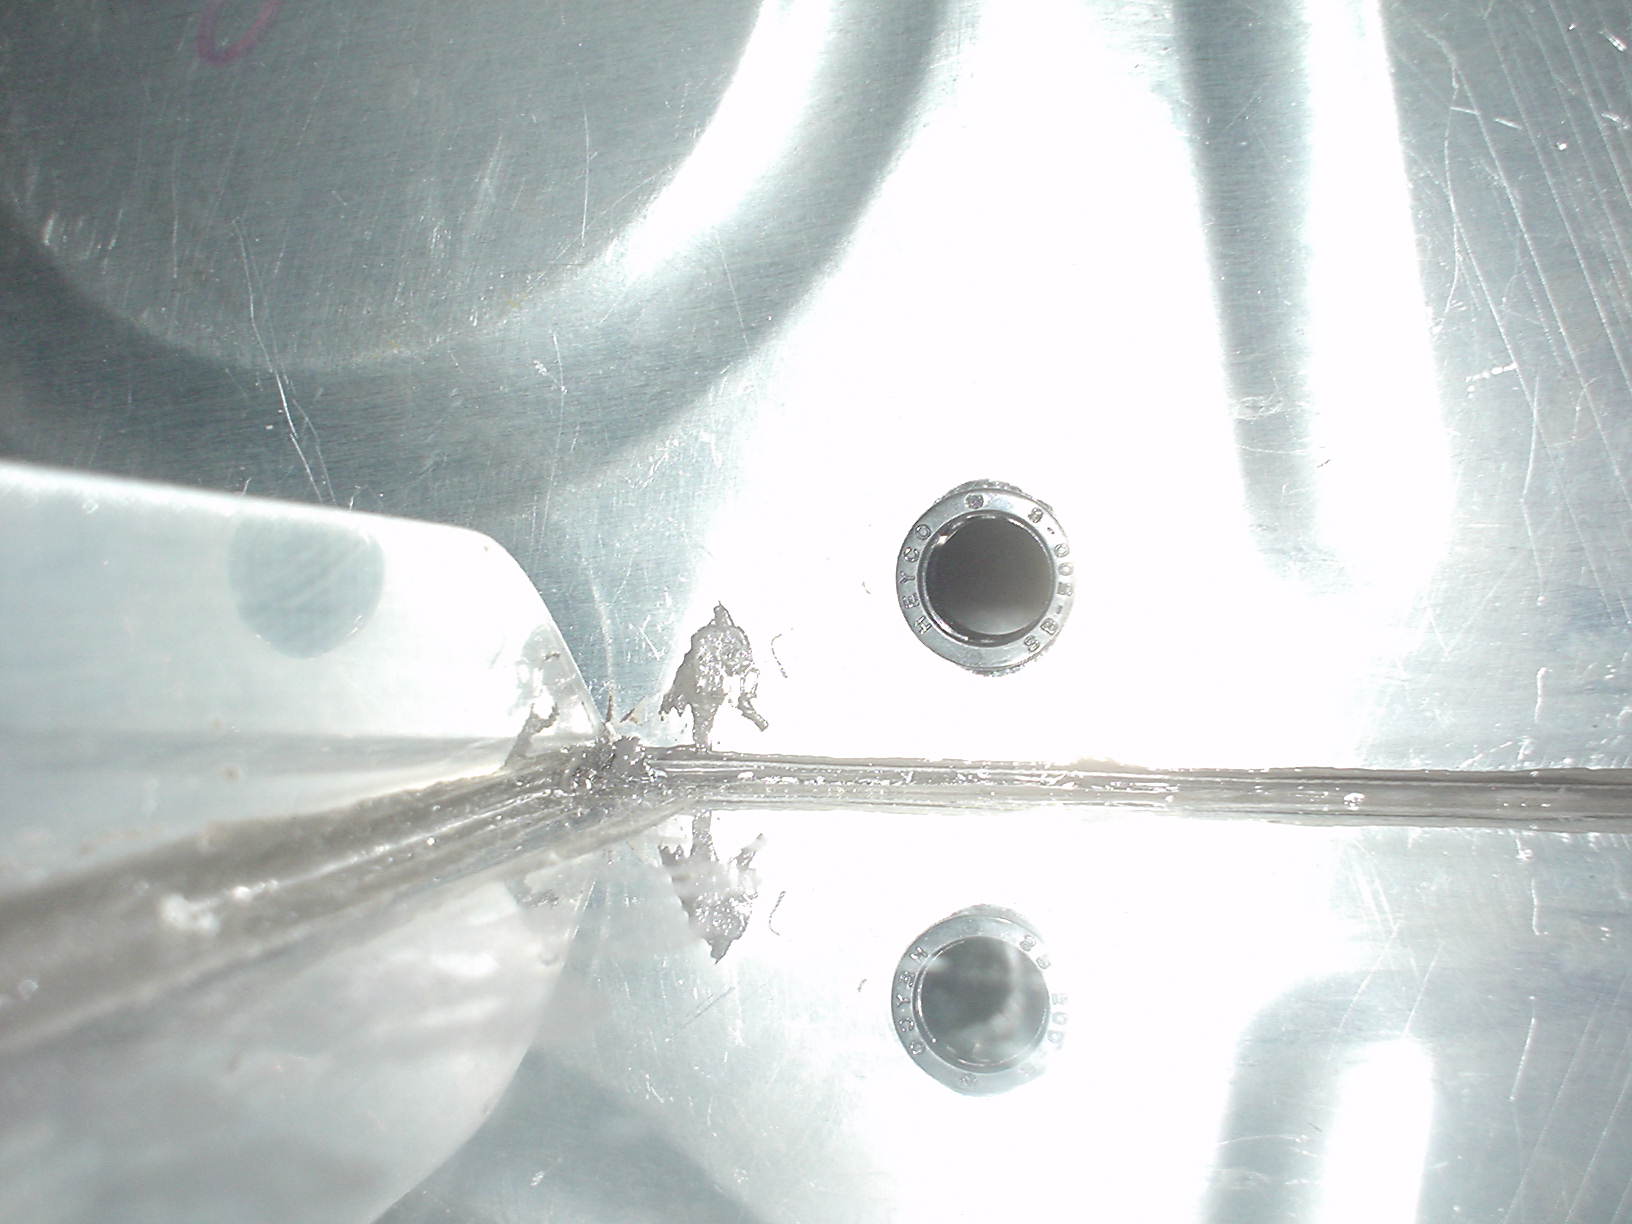
Second hole inside the tank. The fuel will come out in the second baffled area in order to allow it a bit of time to cool off before it gets fed back into the motor. If I was not using QB tanks, I would have fed this line into the far end of the tank for maximum cooling. Drilling this hole was a pain, because I don’t have a tool that Avery sells, called a “Unibit Extension”. Buy one if you have to do this.
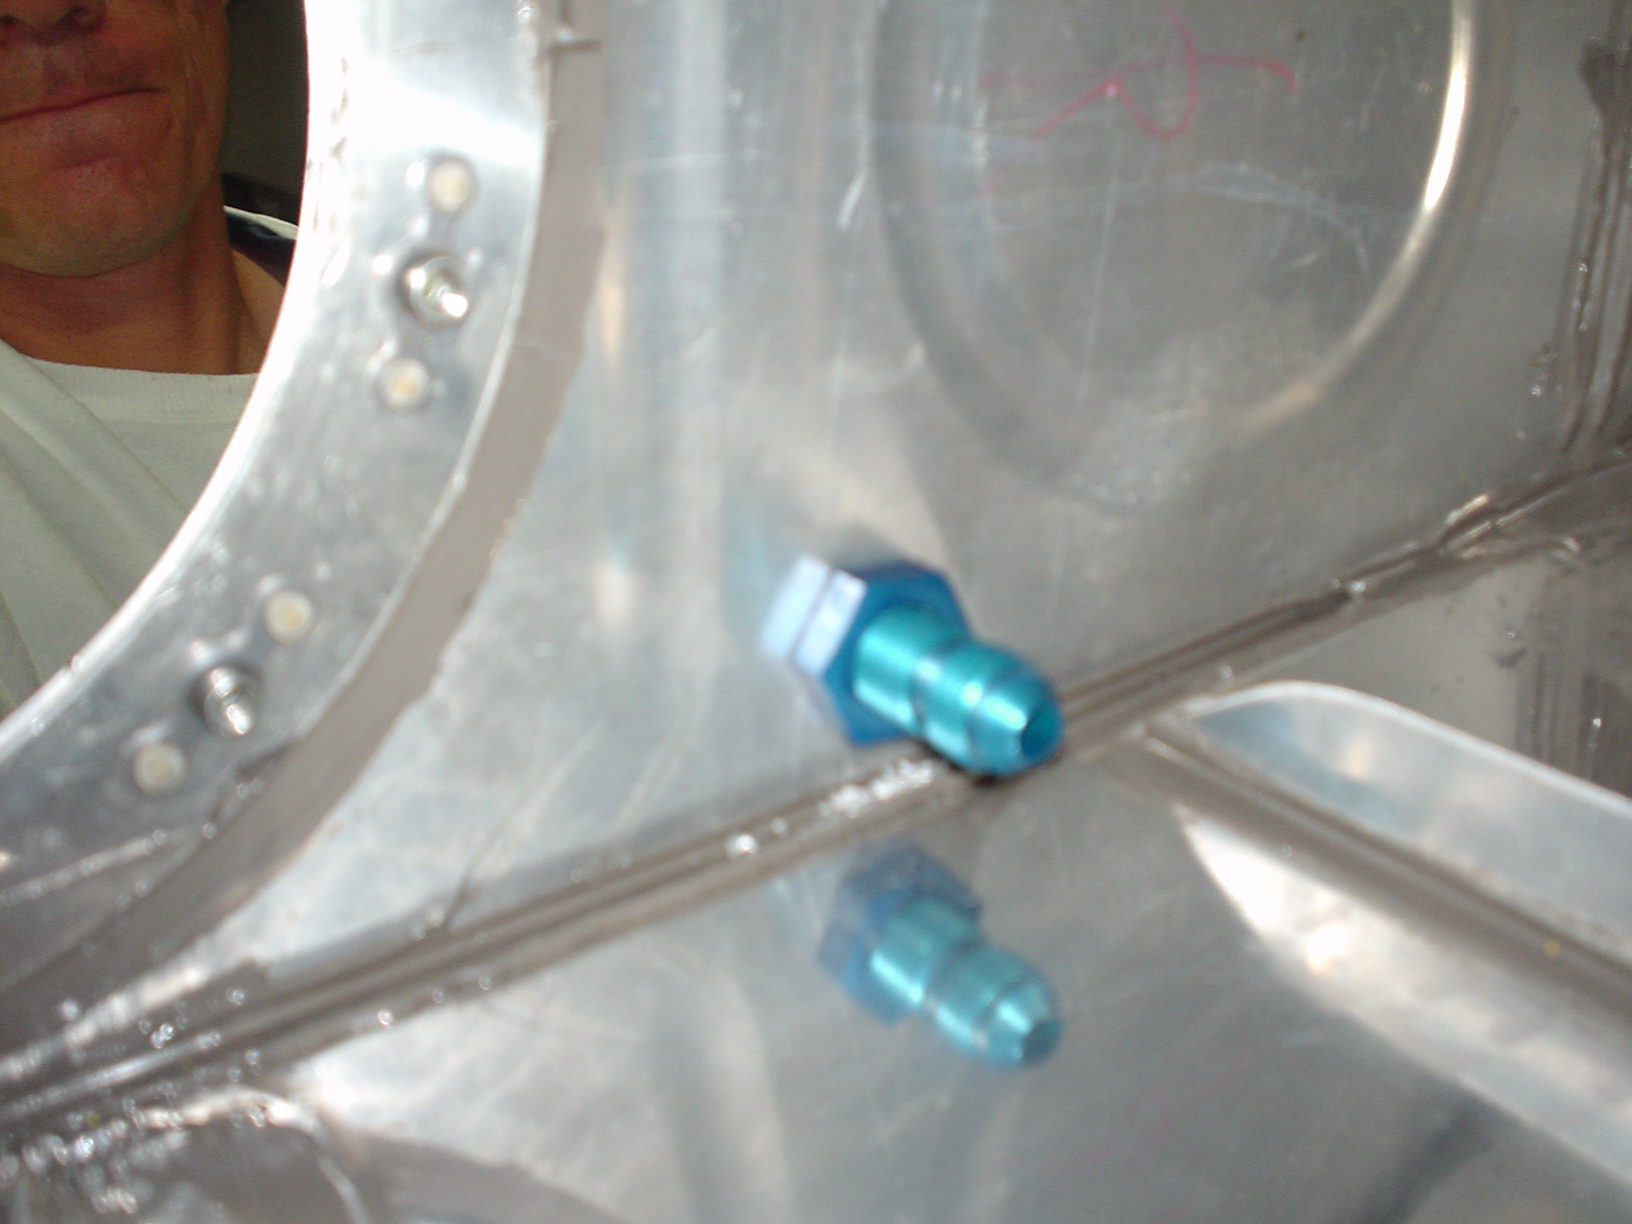
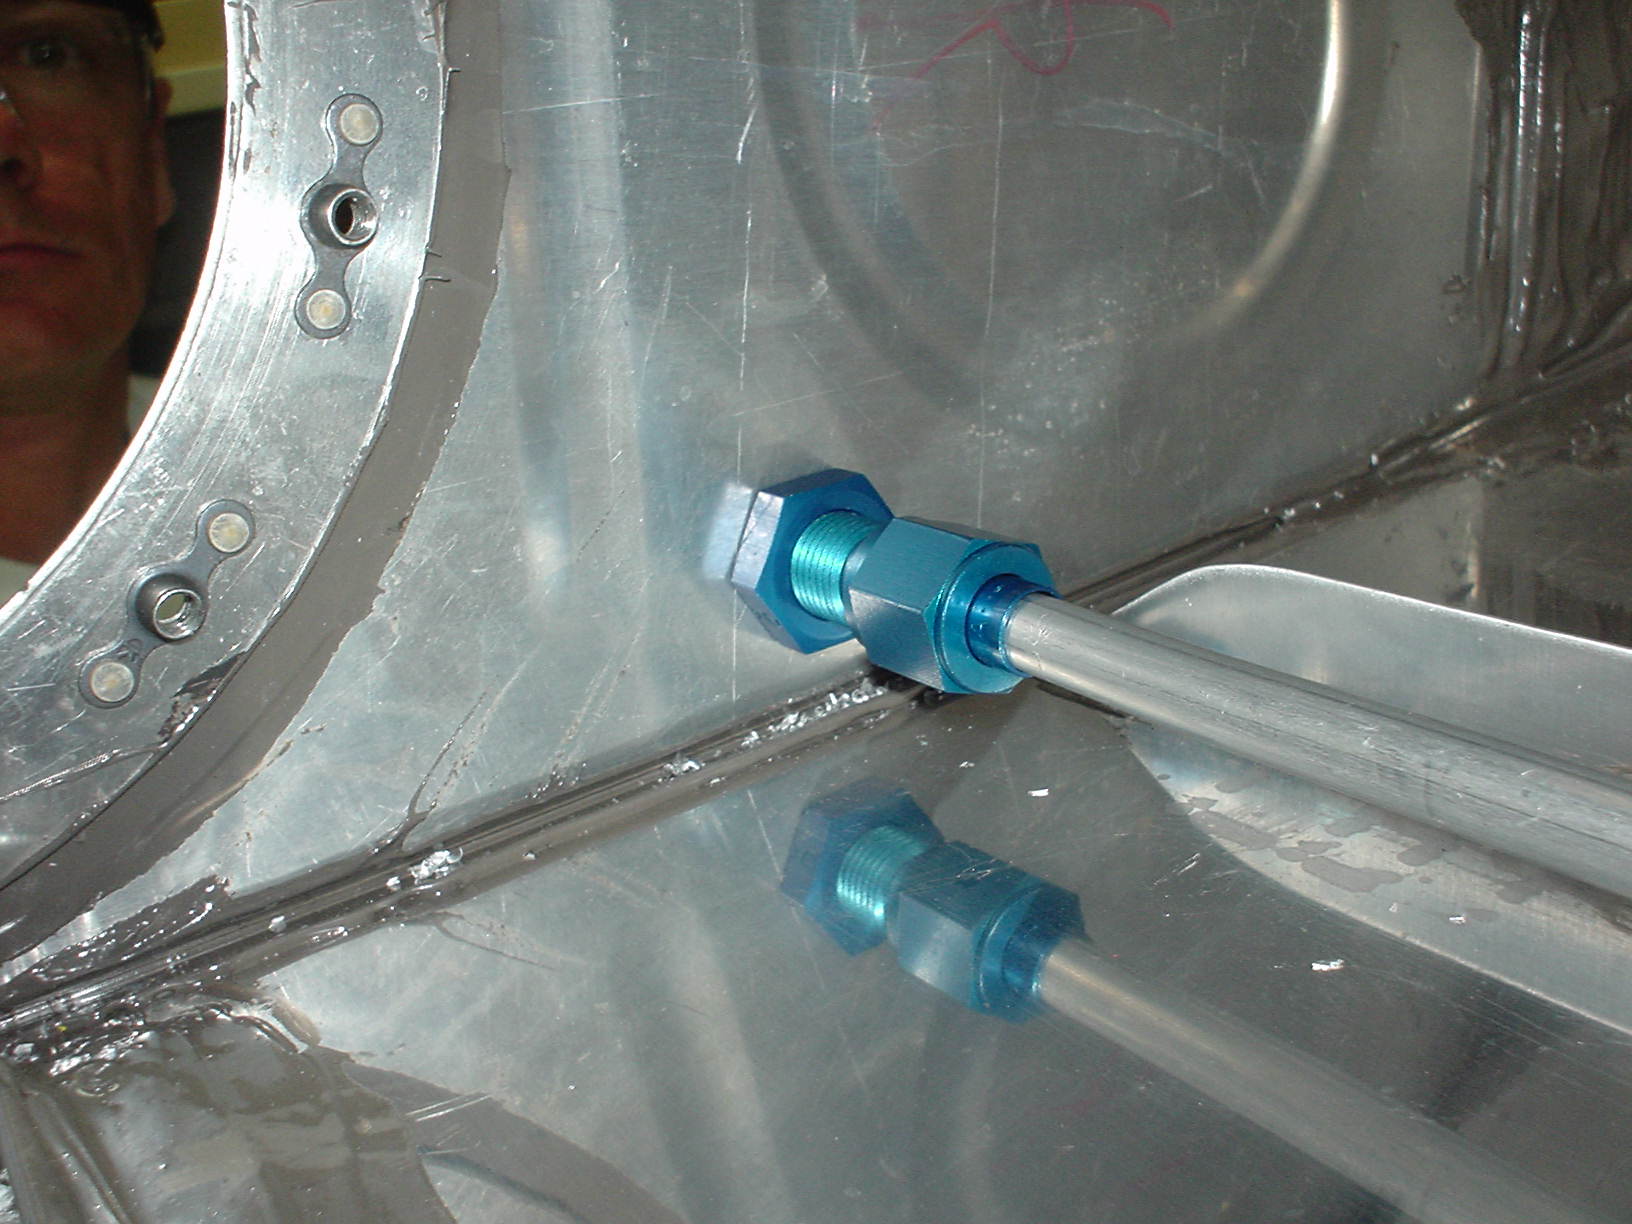
The tube is flared and now I’m doing a test fit. This was my first attempt at flaring a tube, and it seems to have turned out ok. Before I tighten it up I need to buy some “Fuel Lube” to put on the flare.
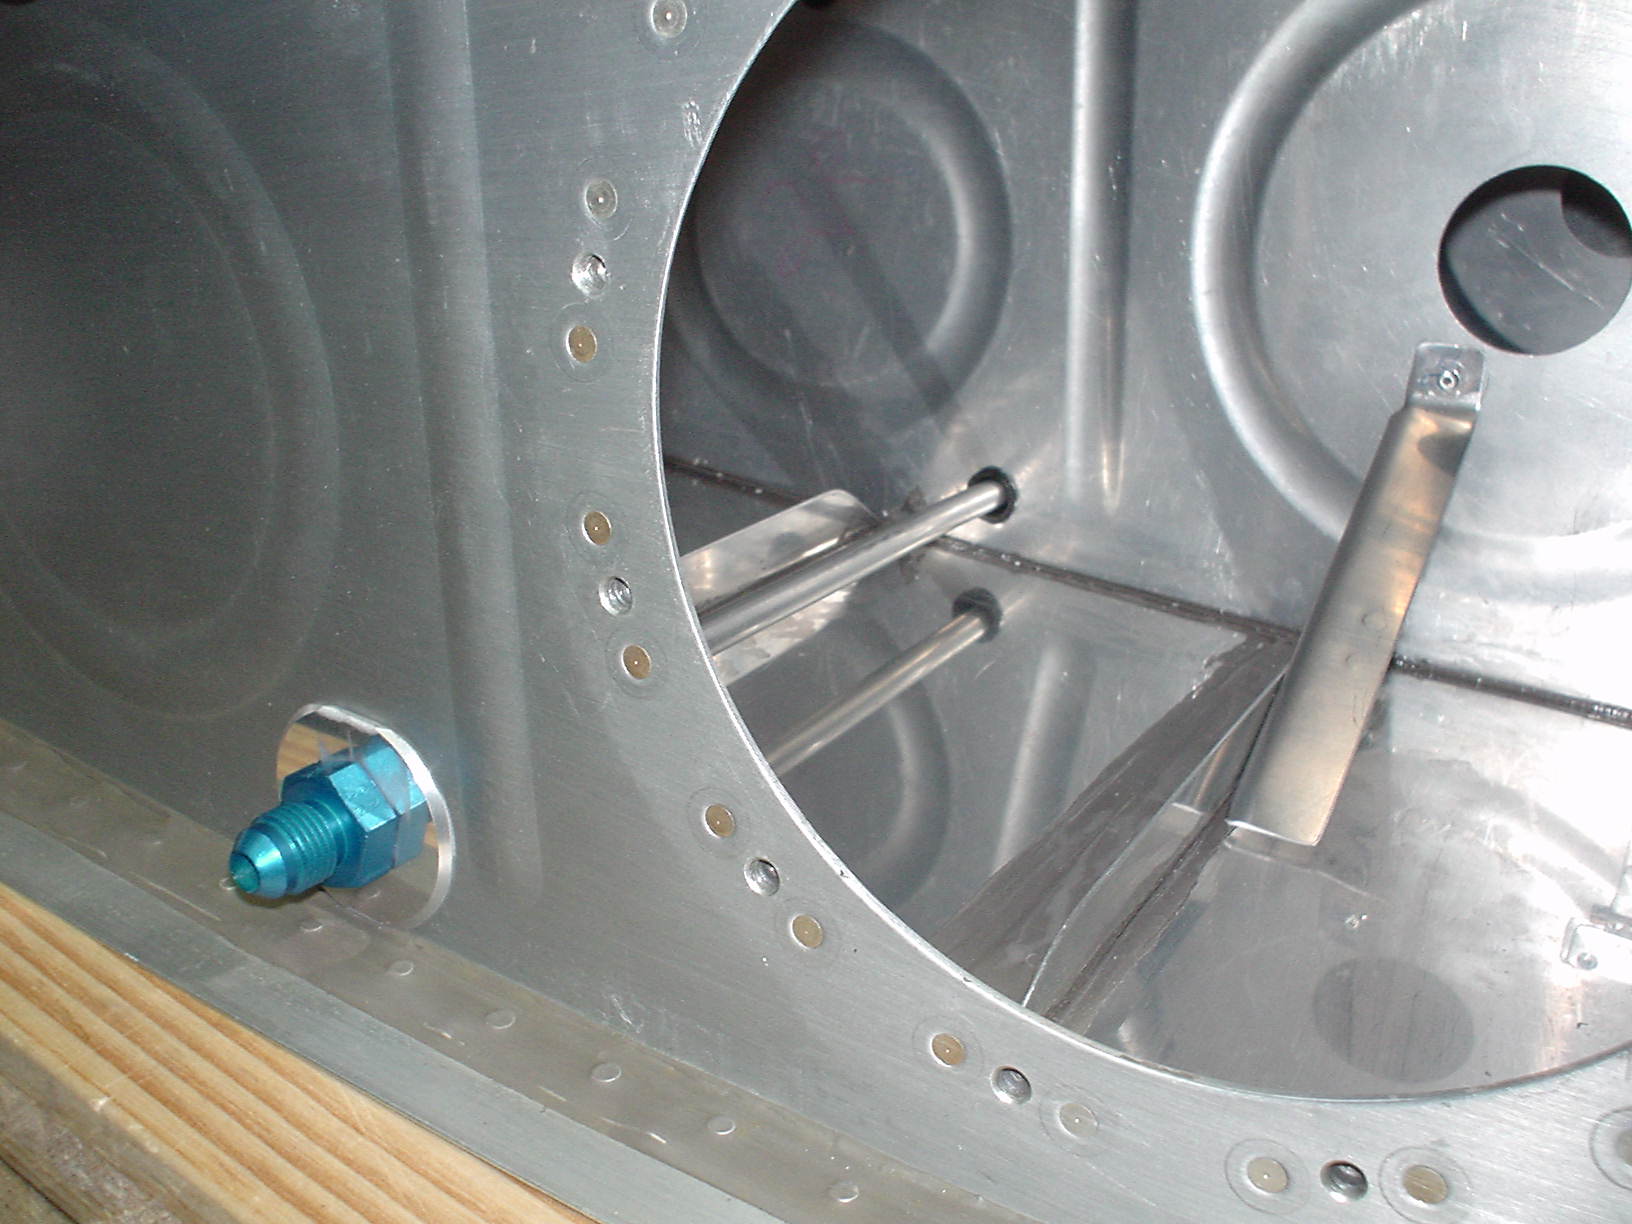
Test fit view from the inside. No proseal yet. I’m saving up several things that will need proseal so I can do them all at the same time. I only have two small tubes of proseal, so I want to use it as efficiently as possible.
View of the entire return line from the outside of the tank.
Update: 26 July 2004
I sealed and installed the fittings, and I changed them to be 90 degree fittings, to make it easer to plumb. What I didn’t realize is that there is a longeron in the fuselage right where I would have needed to drill a hole for the fuel return line. No problem now with an angled fitting.
I also moved the strengthener inside the fuel tank, just to make it look consistent with the fuel vent line.
A view from inside the tank. Aren’t small digital cameras cool? I actually use these pictures to make sure there are no problems. Mirrors work too, of course.
Sorry, the comment form is closed at this time.