27 Feb 2004 Floors and flap actuator
Update 20210918: There is a SB for the flap actuator from Van’s: SB 07-4-12 The way I did this worked out fine. Only additional suggestion is to ensure enough space around the edges of the floor panels as you will be taking them out and putting them in many times. Also, no need to put a screw in each hole – every 2nd or 3rd hole is plenty.
Getting the floors in is a pain with the RV8. The floors as shipped by Van’s are beautiful, but a bit too ambitious. They should come in smaller pieces that can be easily installed. It is also required to combine the floor installation with the flap actuator installation. This seemed weird to me, so I have taken the liberty of doing it differently.
Many builders have said that they installed the floors with nutplates instead of pop rivets, and this seemed like a good idea. I started to install a couple of nutplates, and it seems *real* hard, and a lot of work. I’m a lazy person by nature, and one thing I have learned from my software days is that if it is hard, you are probably doing it wrong. This seems to be the case here.
I queried some lists, and it seems there are other ways to do this that don’t involve nut plates, for example RivNuts and plastic ClipNuts. I tried real hard to buy the clipnuts, but the company that makes them (http://www.marketingmasters.us/) only wanted to mail them COD. OK, ACS sells rivnuts, so I went with them. I’ll get them in a week or so.
In the mean time, I started cutting the floors and making a bit that goes under the flap actuator. Here is the right side. I used leftover scrap from the empennage kit.
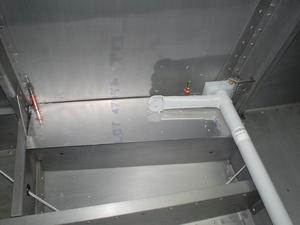
Here is the left side.
You can see with both of these pictures that the flap actuator still sits on these skins. No problem, but I need to install nutplates, and I don’t have my rivnuts yet. I can’t wait for them to arrive, so I drilled out the necessary holes for the nutplates. Wow, close to the skin, in a corner, this is a pain. You can see my frustration level is getting higher – just kidding, I’m still having fun!
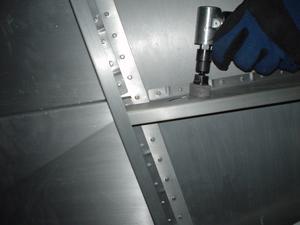
When I try to get in this corner, I can’t with either the rivet gun or the squeezers.
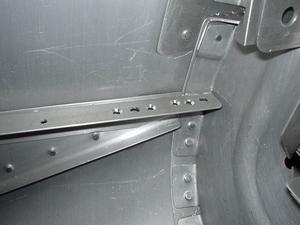
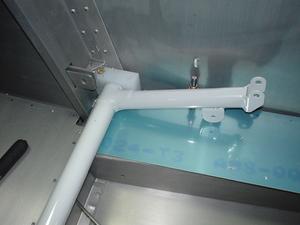
I punt, and call Van’s and talk to Gus. He suggests just bolting these on, and trim the skin around the plastic blocks. Good idea, and that’s what I do – works fine!
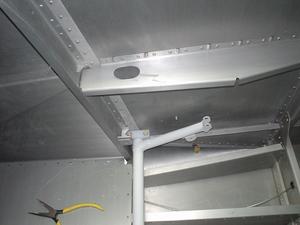
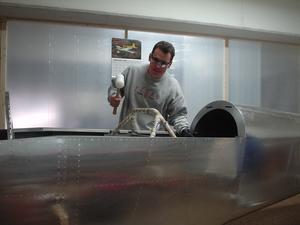
Now I’ll start on the electric flap actuator. Cool – electricity!
I’ve installed the electric flap motor, but the hole that was cut in the left rear armrest is not in the right place, so the thick part of the shaft touches. Not good.
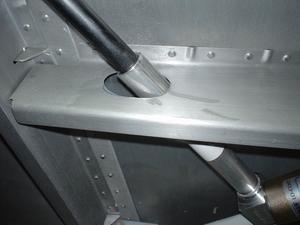
Here I’m using a scotchbrite wheel on an air grider, which cuts great. I had to do about three iterations to get the hole large enough.
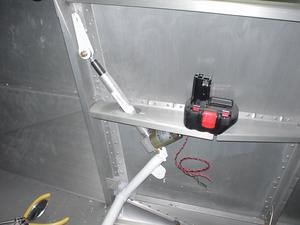
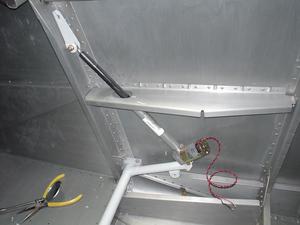
Here is the actuator in the “up” position. Notice the very handy 12volt power supply, which amazingly, can also be used on my cordless drill!
Flaps in the “down” position. All works fine now, I’m claiming victory on this one.
Sorry, the comment form is closed at this time.