15 Dec 2004 Floor cutout for control column mount
The plans show that the floors have to be installed before the control column mounts, which is not really very convenient. I decided to make a little brace for the floors next to the control column mounts and cut a notch in the floors so that I can bolt on the control column mounts now. The floors can be installed much later. This is convenient because I need access to the area under the floors so that I can plug in and test the autopilot, aileron trim, strobes, and some antennas.
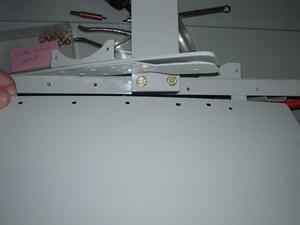
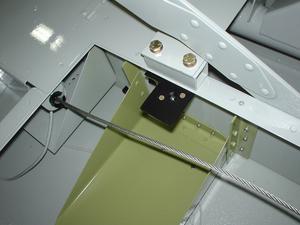
Here you can see where the cutout needs to be made.
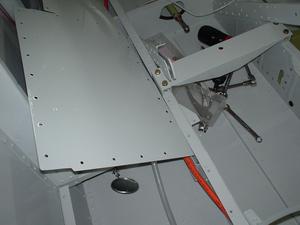
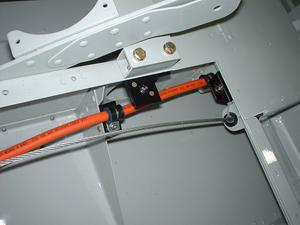
Another shot from a different angle.
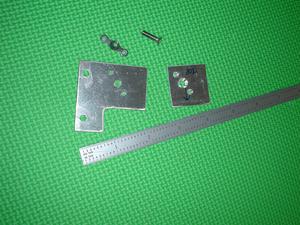
Here is the bracket for the left side, before painting. Note that I have the bracket which is made of 0.063 aluminium sheet, and a little 0.063 spacer to make sure the floor remains level. The larger brace attaches underneath a bit of angle, so the spacer brings the package to level with the angle.
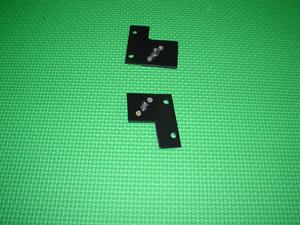
Here are both brackets after priming, painting, and riveting on the nutplate. I am starting to use rattle can primer and paint on these final items, rather than go through the hassle of taking them to the paint shop. The black actually looks pretty good. “Paint it Black!”
The left brace installed. It is just above the bracket for the autopilot servo.
The right brace installed. A bit above and to the side of the strobe power supply mount. Note the cool looking orange AWG #6 starter cable.
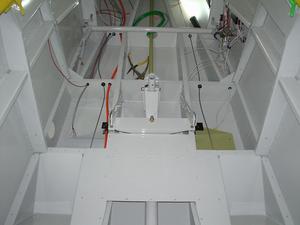
A shot from above the instrument panel of both braces, to get you a bit of perspective on the location. I didn’t really plan to have all the stuff under the floor painted, only primed, but the paint shop said it was easier to just paint everything with primer and topcoat, rather than trying to figure out what only gets primed. Of course, they’ll be charging me for that topcoat!
A shot of one of the cutouts on the floor. I just used snips, a file, and then painted the cut edges with some touchup paint. Note the dimpled hole for the #8 countersunk screw that will go here.
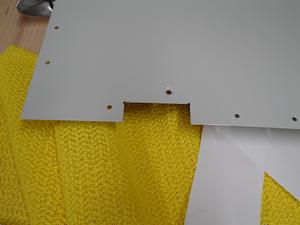
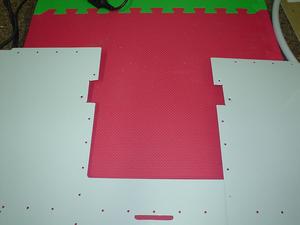
A final shot of both floors with the cutout.
Sorry, the comment form is closed at this time.