08 Apr 2005 Engine hanging – round 1
This may go to 15 rounds, folks. I guess the stories about getting the engine hung and started in 4 hours won’t be repeated here. In order to handle this beast, I called on my friendly local A&P, Emmett.
He’s hung quite a few engines in his day, but this is the first auto conversion that he’s experienced. It’s a bit overwhelming the first time you see all those hoses and wires. The Lycos look pretty simple compared with any auto conversion.
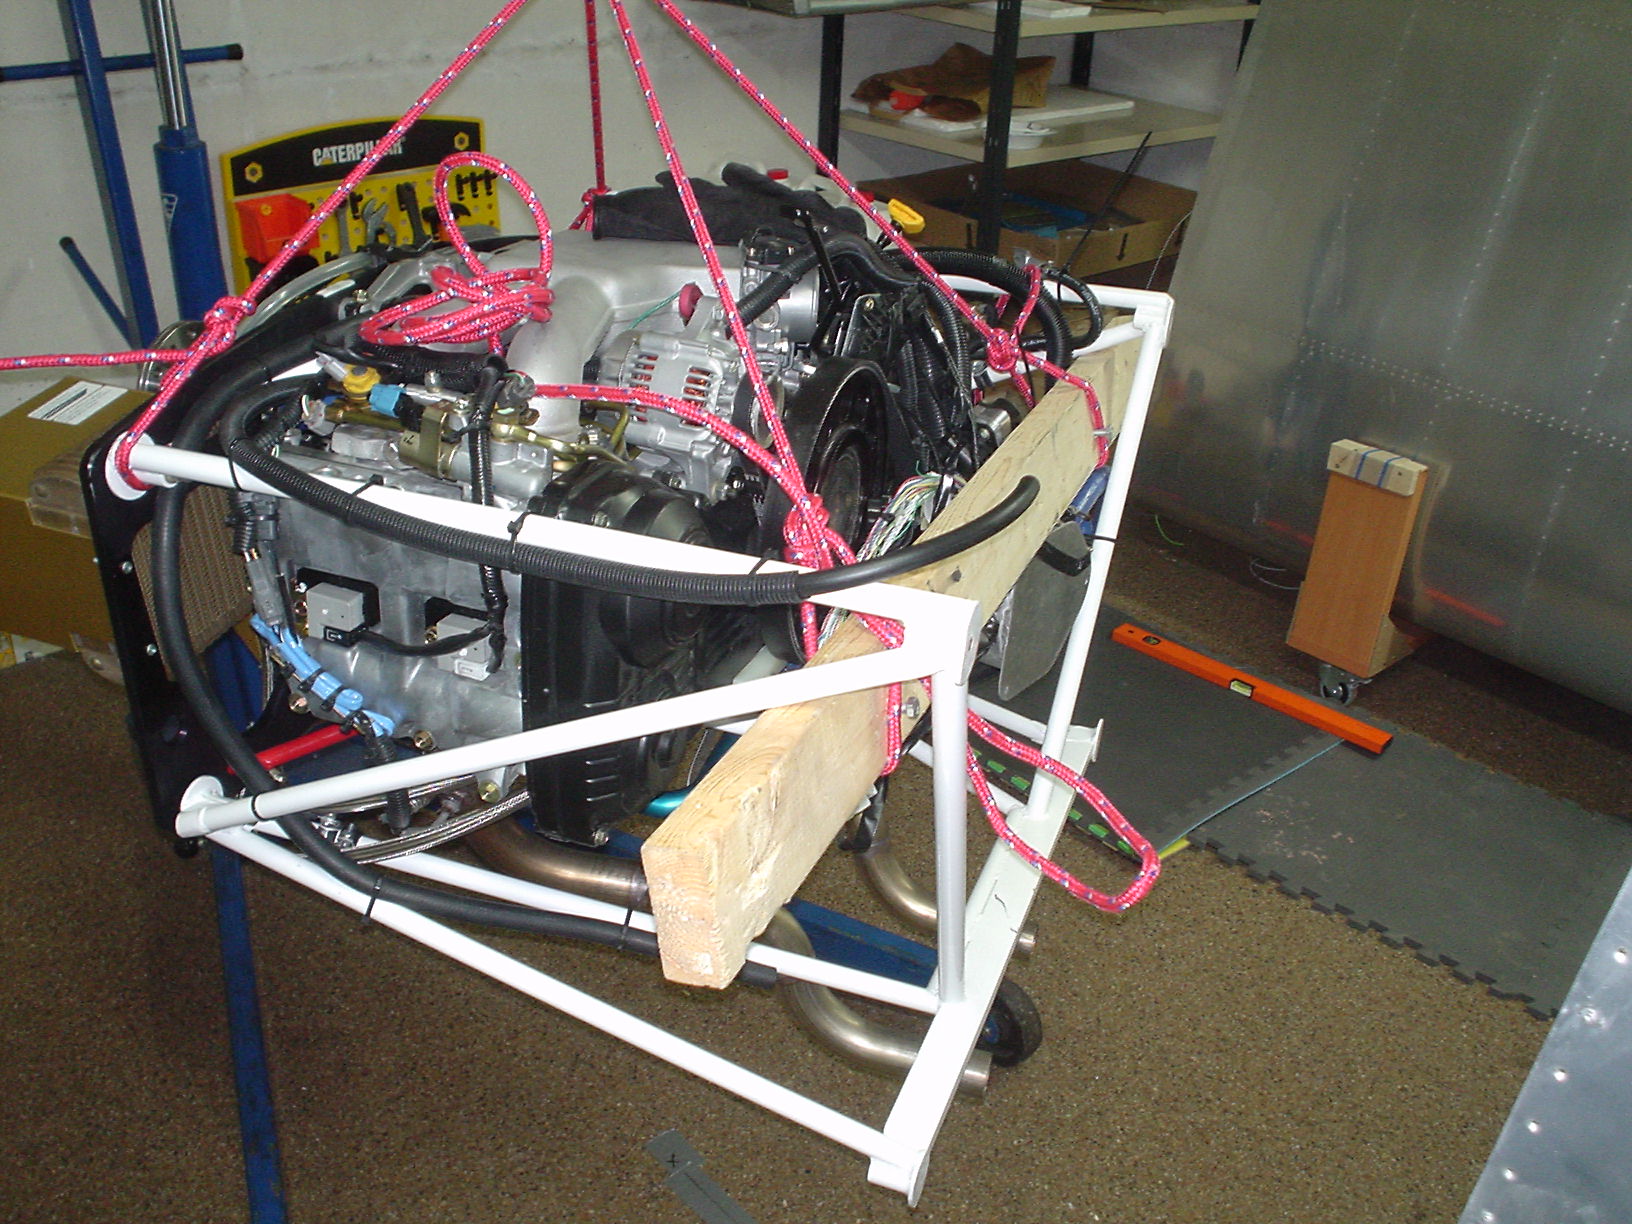
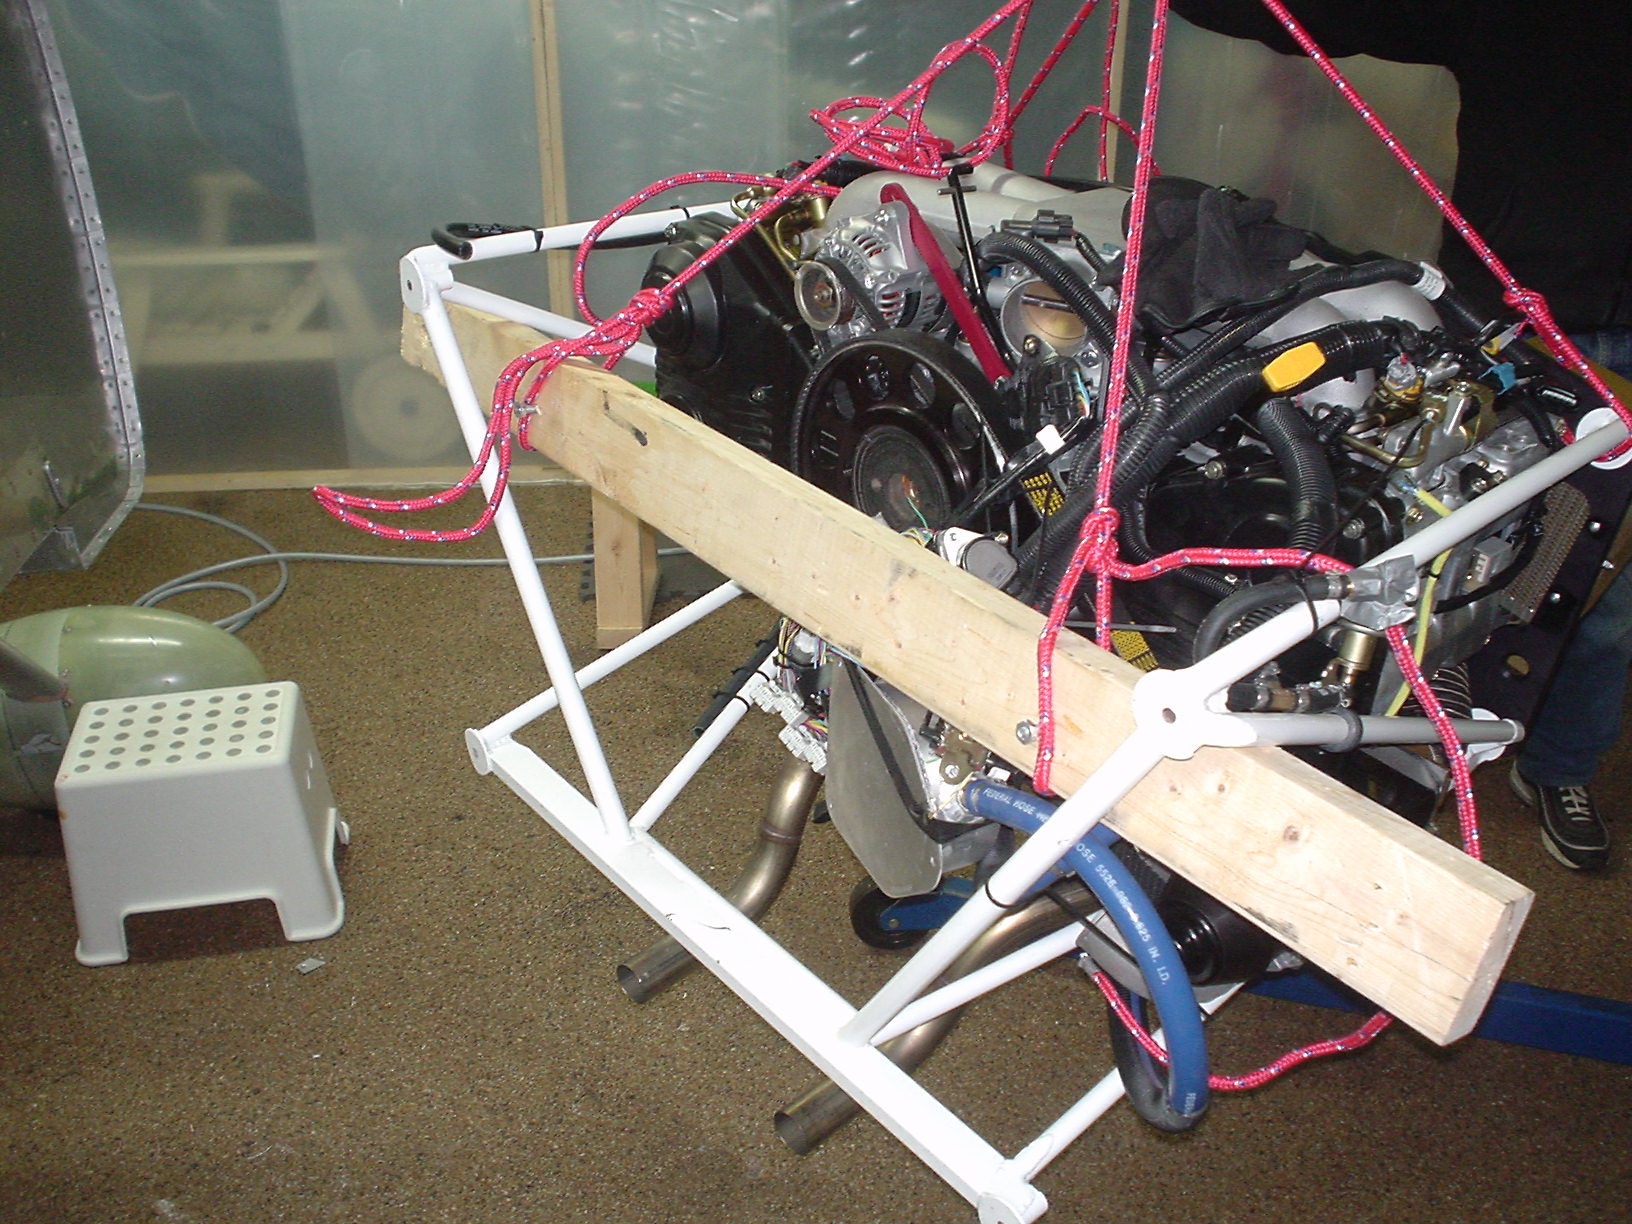
Anyway, a local auto shop lent me a engine hoist, for free, and didn’t even ask me my name. Just asked to have it back to them in a week or so. Ha! I thought it would have already been back there, but I’m the eternal optimist.
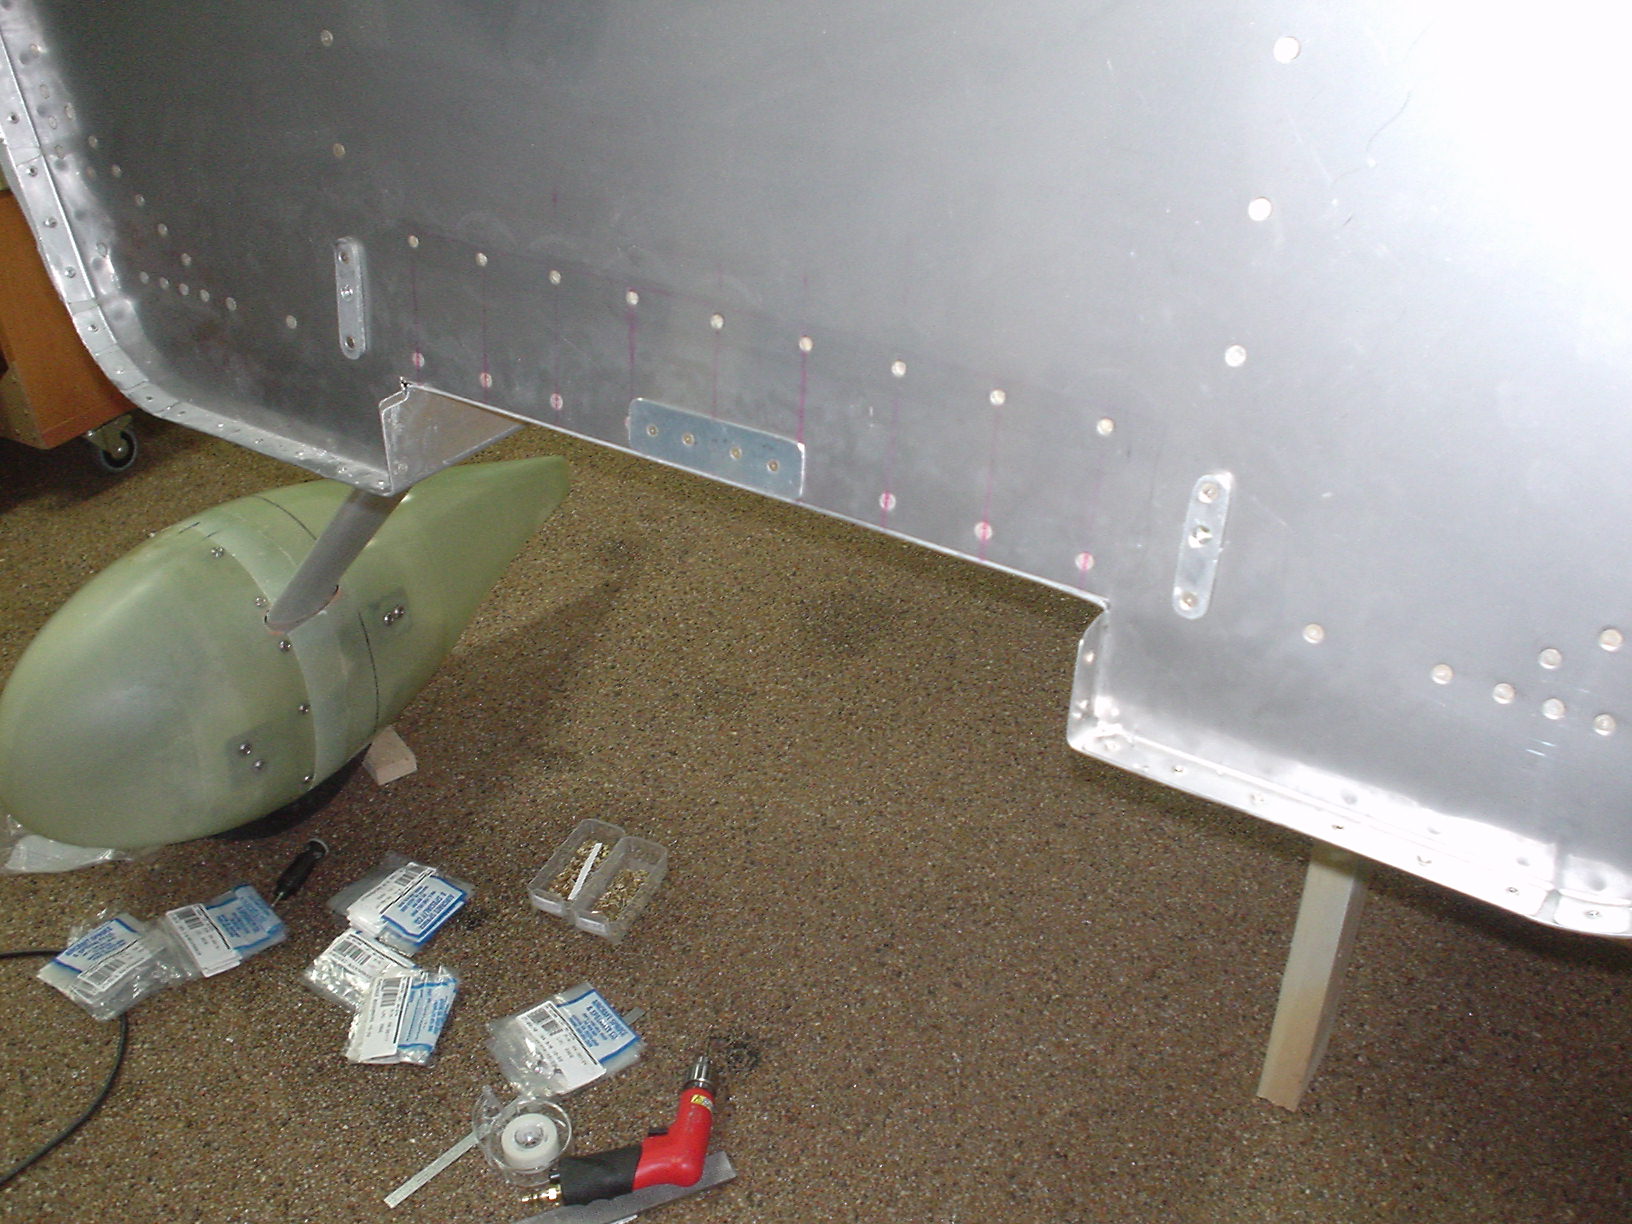
First problem was finding a place to hook up the hoist. The front was easy, since there is a large plate, and everything is bolted up. The problem is in the rear. The are no hook locations on the engine, and using the engine mount is a bad idea, since it flexes a lot back there. I mean inches.
Emmett got the bright idea to use a piece of wood under the engine mount to hold it up. Worked great!
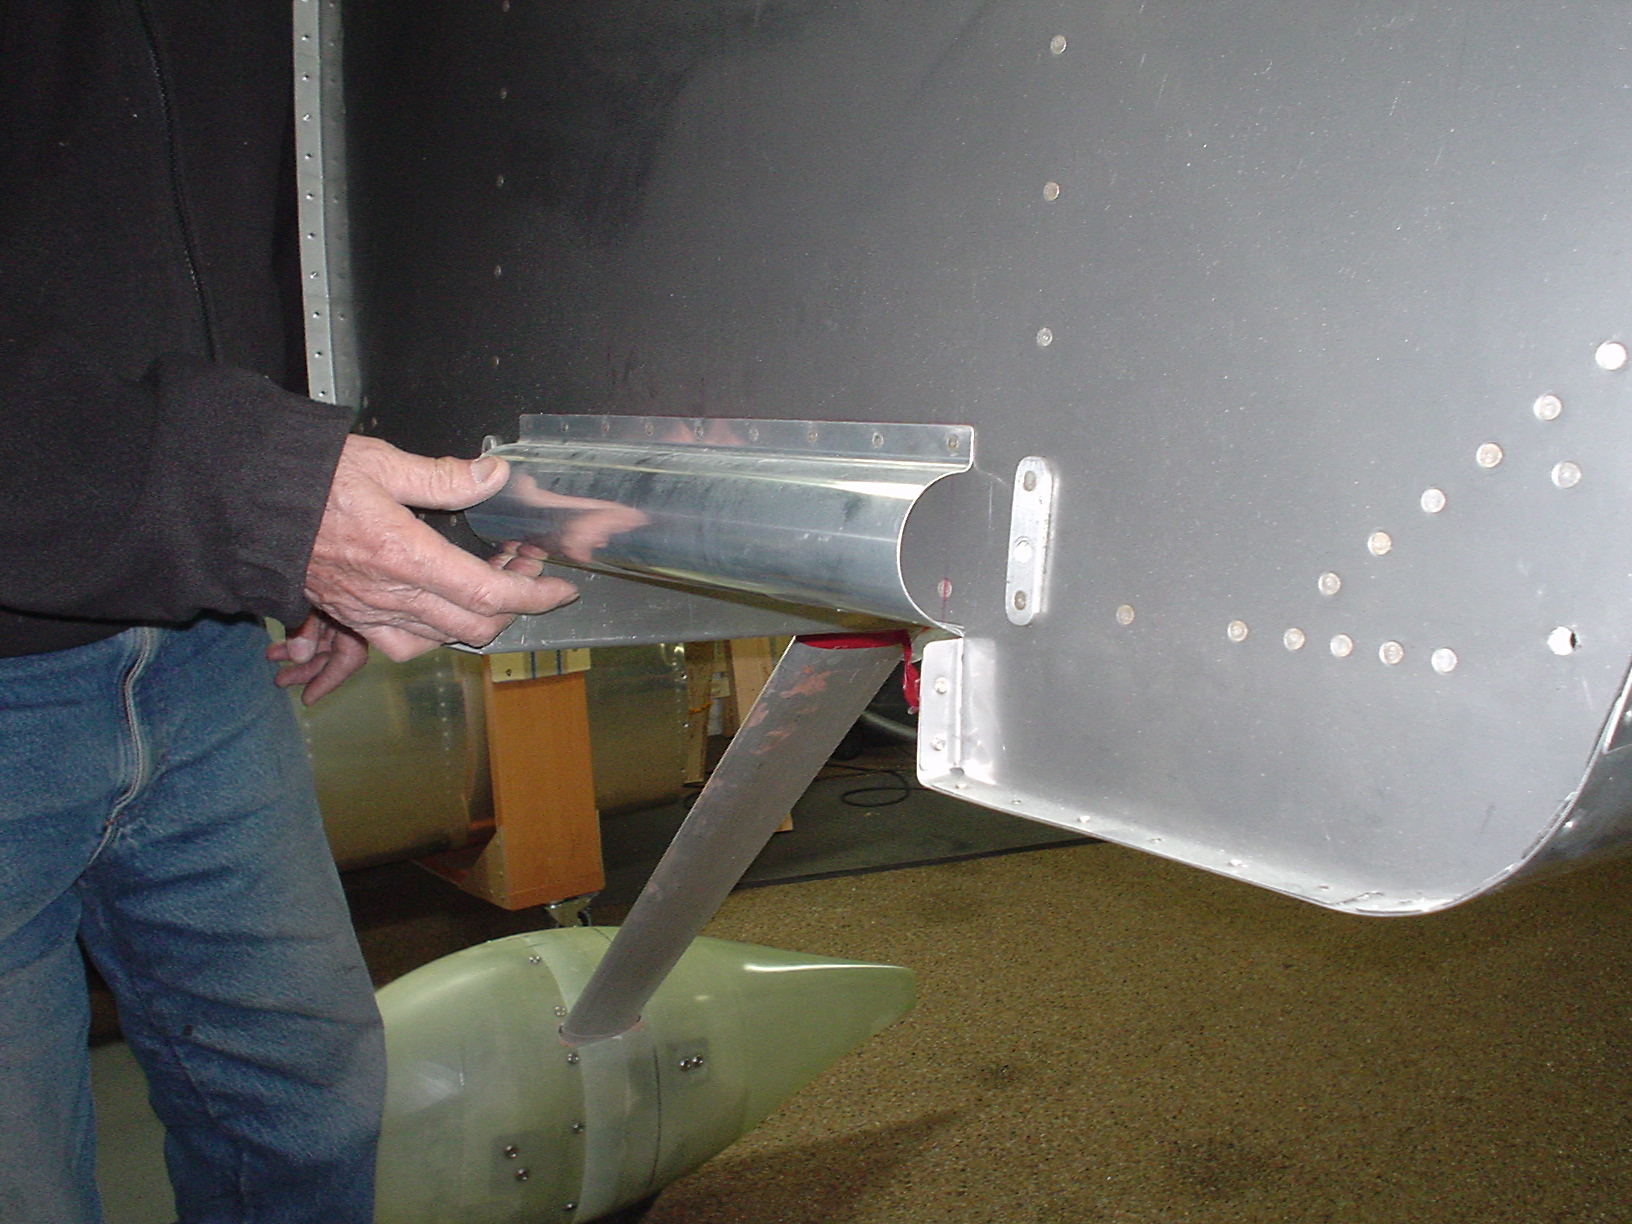
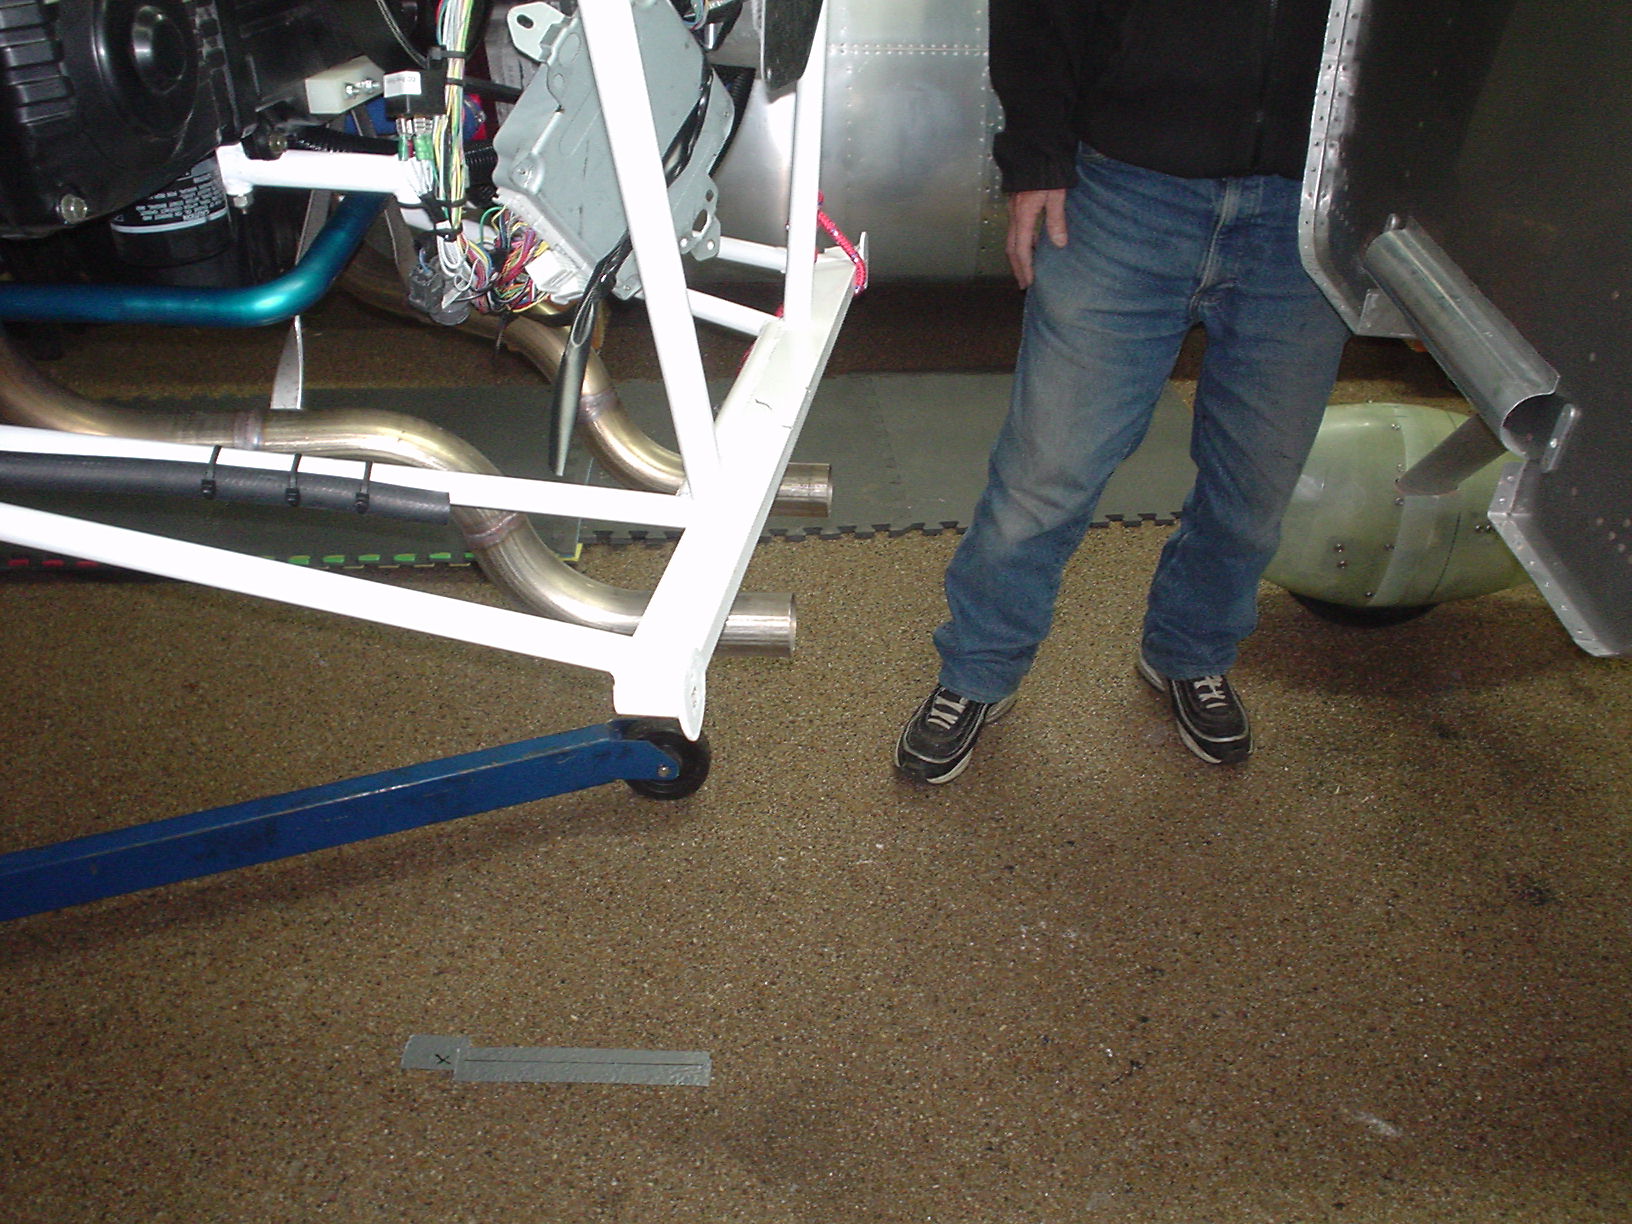
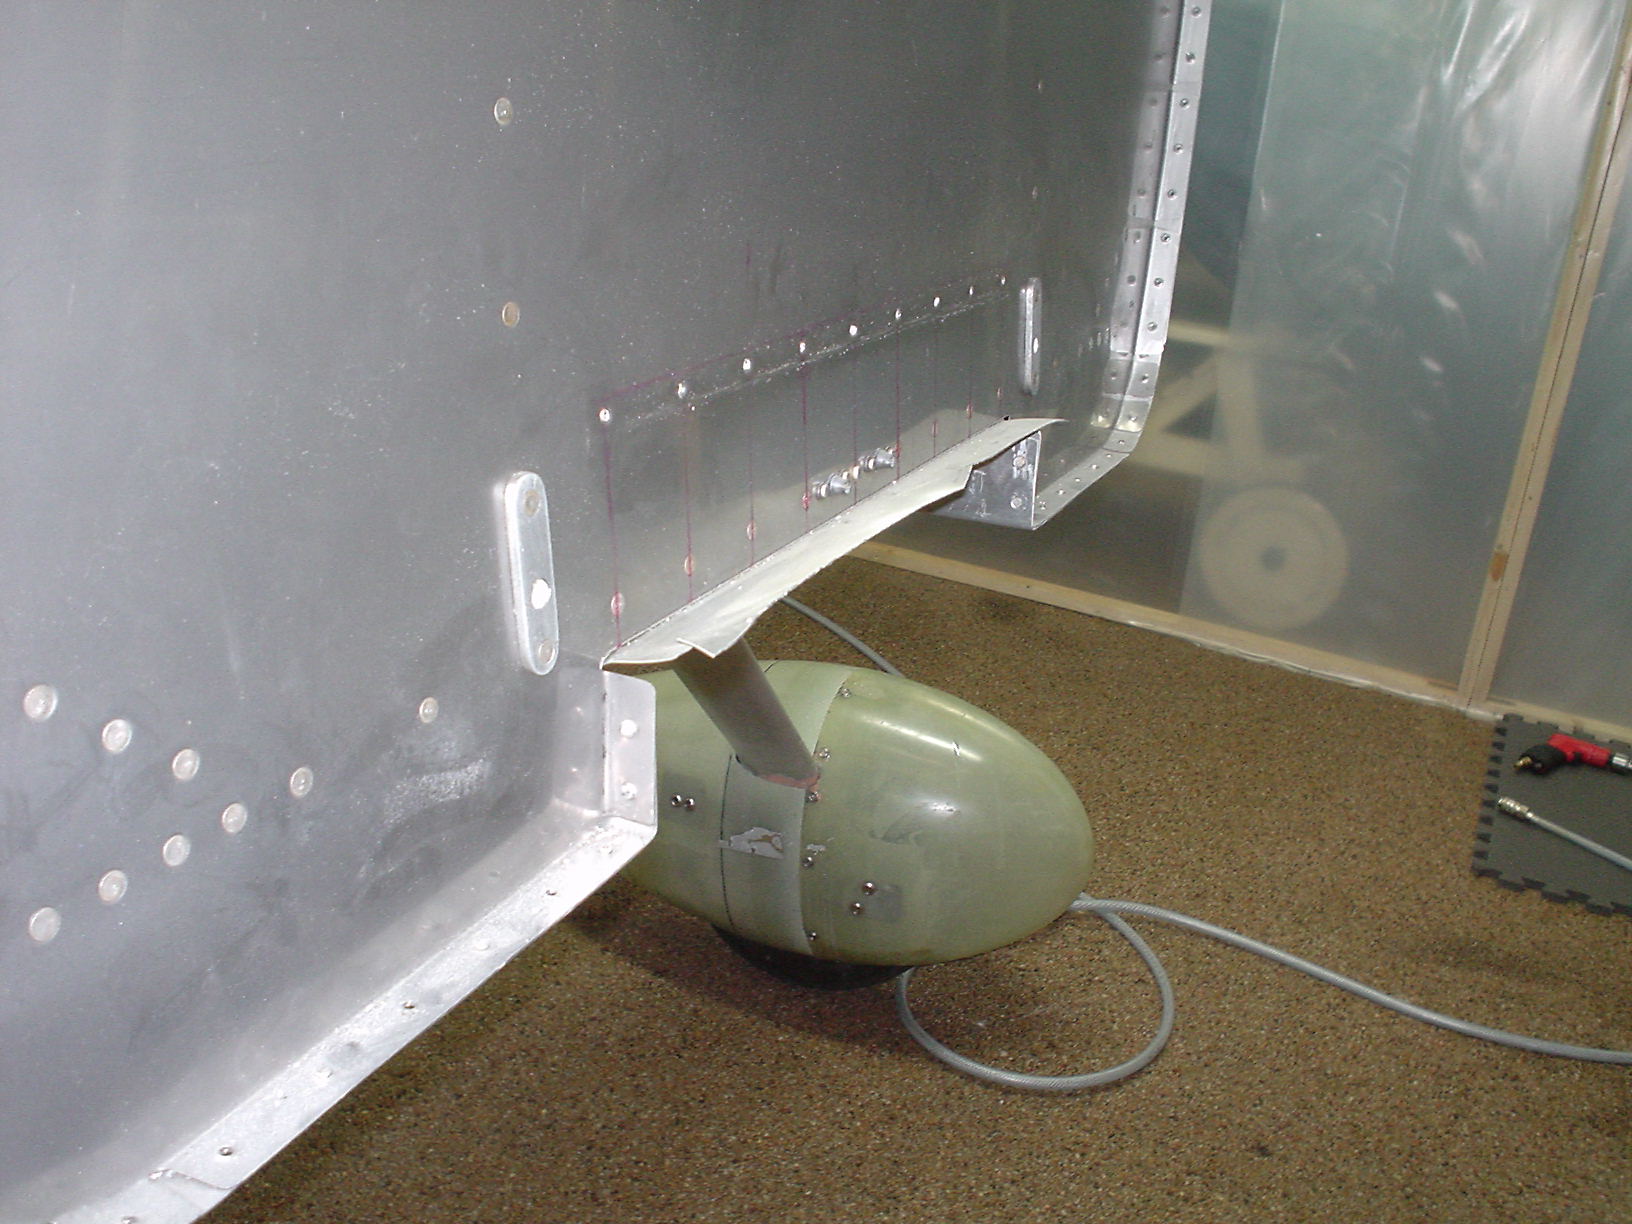
Next problem was that the bottom part of the engine mount conficts with three things on the bottom of the firewall. I was not happy to see this. This required us to cut off the cowl exit ramp and to move the mount points for the rudder pedals, and the rudder cable. Nasty. It’s pretty clear that whomever is making the engine mounts didn’t test them on an actual RV8. Rather disappointing.
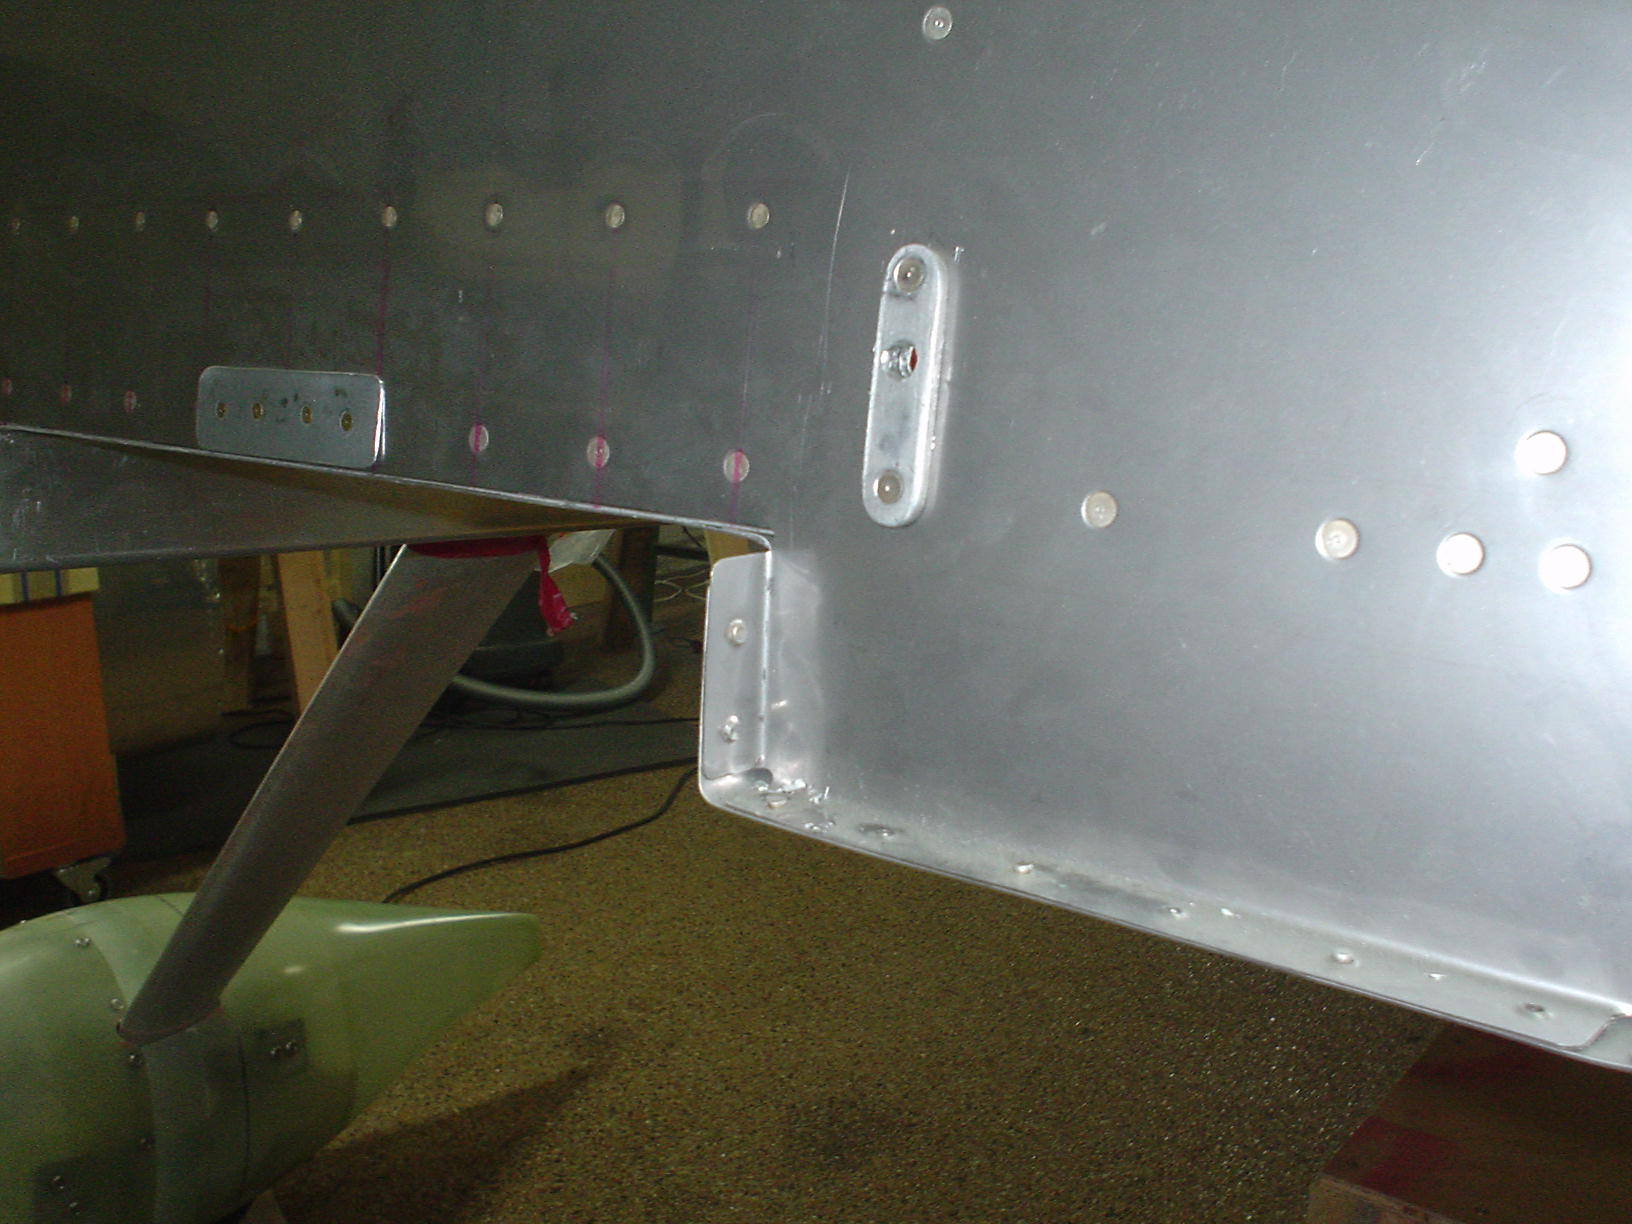
After this was done, we got things going, but I forgot to take pictures. The engine mount seemed to line up with the holes in the firewall just fine. In any case, you need to drill these holes using the engine mount as a guide. The problem is that most people do this without the engine in the mount, according to Emmett. Seems obvious, but it also seems clear why this engine comes already in the mount. We were not about to take the engine out of the mount – too much work.
I got the top mount holes temporarily bolted up with AN4 (1/4″) bolts, and planned to drill the bottom holes first. I got the bottom left hole done, but scratched the engine mount a bit. BTW, I drilled and then reamed the hole to get it nice and round. Reamers are cool.
I could not reach the other holes with my normal length drill bit. I needed a very long 3/8″ drill bit – like about a foot long. I didn’t have one, so I had to go to the local specialty drill bit store and get a metric equivalent, which is 9.5mm. 120CHF, which is about 100 USD, at least at today’s exchange rate. I wonder why no one has ever mentioned needing a long drill bit on any of the lists? Perhaps it’s an RV8 thing. Perhaps they didn’t drill the engine mount in place. Perhaps it was mentioned, but I didn’t notice. Perhaps everyone already has a 12 inch 3/8″ bit. I dunno.
More tomorrow – it should not take long to get the other three holes drilled and reamed, but I’ll need to take the engine off again a few times as I cut holes for various things.
Sorry, the comment form is closed at this time.