27 Jun 2005 Canopy, final touch ups, page 6
Continued from Canopy, page 5
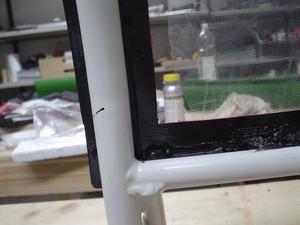
My first attempt at gluing turned out to be cosmetically a bit of a mess. Structurally, it is sound, but I didn’t want to look at black boogers every time I fly. I needed to find a way to clean this up.
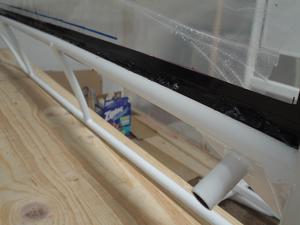
Here’s another shot. As I mentioned before, the best way to eliminate this problem is to only do a minimum amount of gluing until the canopy is thoroughly glued to the frame, then come back with the rest of the glue. Take your time, and make it beautiful.
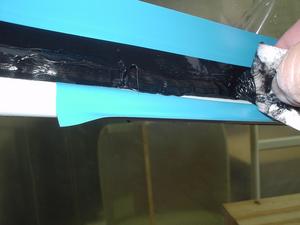
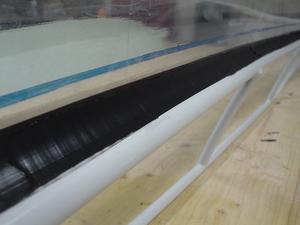
Here is my technique for making it look better. Lots of Sikaflex 295 UV, a spatula, and move very slowly so that it has time to flow down into the cracks and other distortions. Worked great. Notice that I use a lot of electrical tape to protect the areas where I don’t want the glue to go. It’s also important to make sure that there is not too much glue on the tape, so that when you pull it off it does not make a mess. I removed the tape just after spreading the Sikaflex, since I figured that would be better than waiting for it to set up.
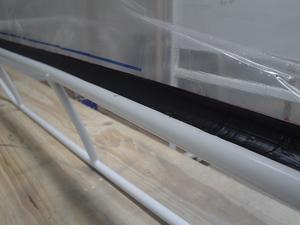
Here are some pictures of the results. There are still some areas that are not perfect, but I’m very happy with the results.
Best results were obtained when I put on way too much sikaflex, and then used the spatula to slowly spread it. Doing as much as possible without stopping is the best way.
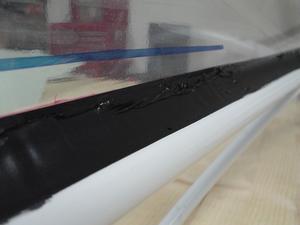
Here you can see a spot where I let too much Sikaflex go onto the tape. Bummer. It looks better in real life than in this closeup picture.
I think this turned out much better than I had anticipated, and I will definitely do this on my future RVs.
Sorry, the comment form is closed at this time.